| home | builders | Search |
| builders ➜ Cabinets |
| Most node builders, starting indepenently, will have the component parts laying on a bench. As soon as we realized that we needed a few operators to test networking concepts (or even to have fun with this stuff) we needed to deliver working solutions to their houses. That was the reason for the first boxes. Besides that, having 3 link-ports-worth of components laying around starts taking up lots of space. It's easy to see that all of this equipment is fragile if not housed. | |||
2013-2015 | |||
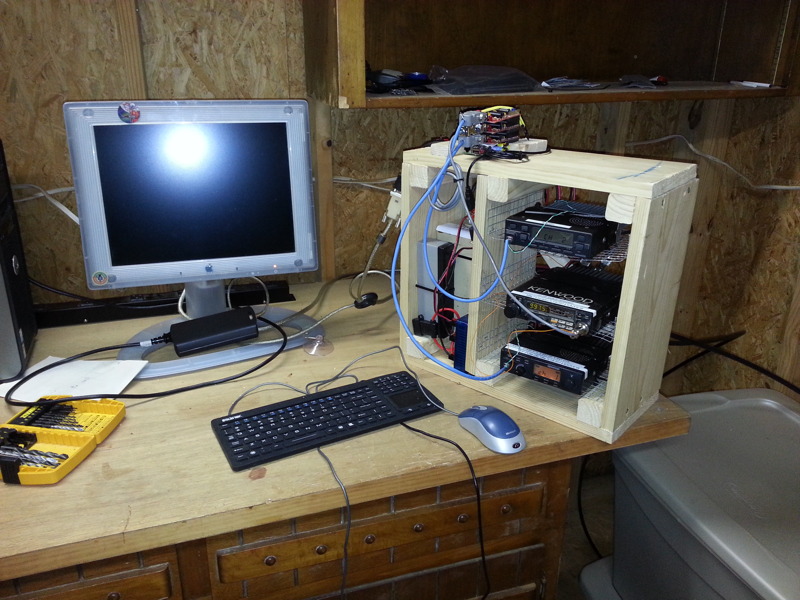
| KA2DEW (notacarpenter) node cabinets, 2013-2015, made with contractor screen and stacked TNC-PIs plugged into the top of the Raspberry PI. | |||
June 2014 TADD node
|
July 2014 MOM node
|
Nov 2014 JENRET node
|
2015 TADD node

|
Jan 2015 SNELL node
| |||
2015-2018 | |||
|
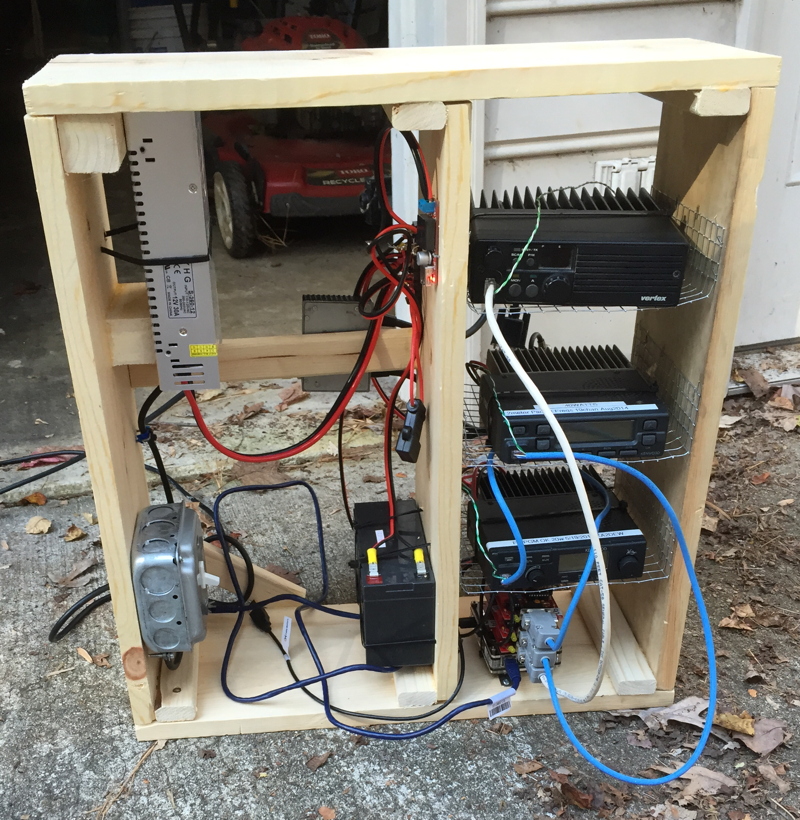
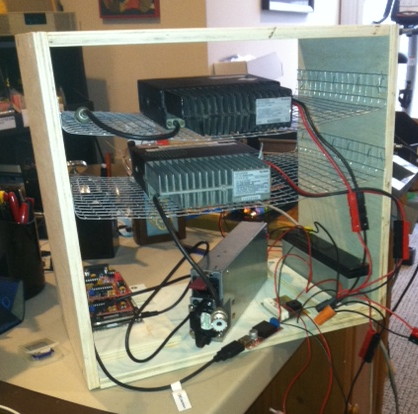
After a half dozen nodes were assembled, we'd recognized the limitations of using the stacking connectors to pile TNC-PIs on top of each other.
• not mechanically sound • LEDs and the potentiometers were not accessible after the units were stacked • hard to identify which TNC is wired to which radio • easy to plug stack into the Raspberry PI offset by one row or column of pins Plugging the units in offset was a surefire way to destroy the Raspberry PI. This did not make us any friends. The solution was to ribbon cable the TNC-PI together and arrange the TNC boards so the top of the board faced the operator but ribbon cables of longer than a foot or two were subject to RFI from the VHF radios. It is worth noting that up to this point, all of the radios were connected to the TNC-PI using Mic and Speaker connectors and 1200 baud was the expected bit-rate. When Fin NC4FG and Skip N6LUZ joined the project they applied their skills with power tools to create us some more practical and better looking cabinets. Our experience with the networking hardware was only a couple of years old so some of the features we'd later desire were not under consideration. We did know that unstacking the TNC-PI was a requirement, and that showing the association between the TNC and the radio was a high priority. Skip was focussed on having the systems set up once, correctly, and to survive being tossed into a car for transport. He made us eight of his 4-port cabinets, and three 1-port nodes. These were the portable demo system of their day at a dozen club meetings and hamfest tables as well as in five permanent nodes. | |||
SKIP node
|
ADRO node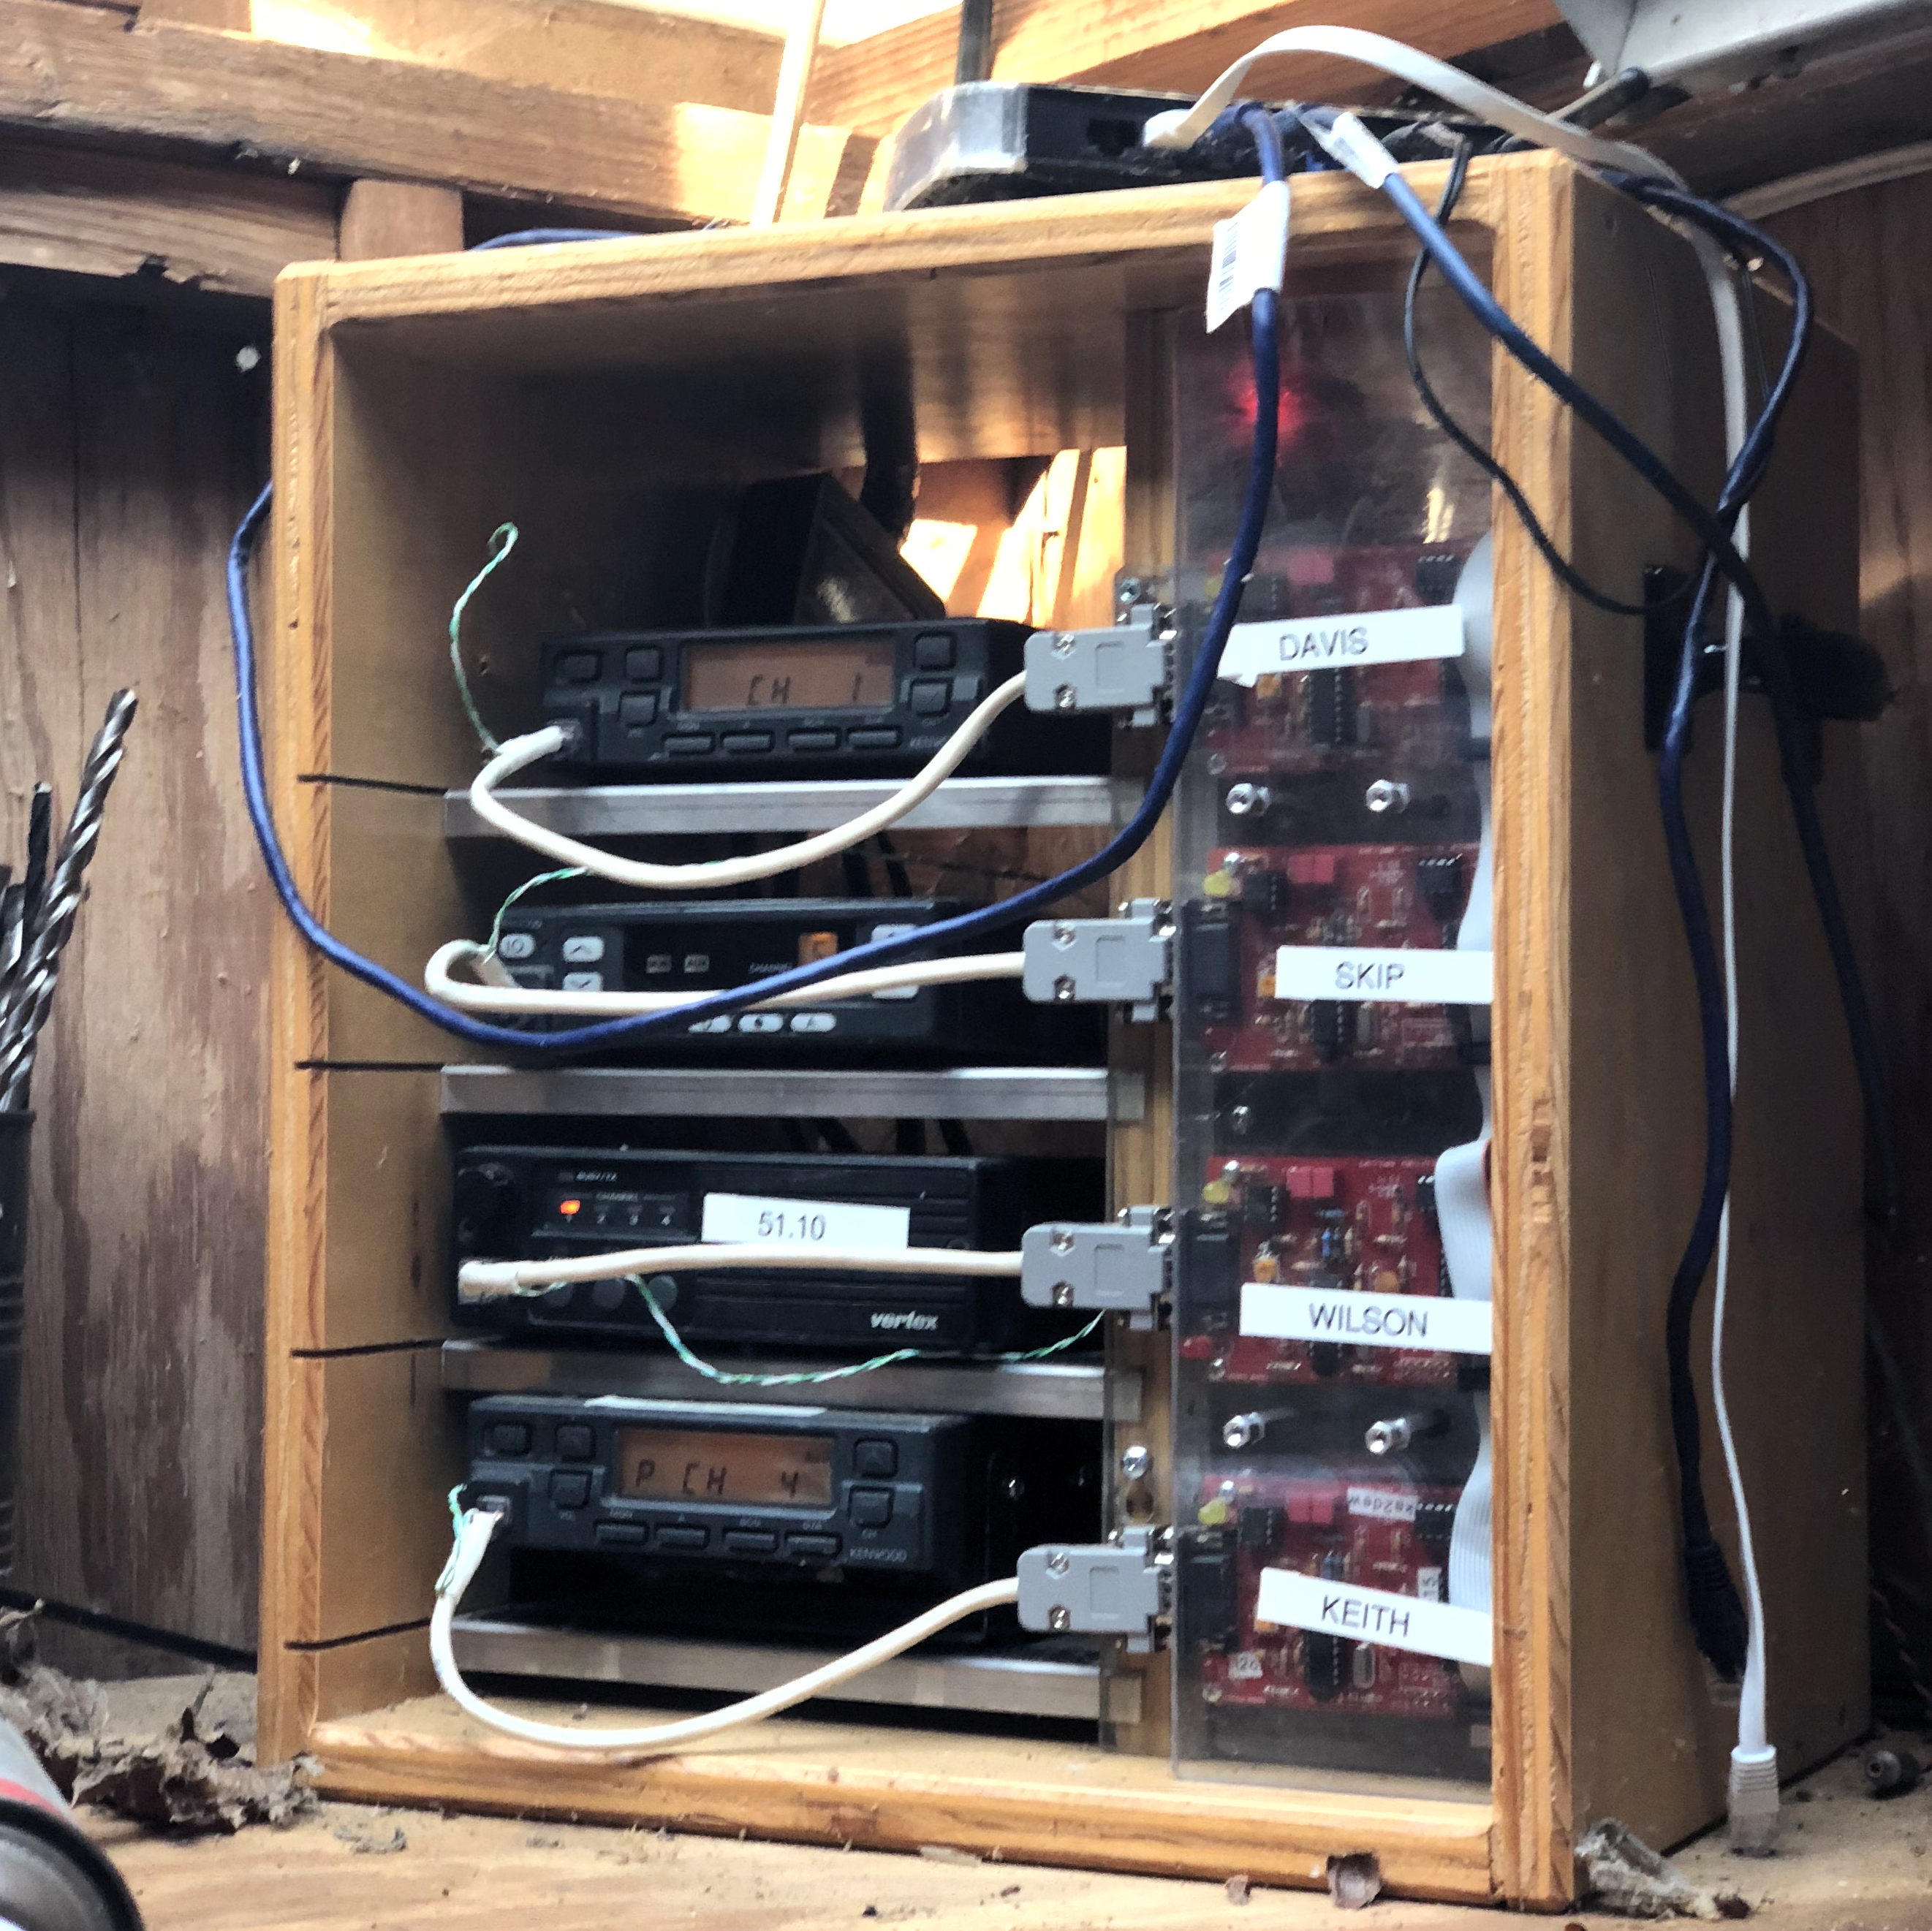
|
FFVC node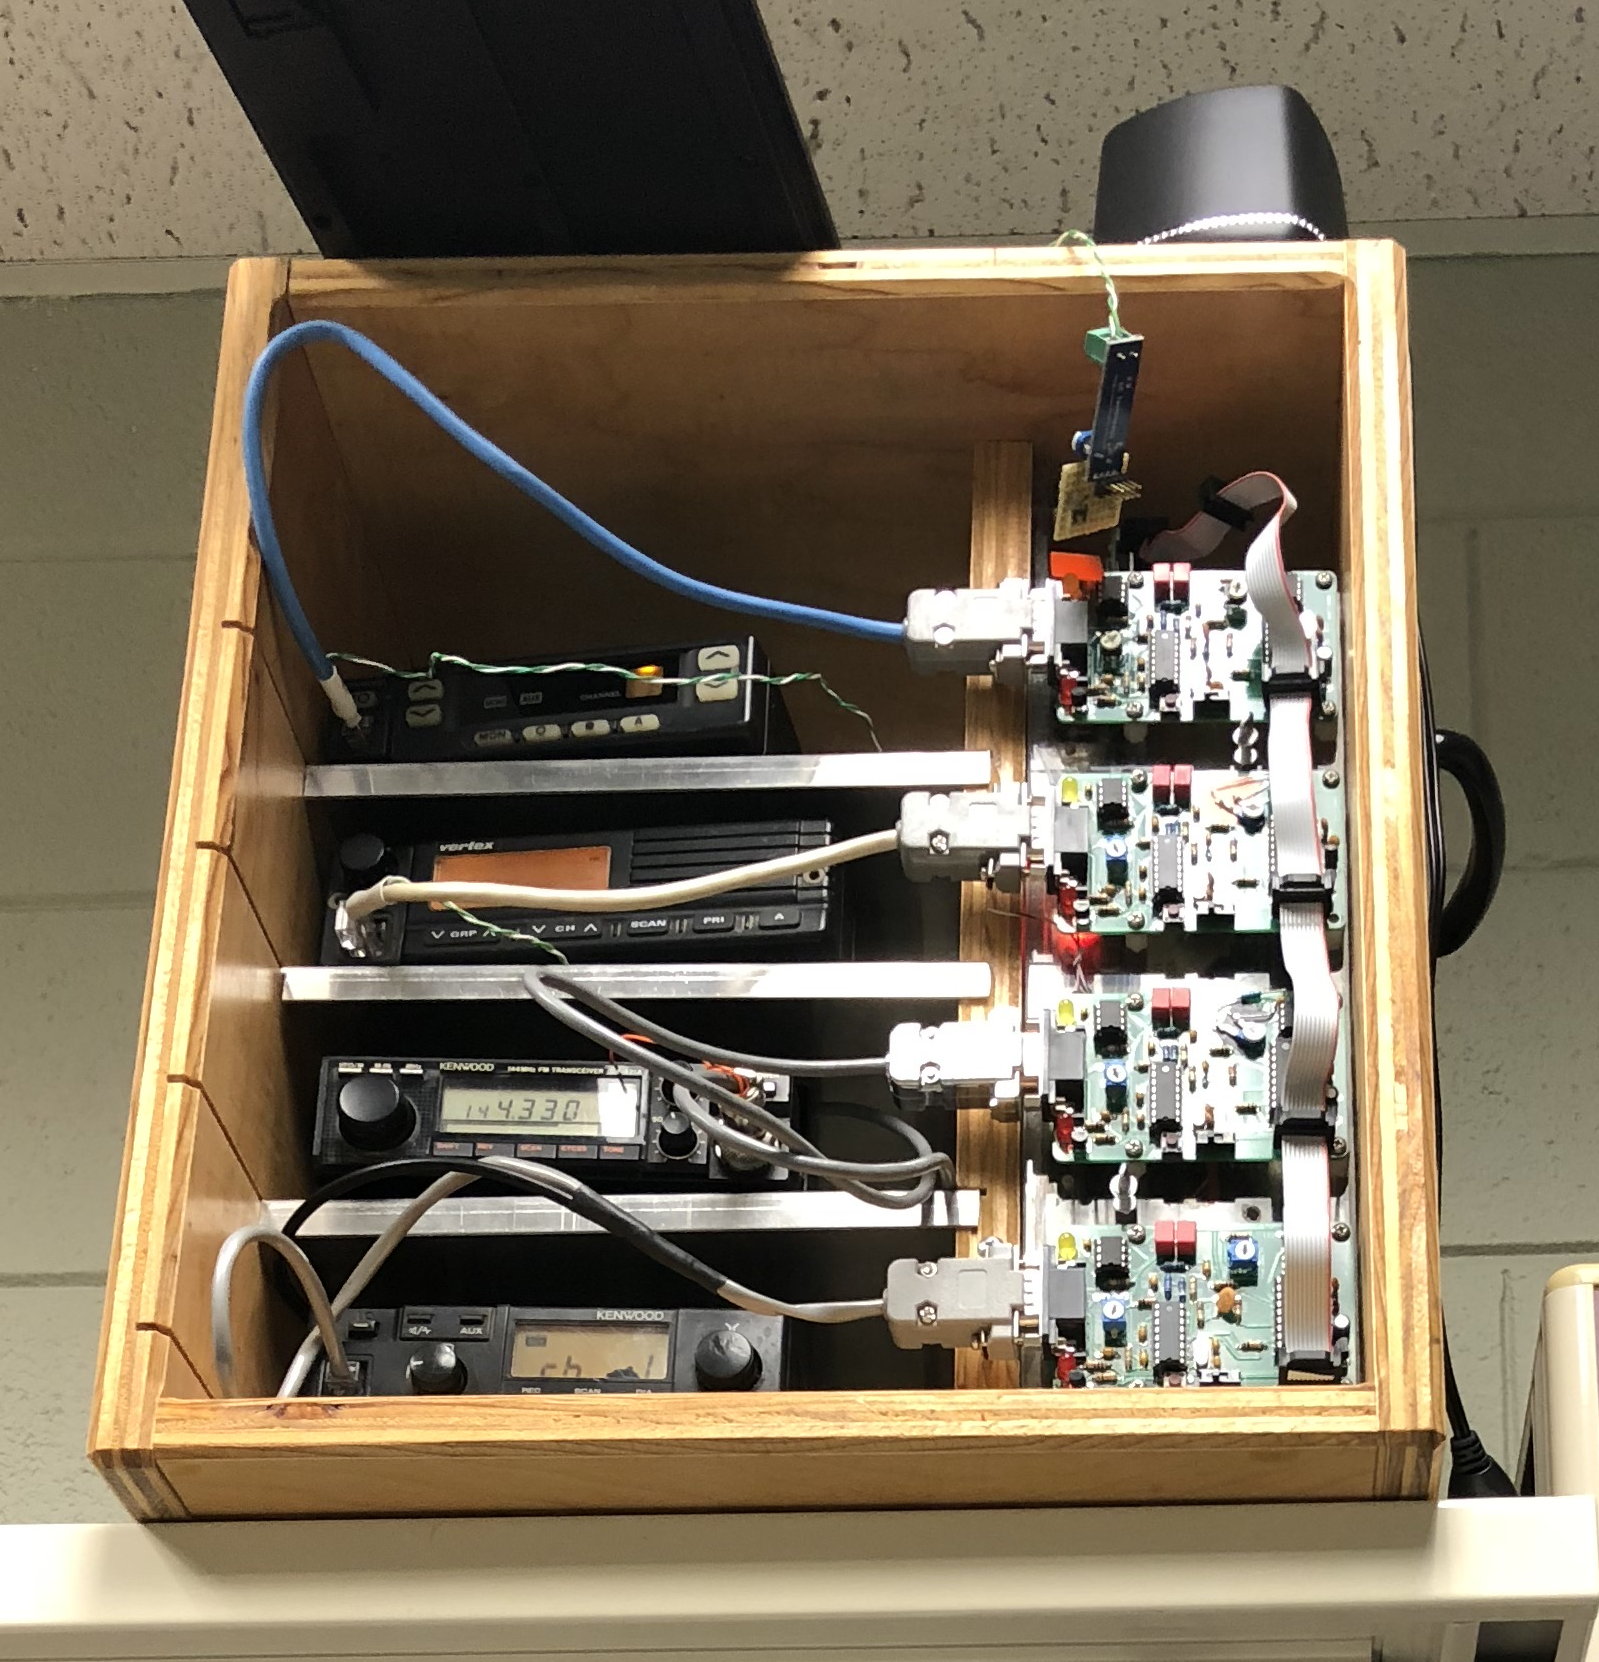
|
TADD node, shown with 5 links and Oscilloscope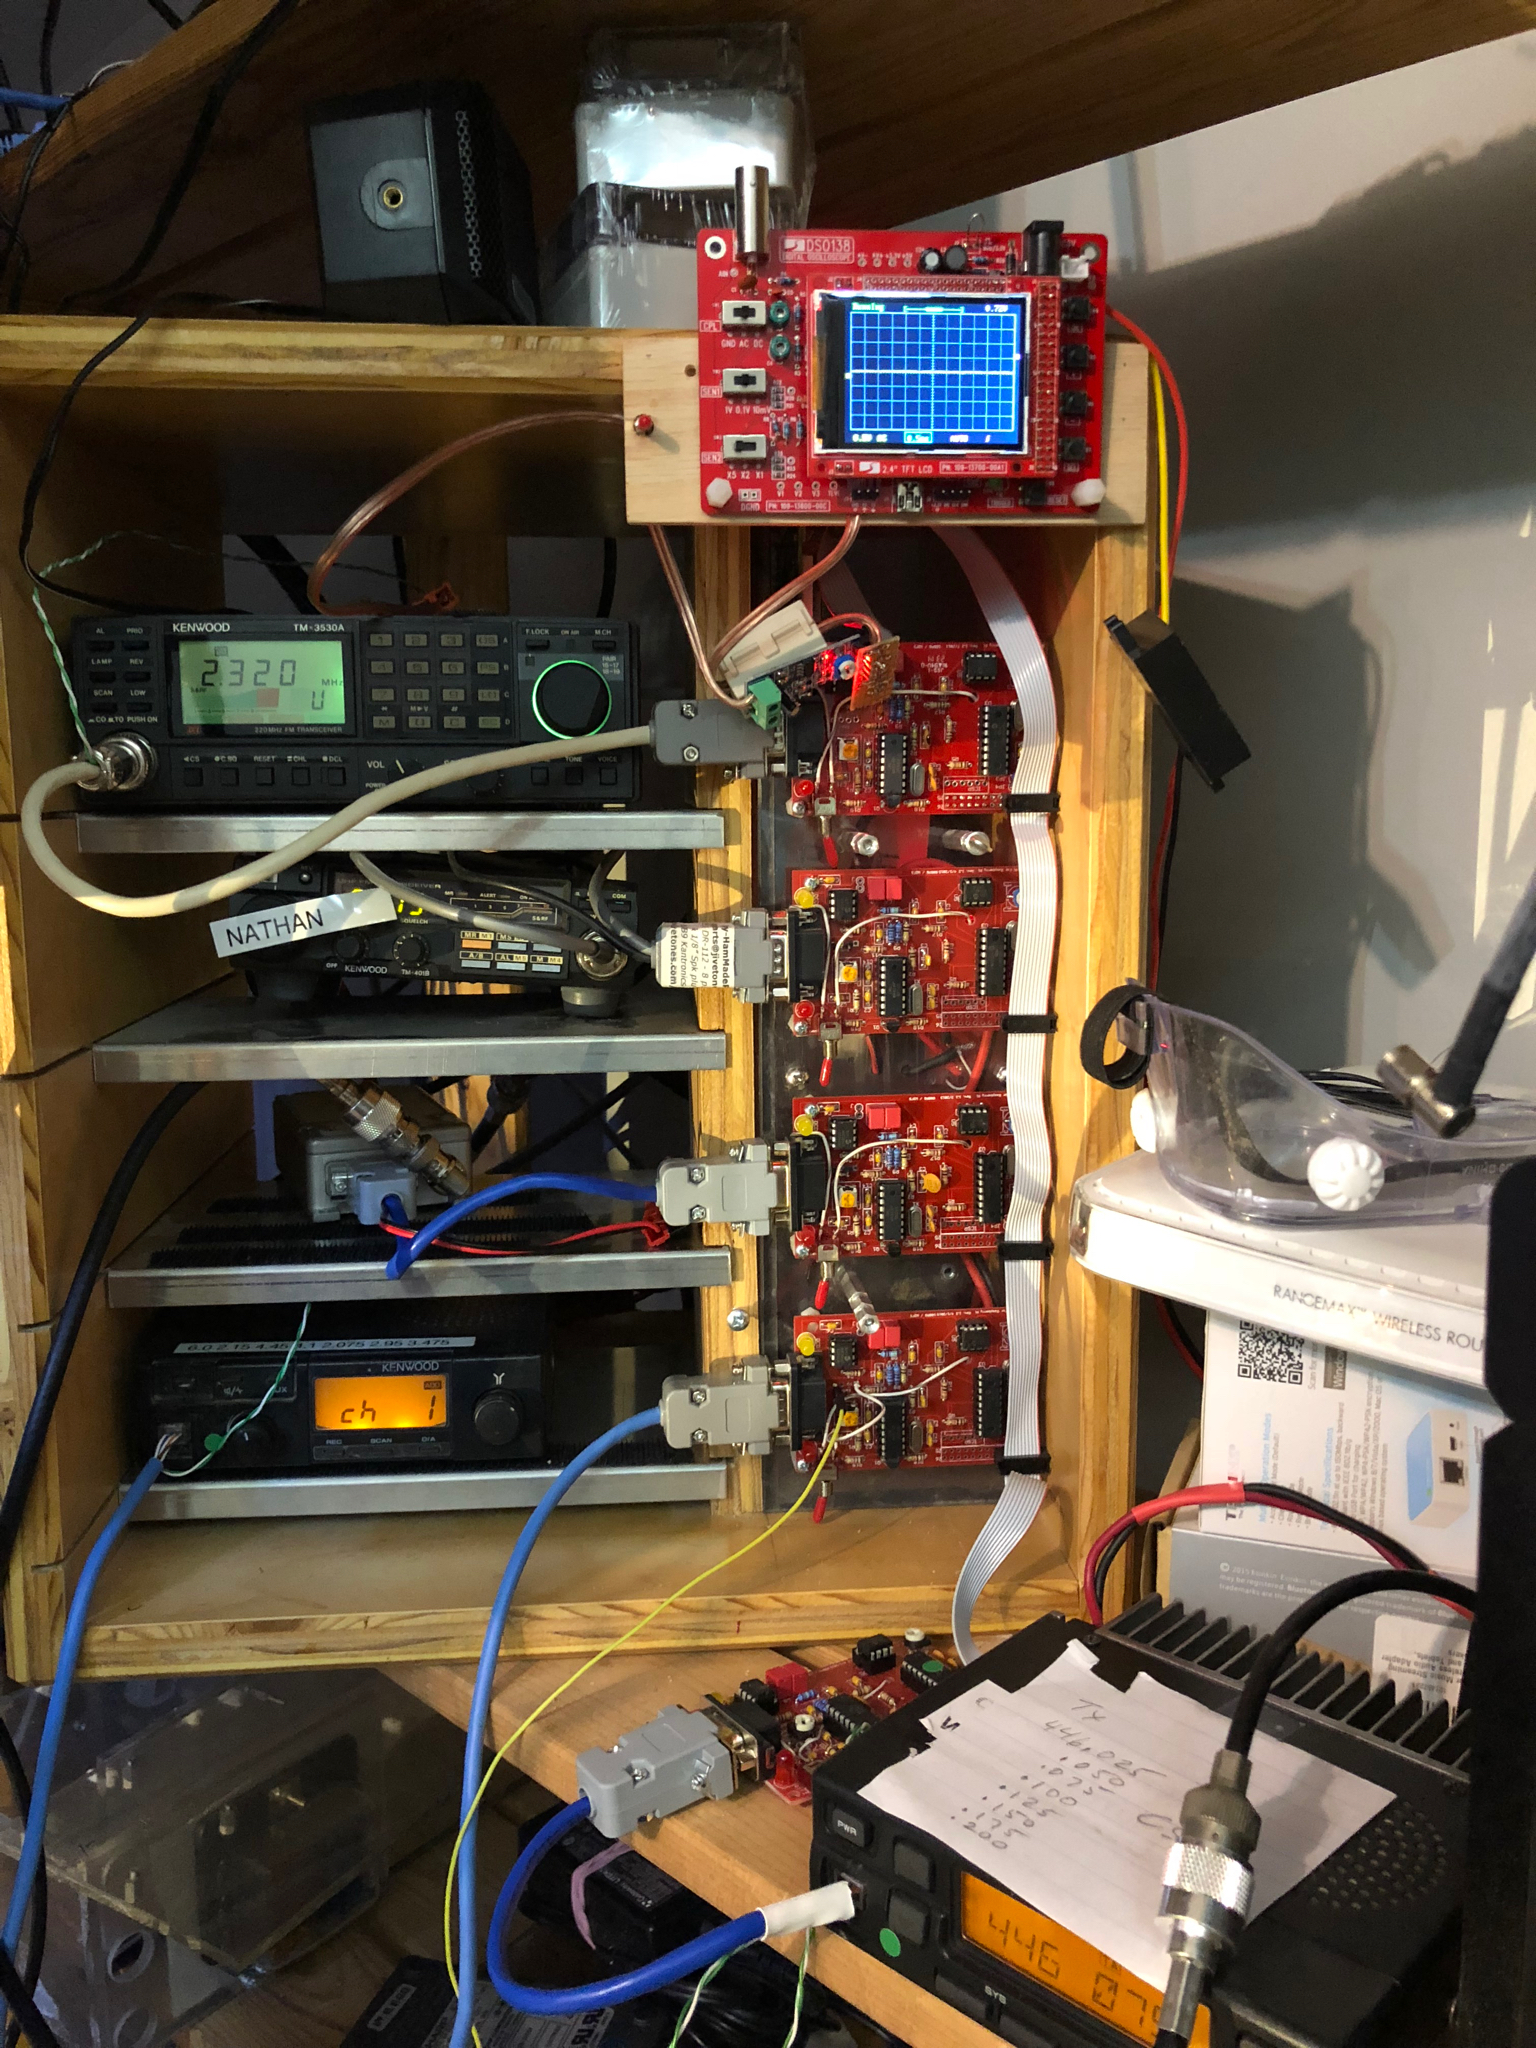
|
Stack of Skip-boxes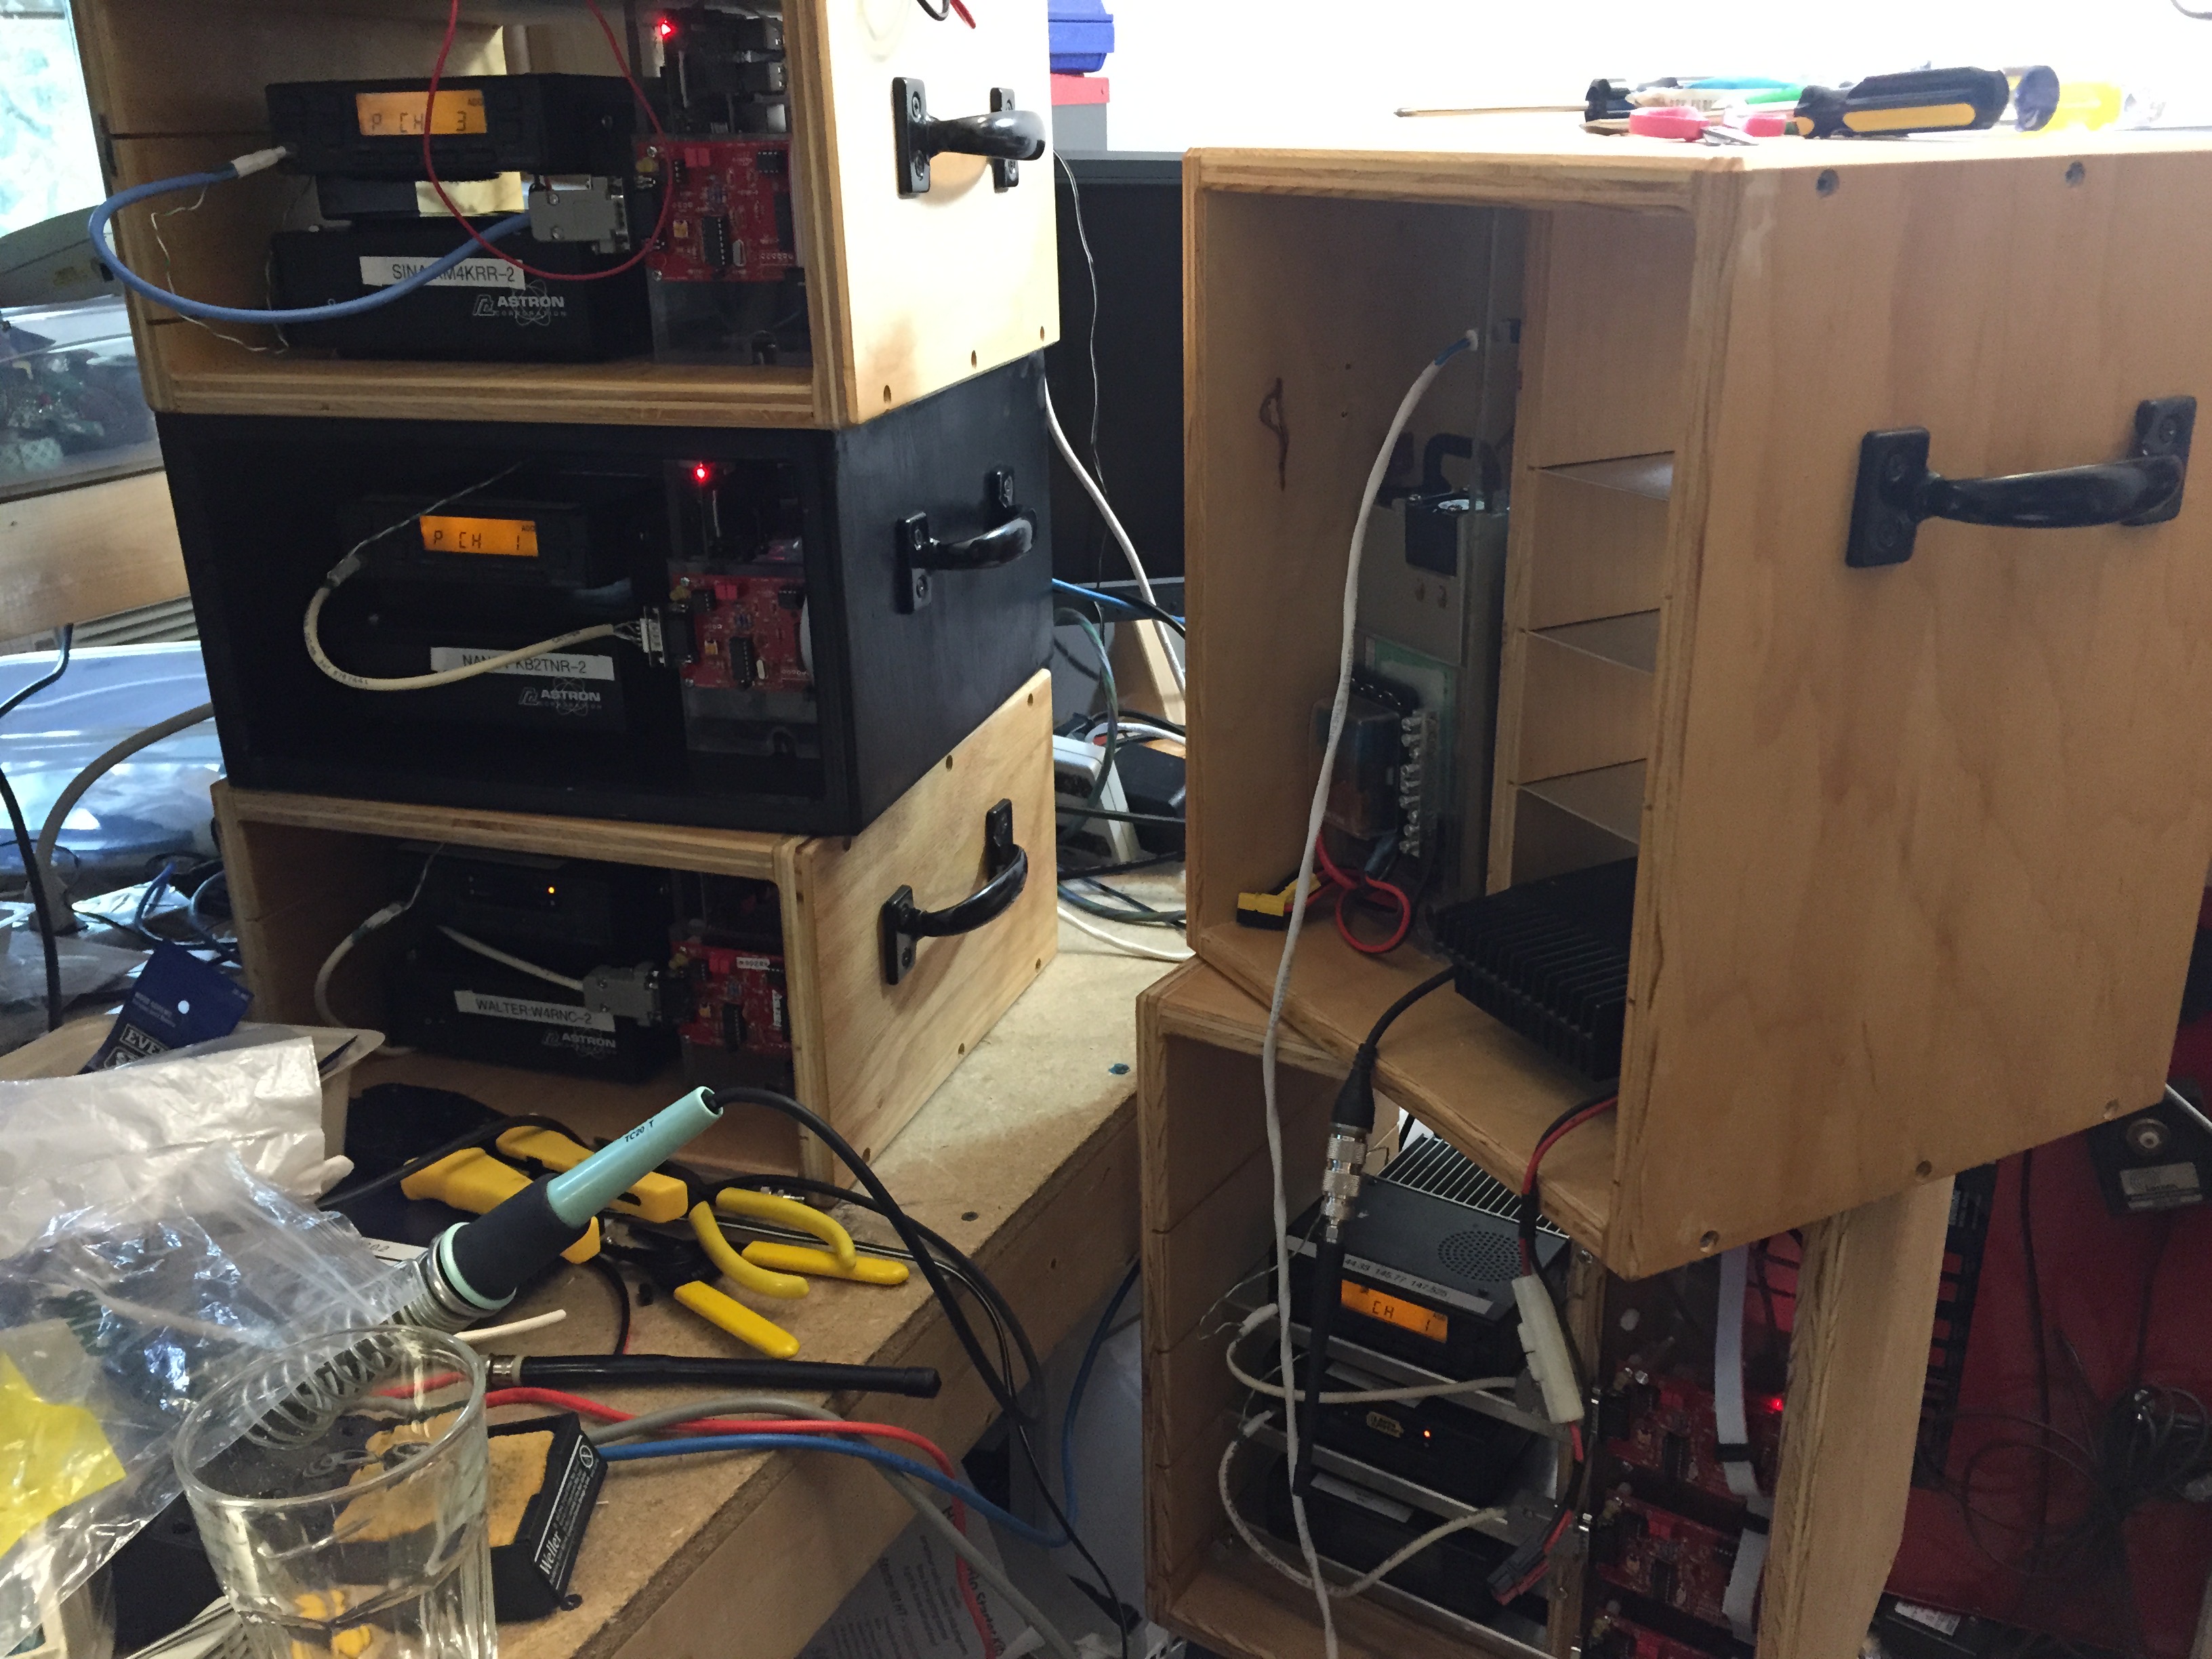
|
Slide-in guts of a Skip-box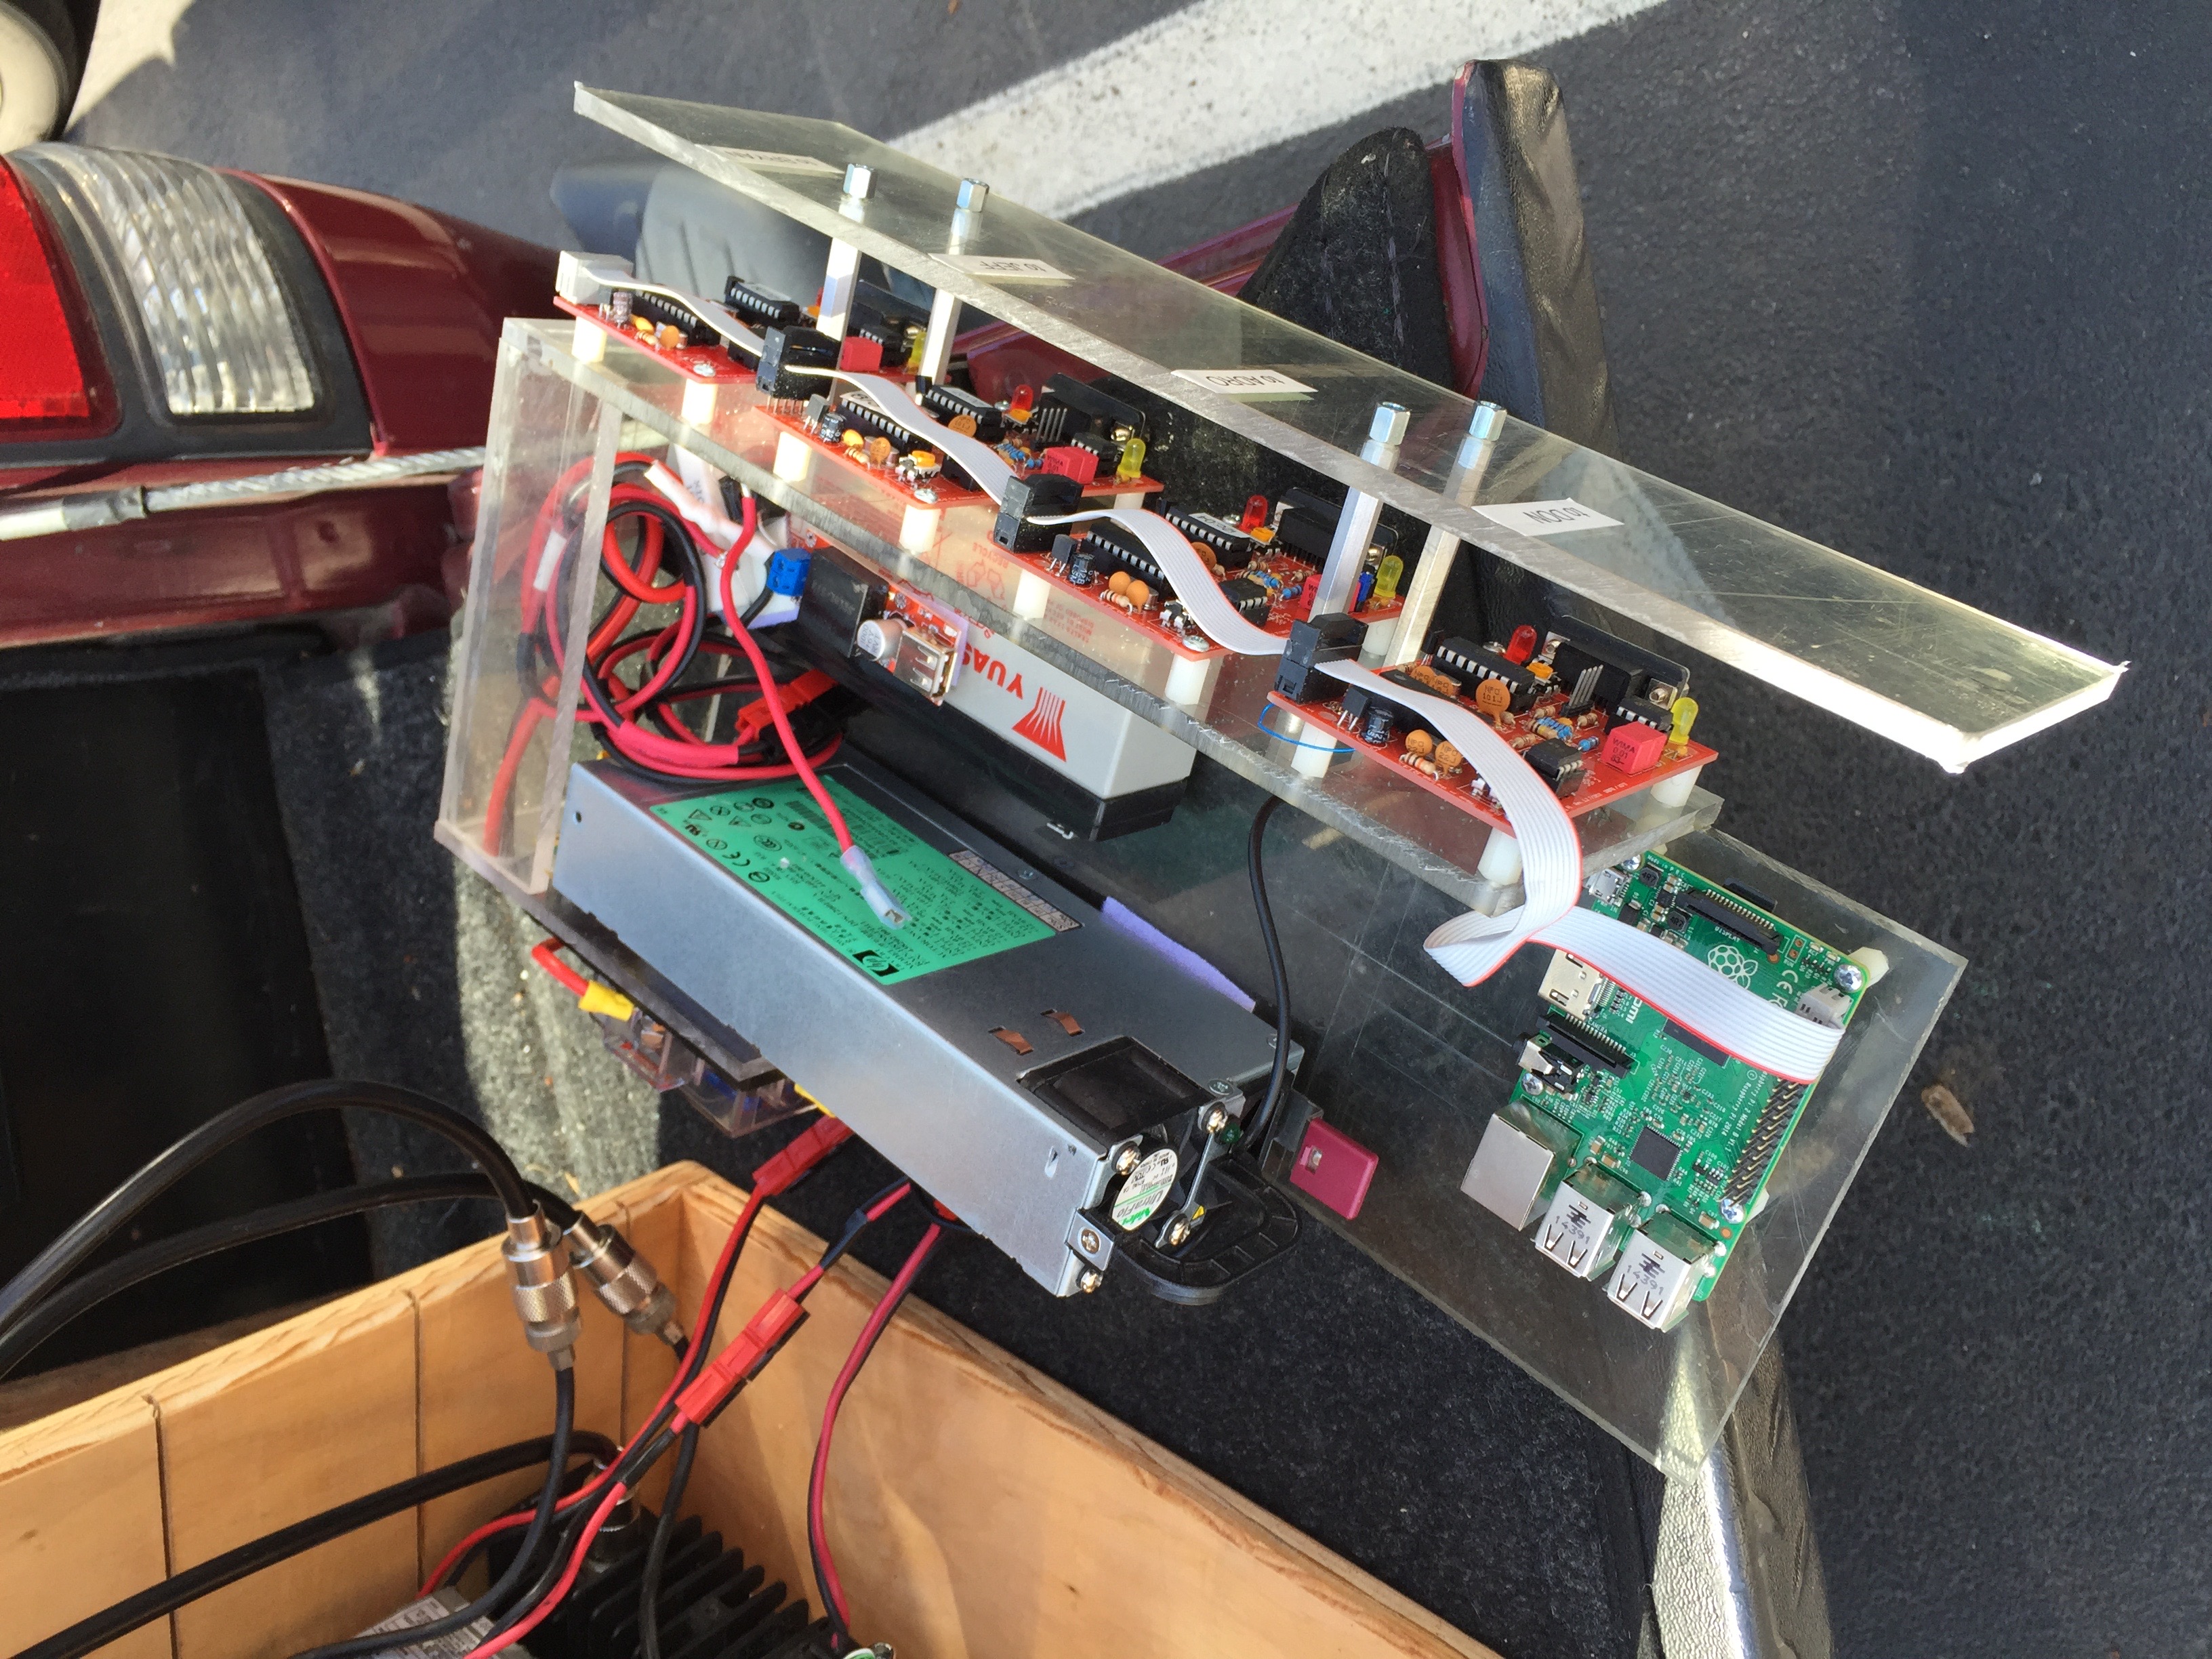
|
Back of a SKIP box
| |
|
NC4FG, Fin's boxes came next.
The one detail that nobody pointed out while Skip was making his first boxes is that cables would constantly need to be plugged and unplugged from the Raspberry PI. Fin moved to correct that in his first design. Below are pictures of several nodes using Fin's "box-1" four port node-boxes. | |||
Drawing of the original concept
|
FIN node. This one was in CQ Magazine March 2017 page 70 
|
ANOIA node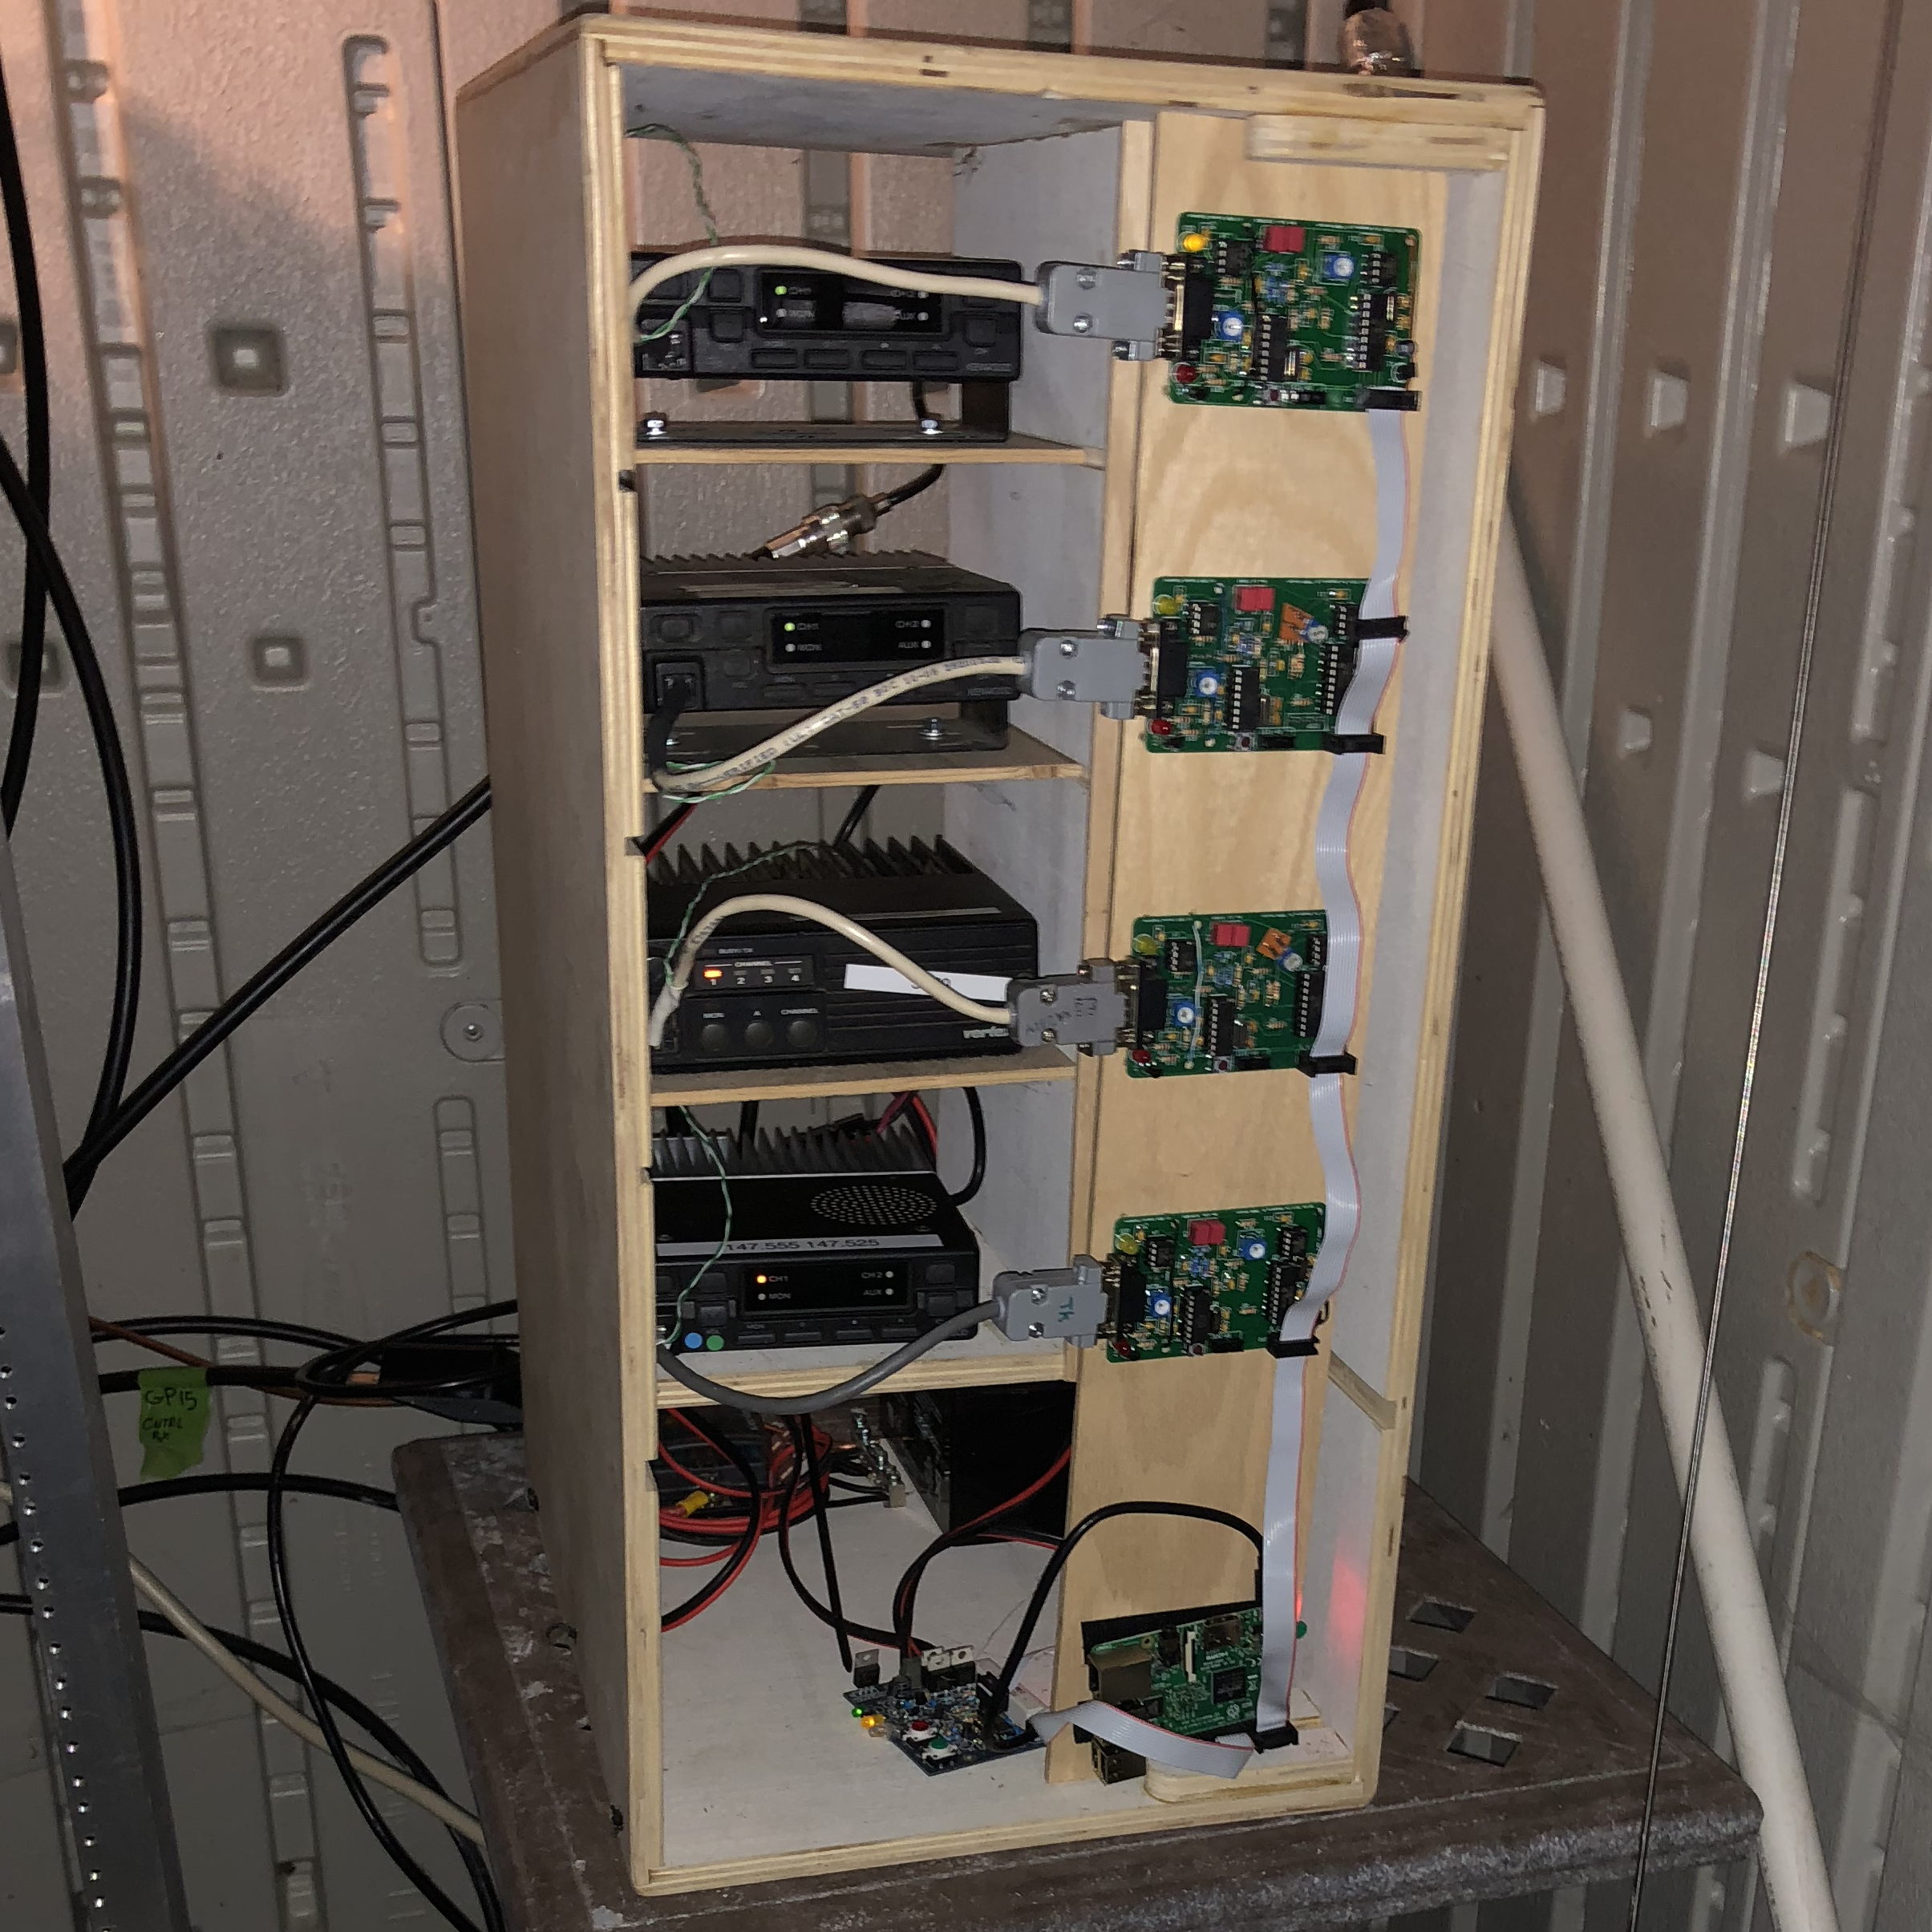
|
TILL node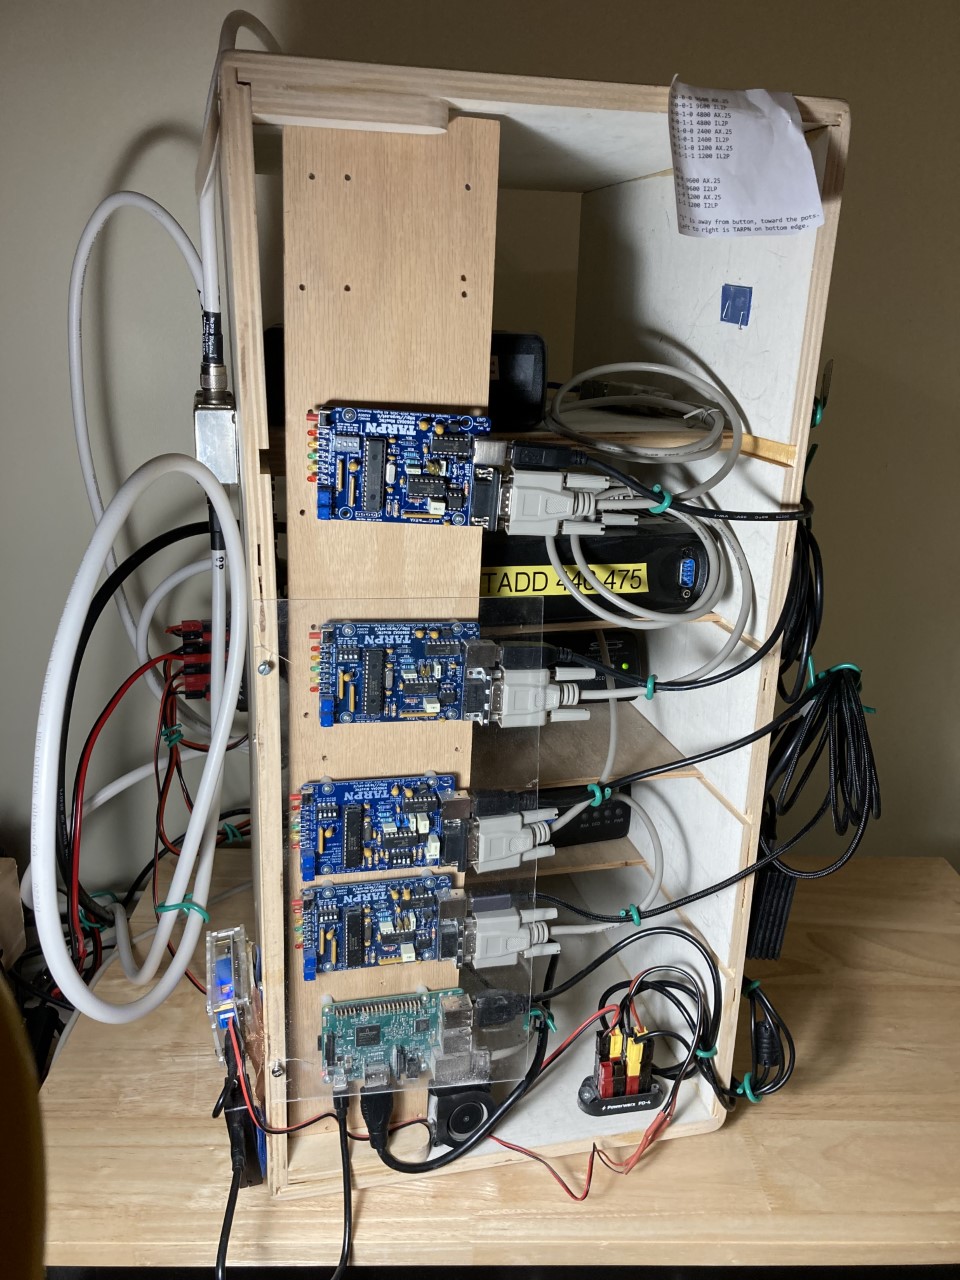
|
2018-2020 | |||
|
Most new participants in the project want to get the system working rapidly and the hardest part of that was having the radio/TNC levels adjusted well.
The TNC-PI receive levels were more finicky if the signals were weaker.
Optimum range was only granted with better matching of the receive and volume with the ideal voltage ranges on the modem chip.
We wanted the ability to deliver a well adjusted pair of radio and TNC to a new operator and we didn't want the radio and TNC parts to have to be separated in transit.
We also wanted everybody to have the tools to do their own adjusting for their later network adventures.
At least for the newcomers, being able to add a pre-aligned radio/TNC-PI set to an existing node was a desired feature.
We added an oscilloscope to some of the nodes and with the growth of the network, it was really obvious that we'd grown out of Fin's box-1 and Skip's robust portable node.
The new housing would have radio/TNC sets that were separable, but left the matched pair of TNC-PI and radio together in their own box so we could lend/borrow/exchange fully adjusted sets.
We needed the Raspberry PI, power supply setup to include a monitor speaker and an oscilloscope so operators could have best-case access to tuning tools.
Fin worked for a couple of months on a new box to optimally support the TNC-PI.
Fin called this the Stackable Modbox. Perhaps 100 of the boxes were made and deployed to 20 nodes and we had 3 different carpenters geared up to mass produce these things.
This was a really huge effort by a dozen people to bring this together.
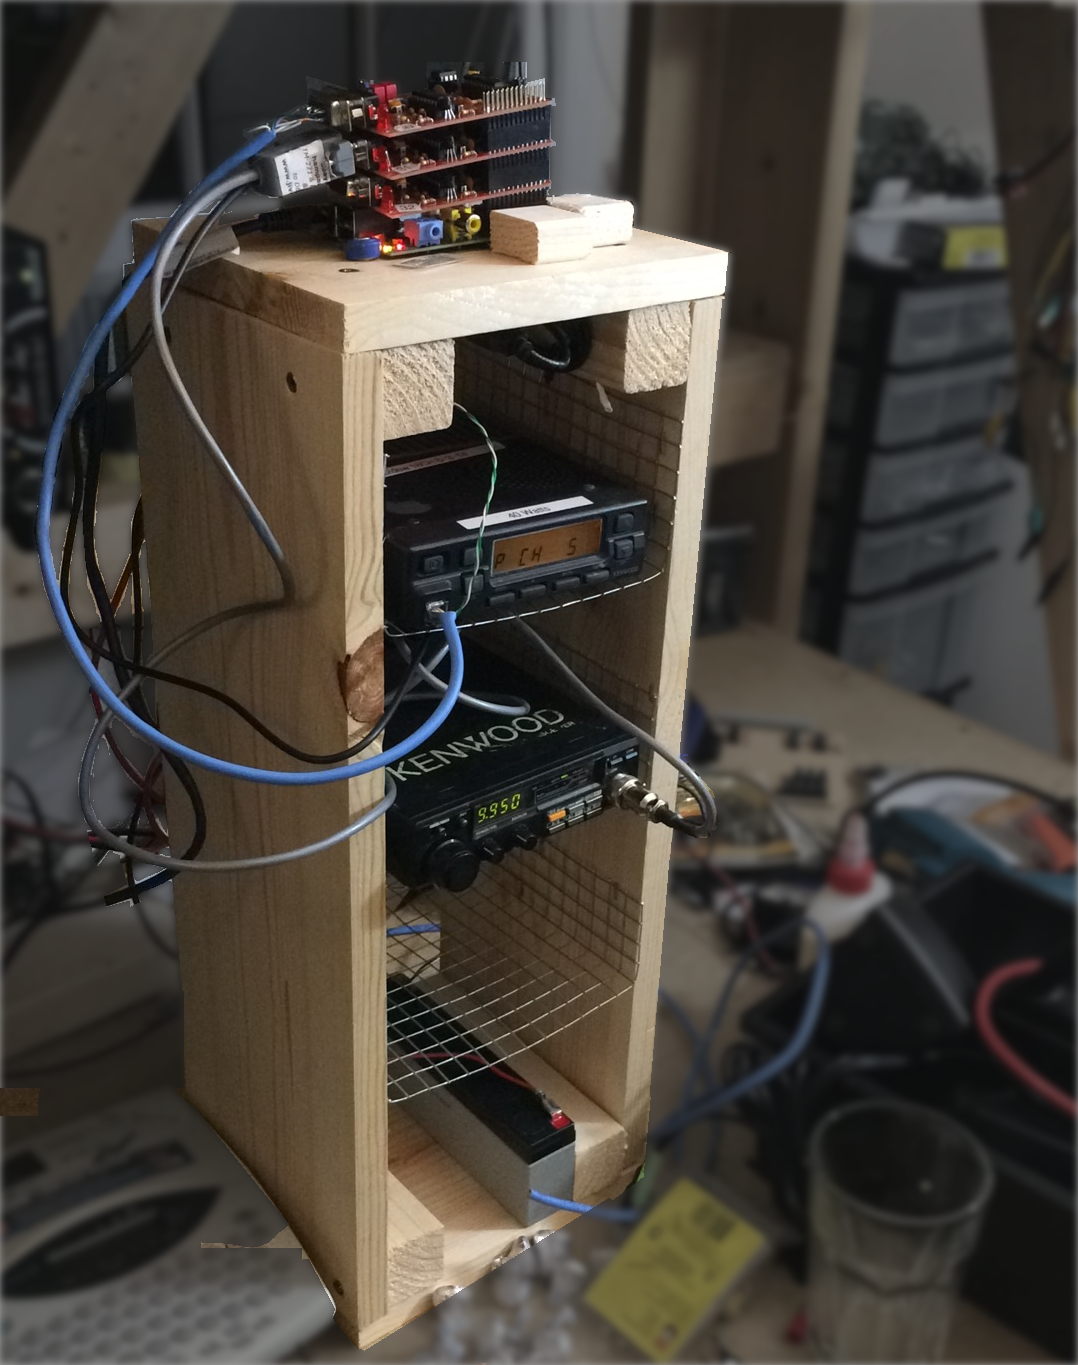
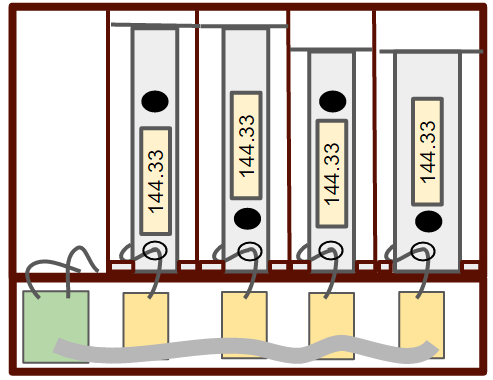
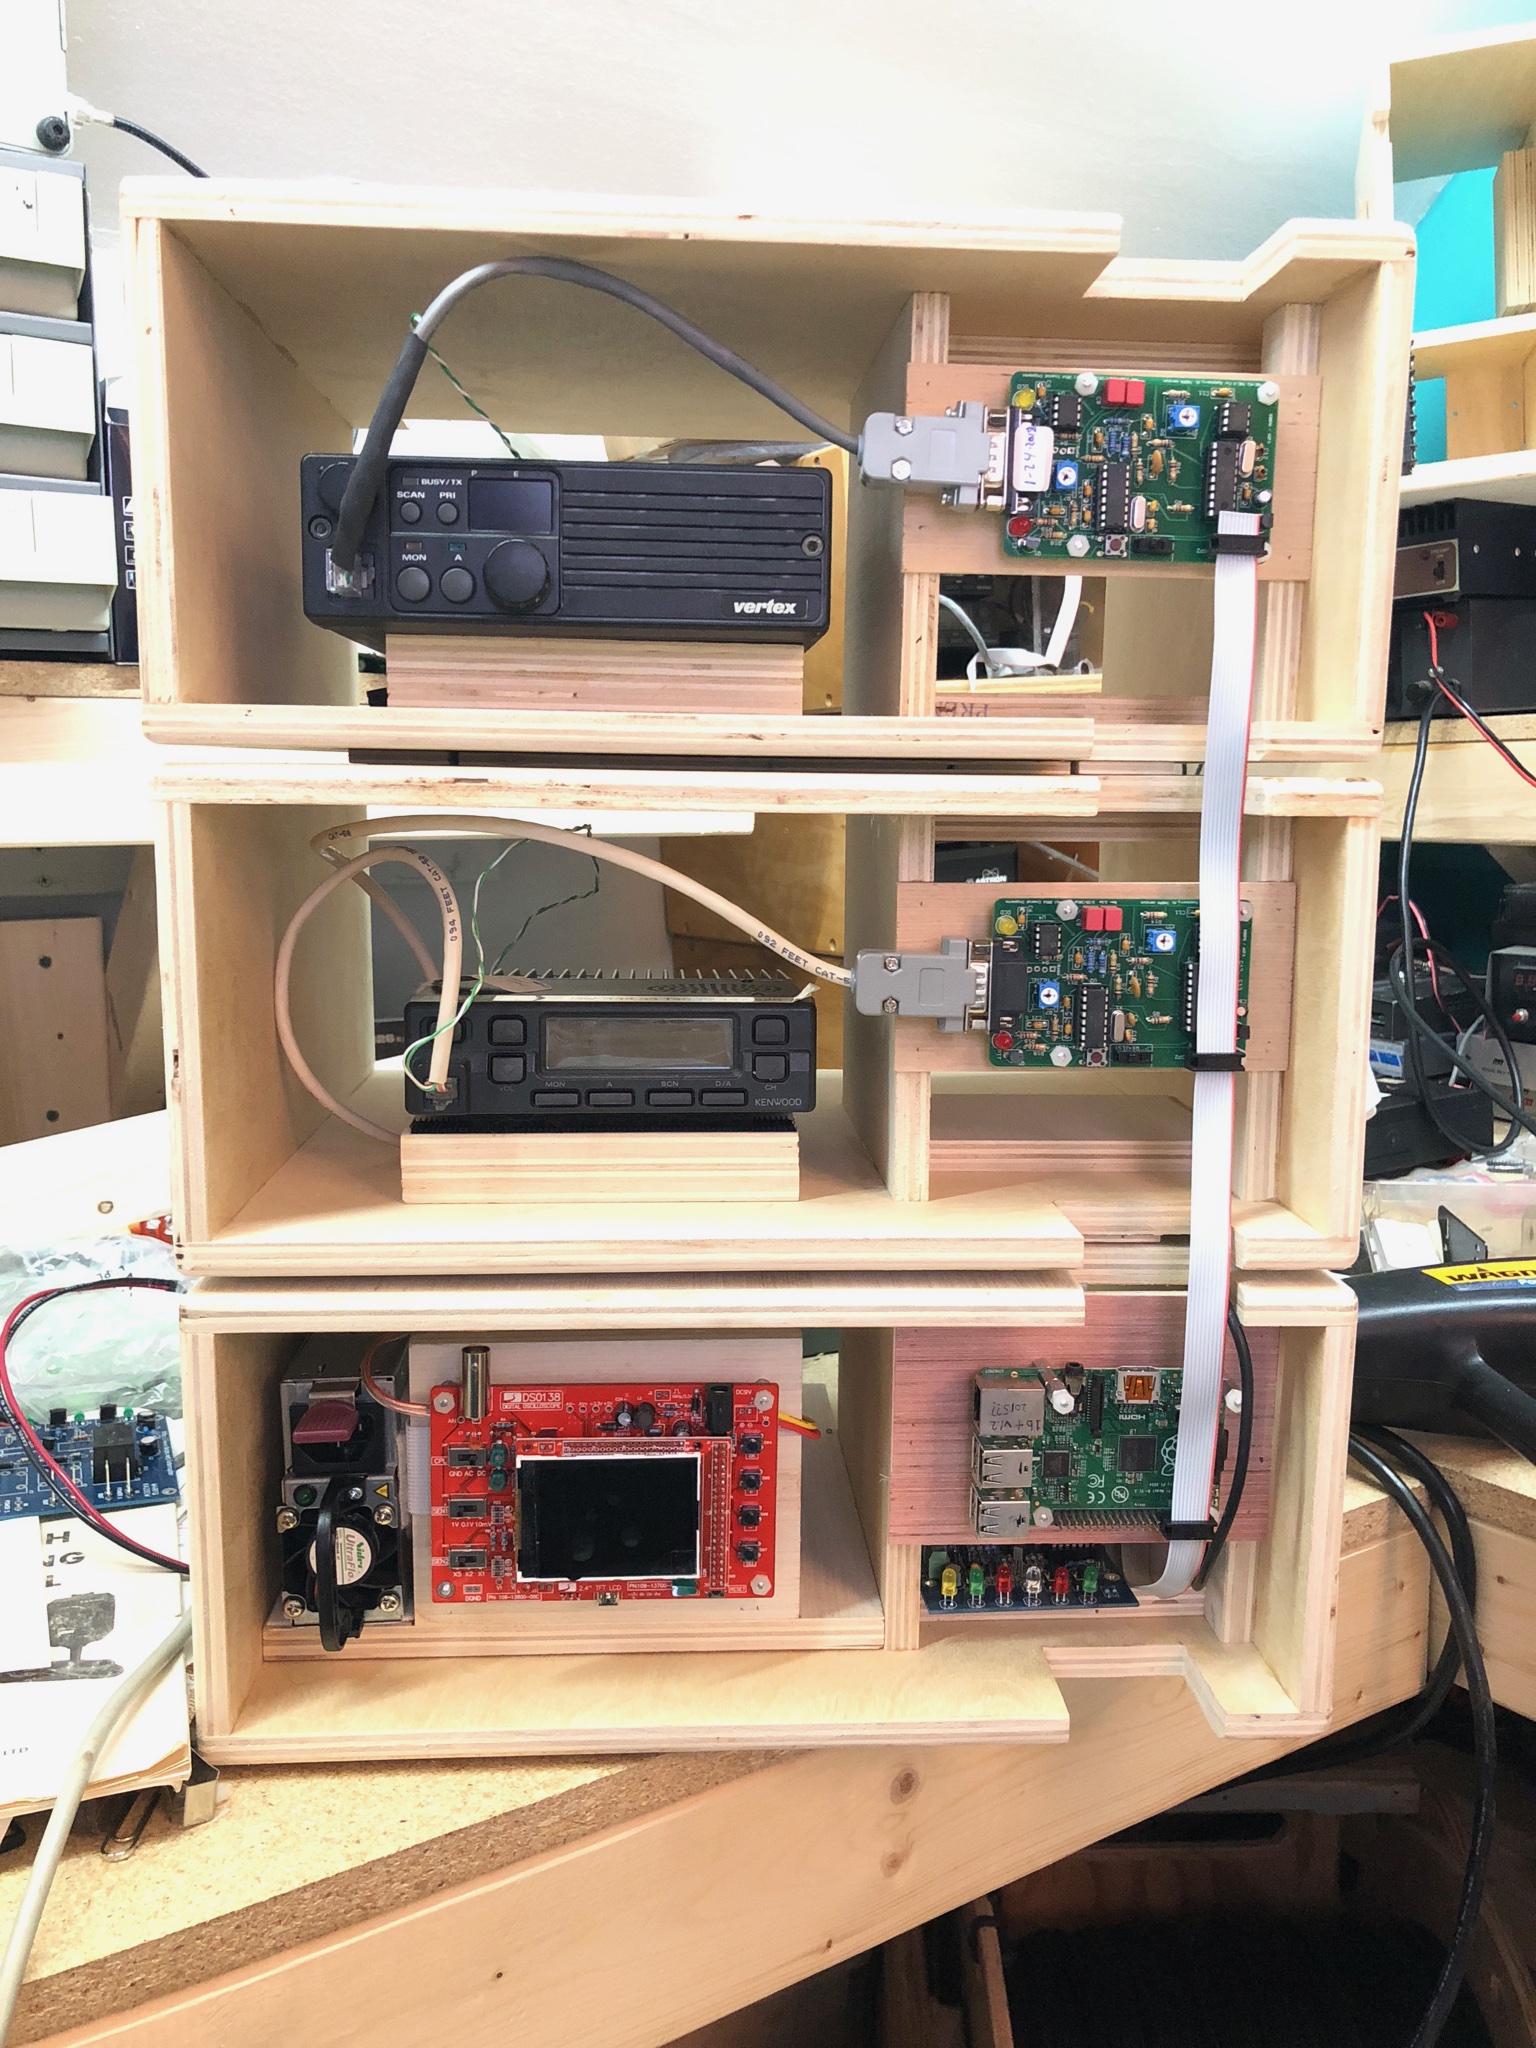
The stackable system was divided into 3 parts: basebox, tall radio box, short radio box. The base box had power supply for radios as well as a robust power supply for the Raspberry PI, a regulator to power the oscillscope, audio amp for monitoring the radio channels. There were 3 different versions of the boxes, square-hole (1st), round hole (KM4JRH improvement), and butterfly bracket which was CNC machine cut (by N2IRZ) | |||
|
| ||
|
AARONL KN4ORB node 4 ports 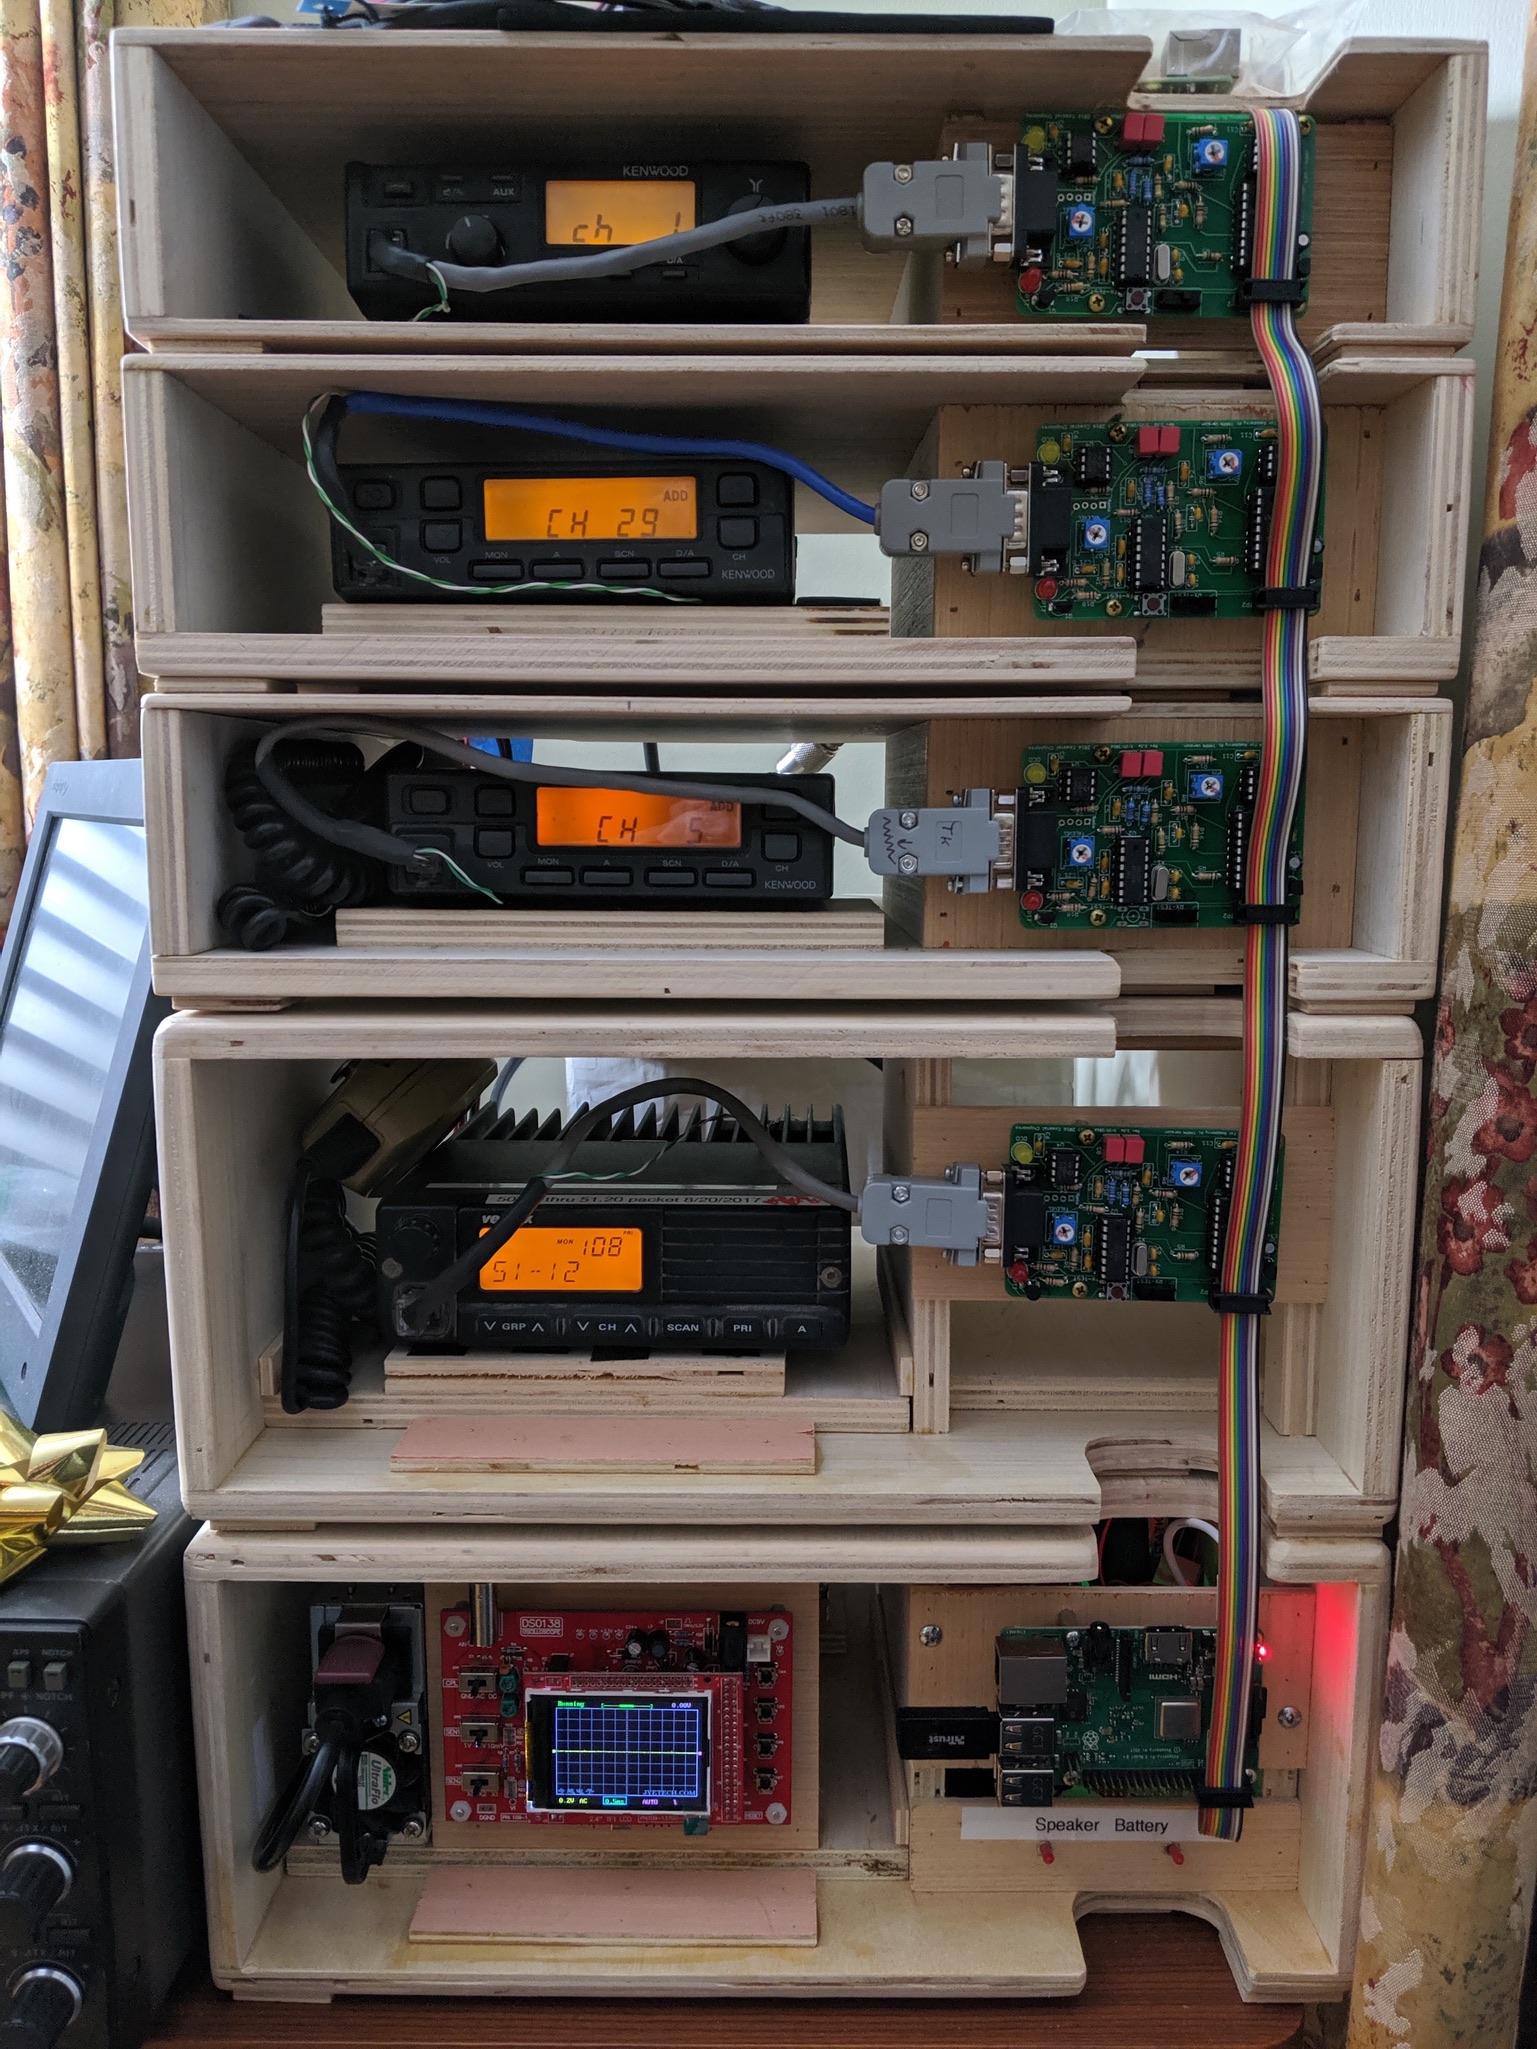
|
KM4JRH's station with node box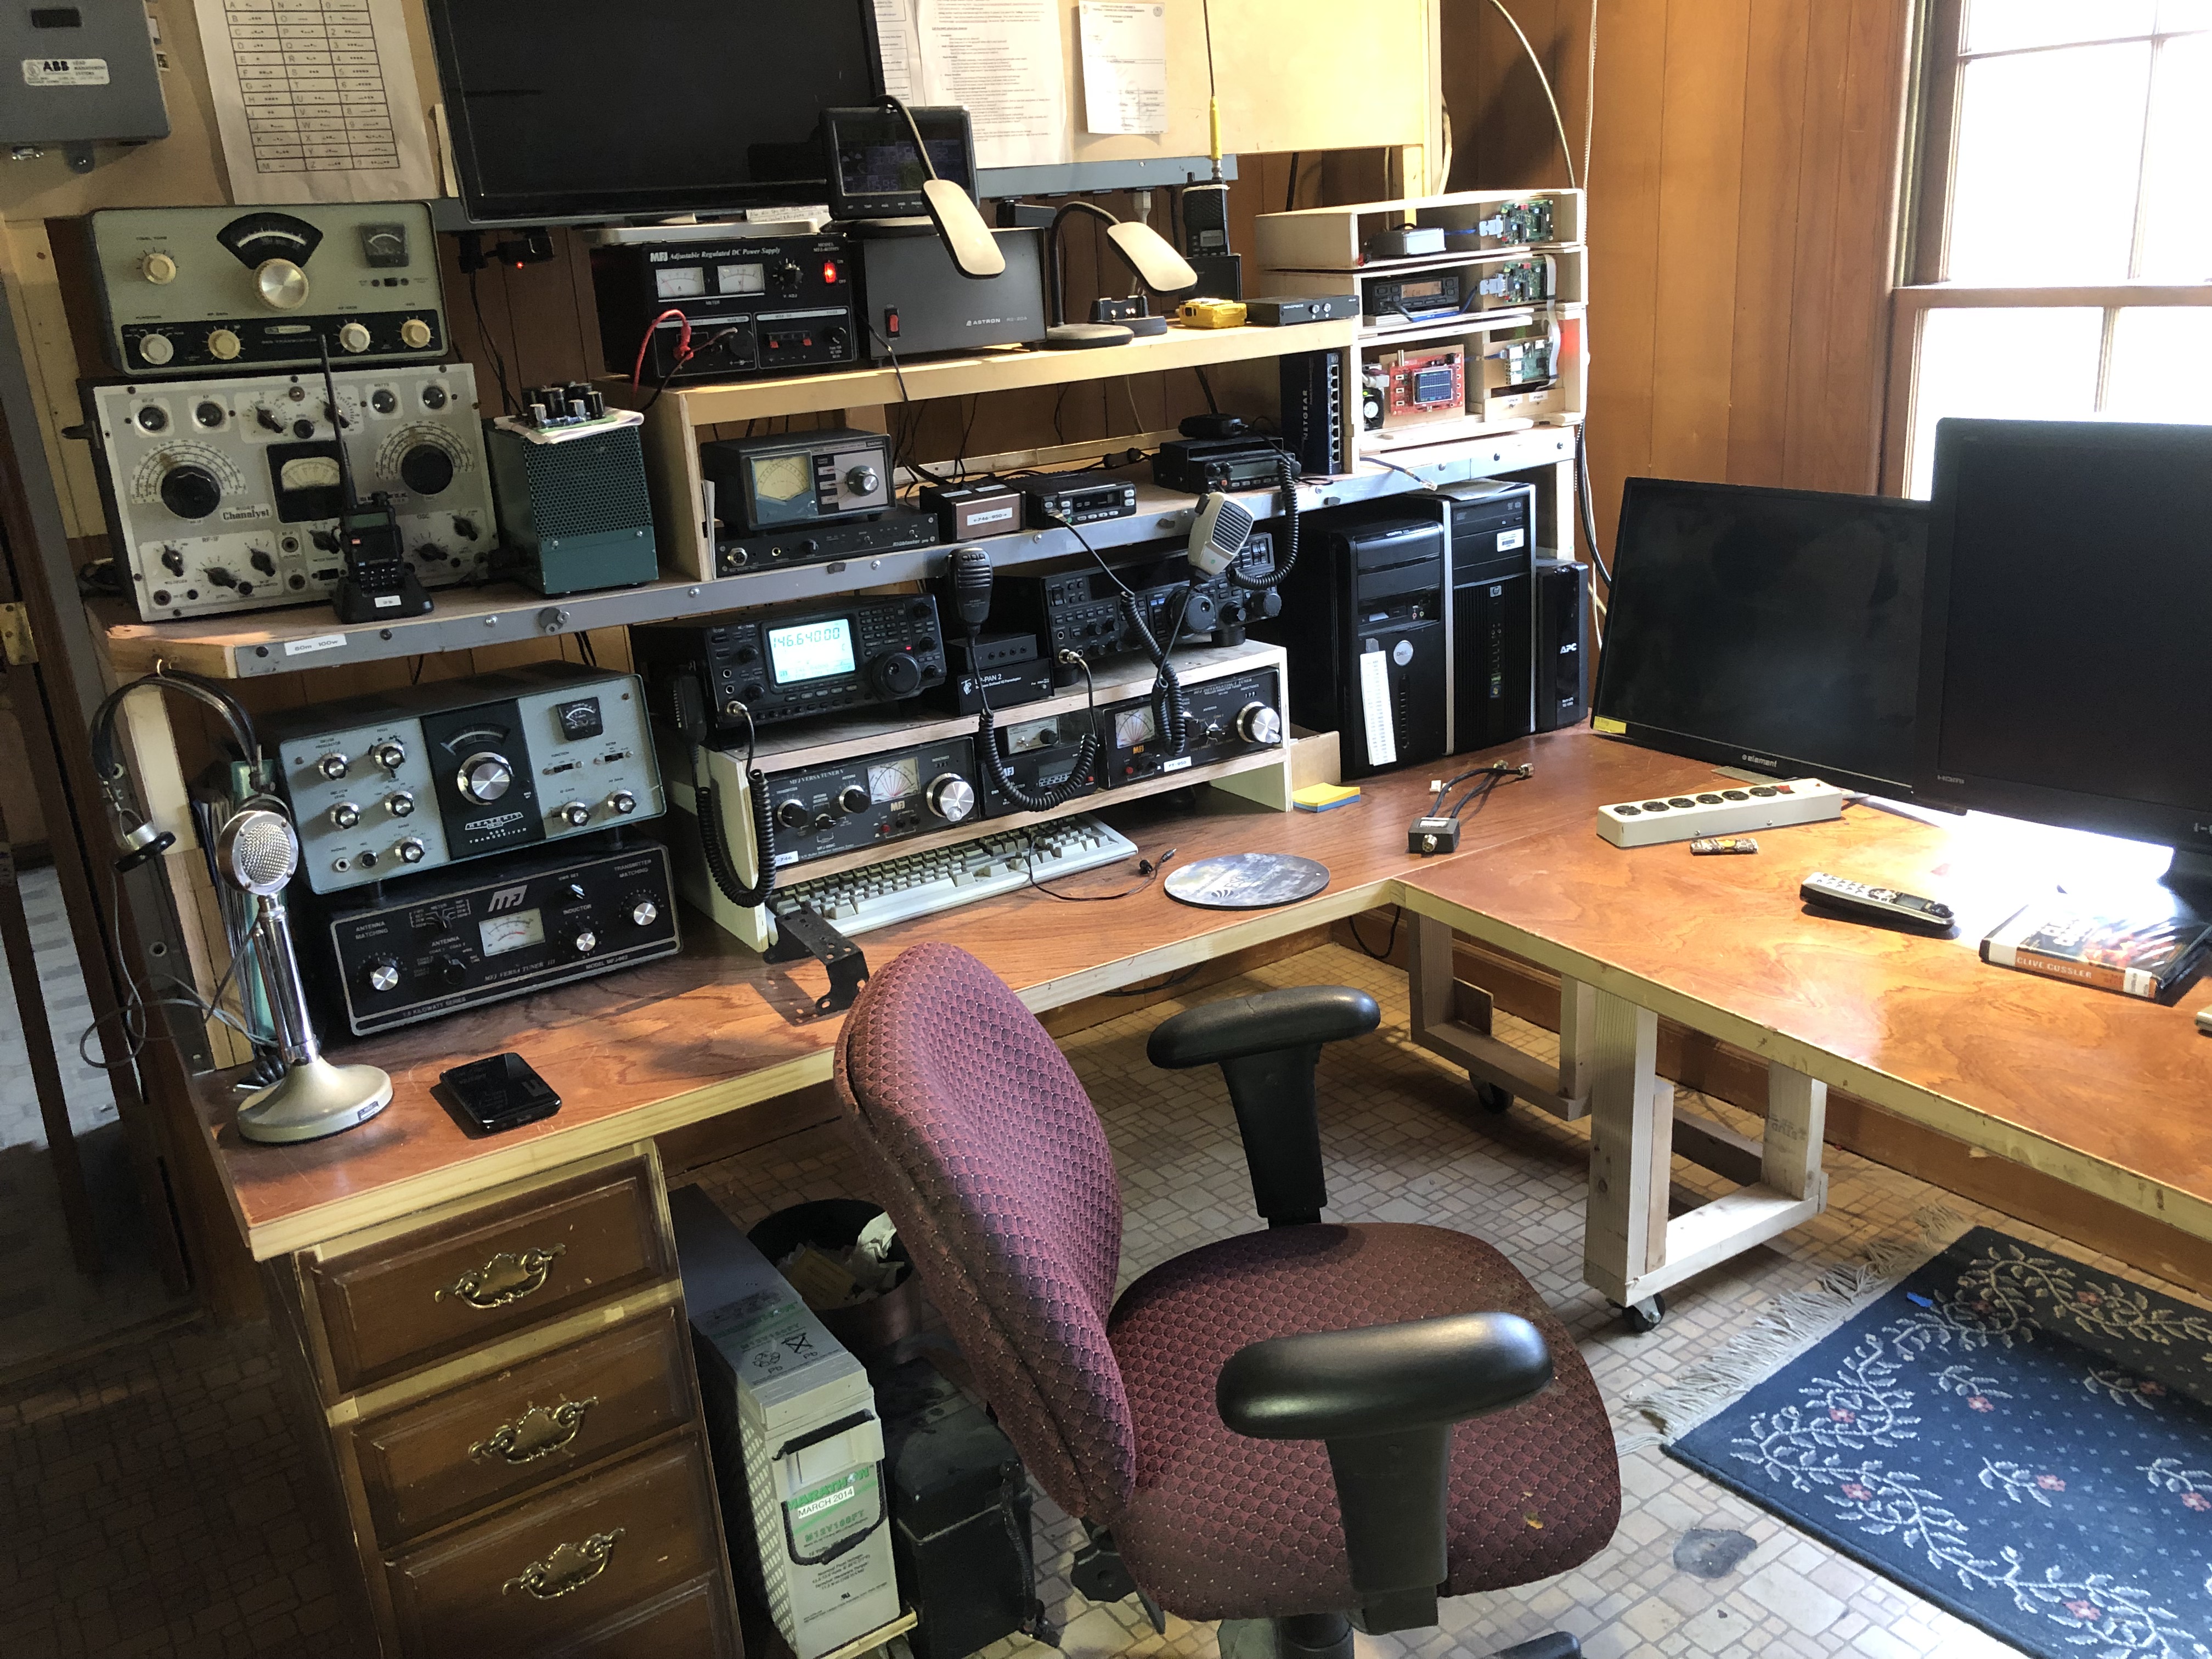
|
Half the base-box guts. This is the view looking forward behind the Raspberry PI. Robust supply, audio amp and speaker lived here.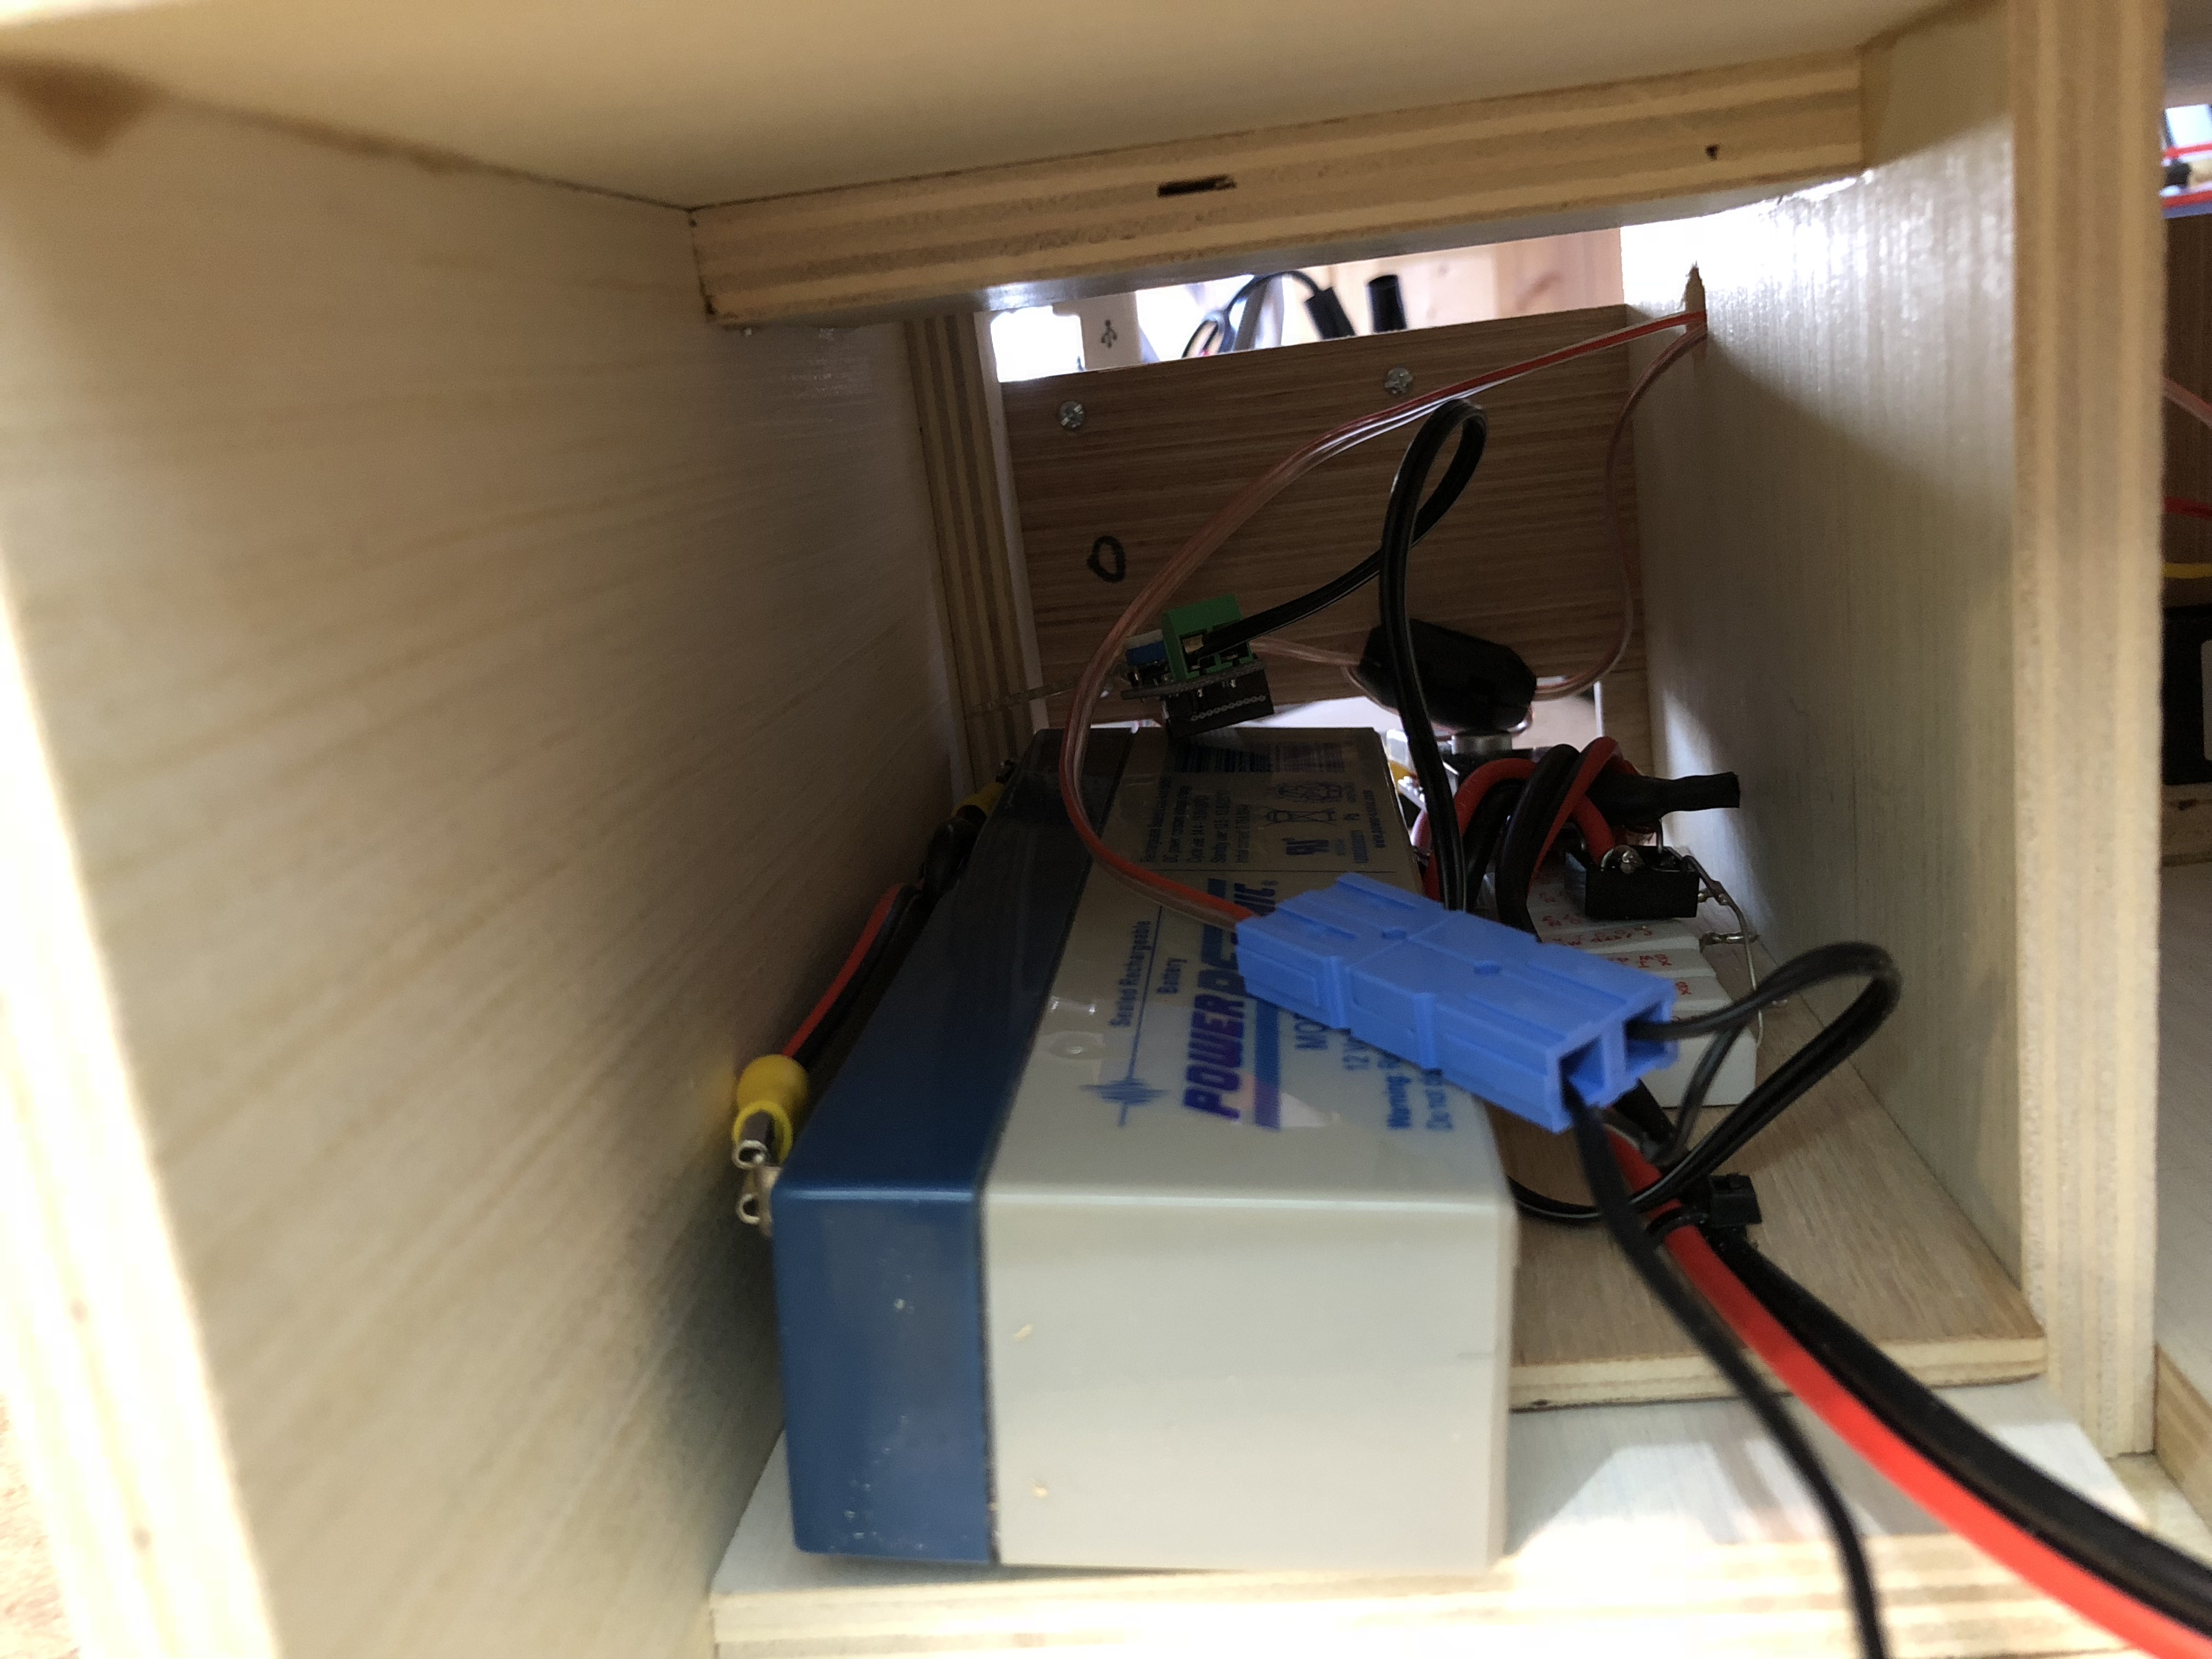
|
Behind-the-Scope guts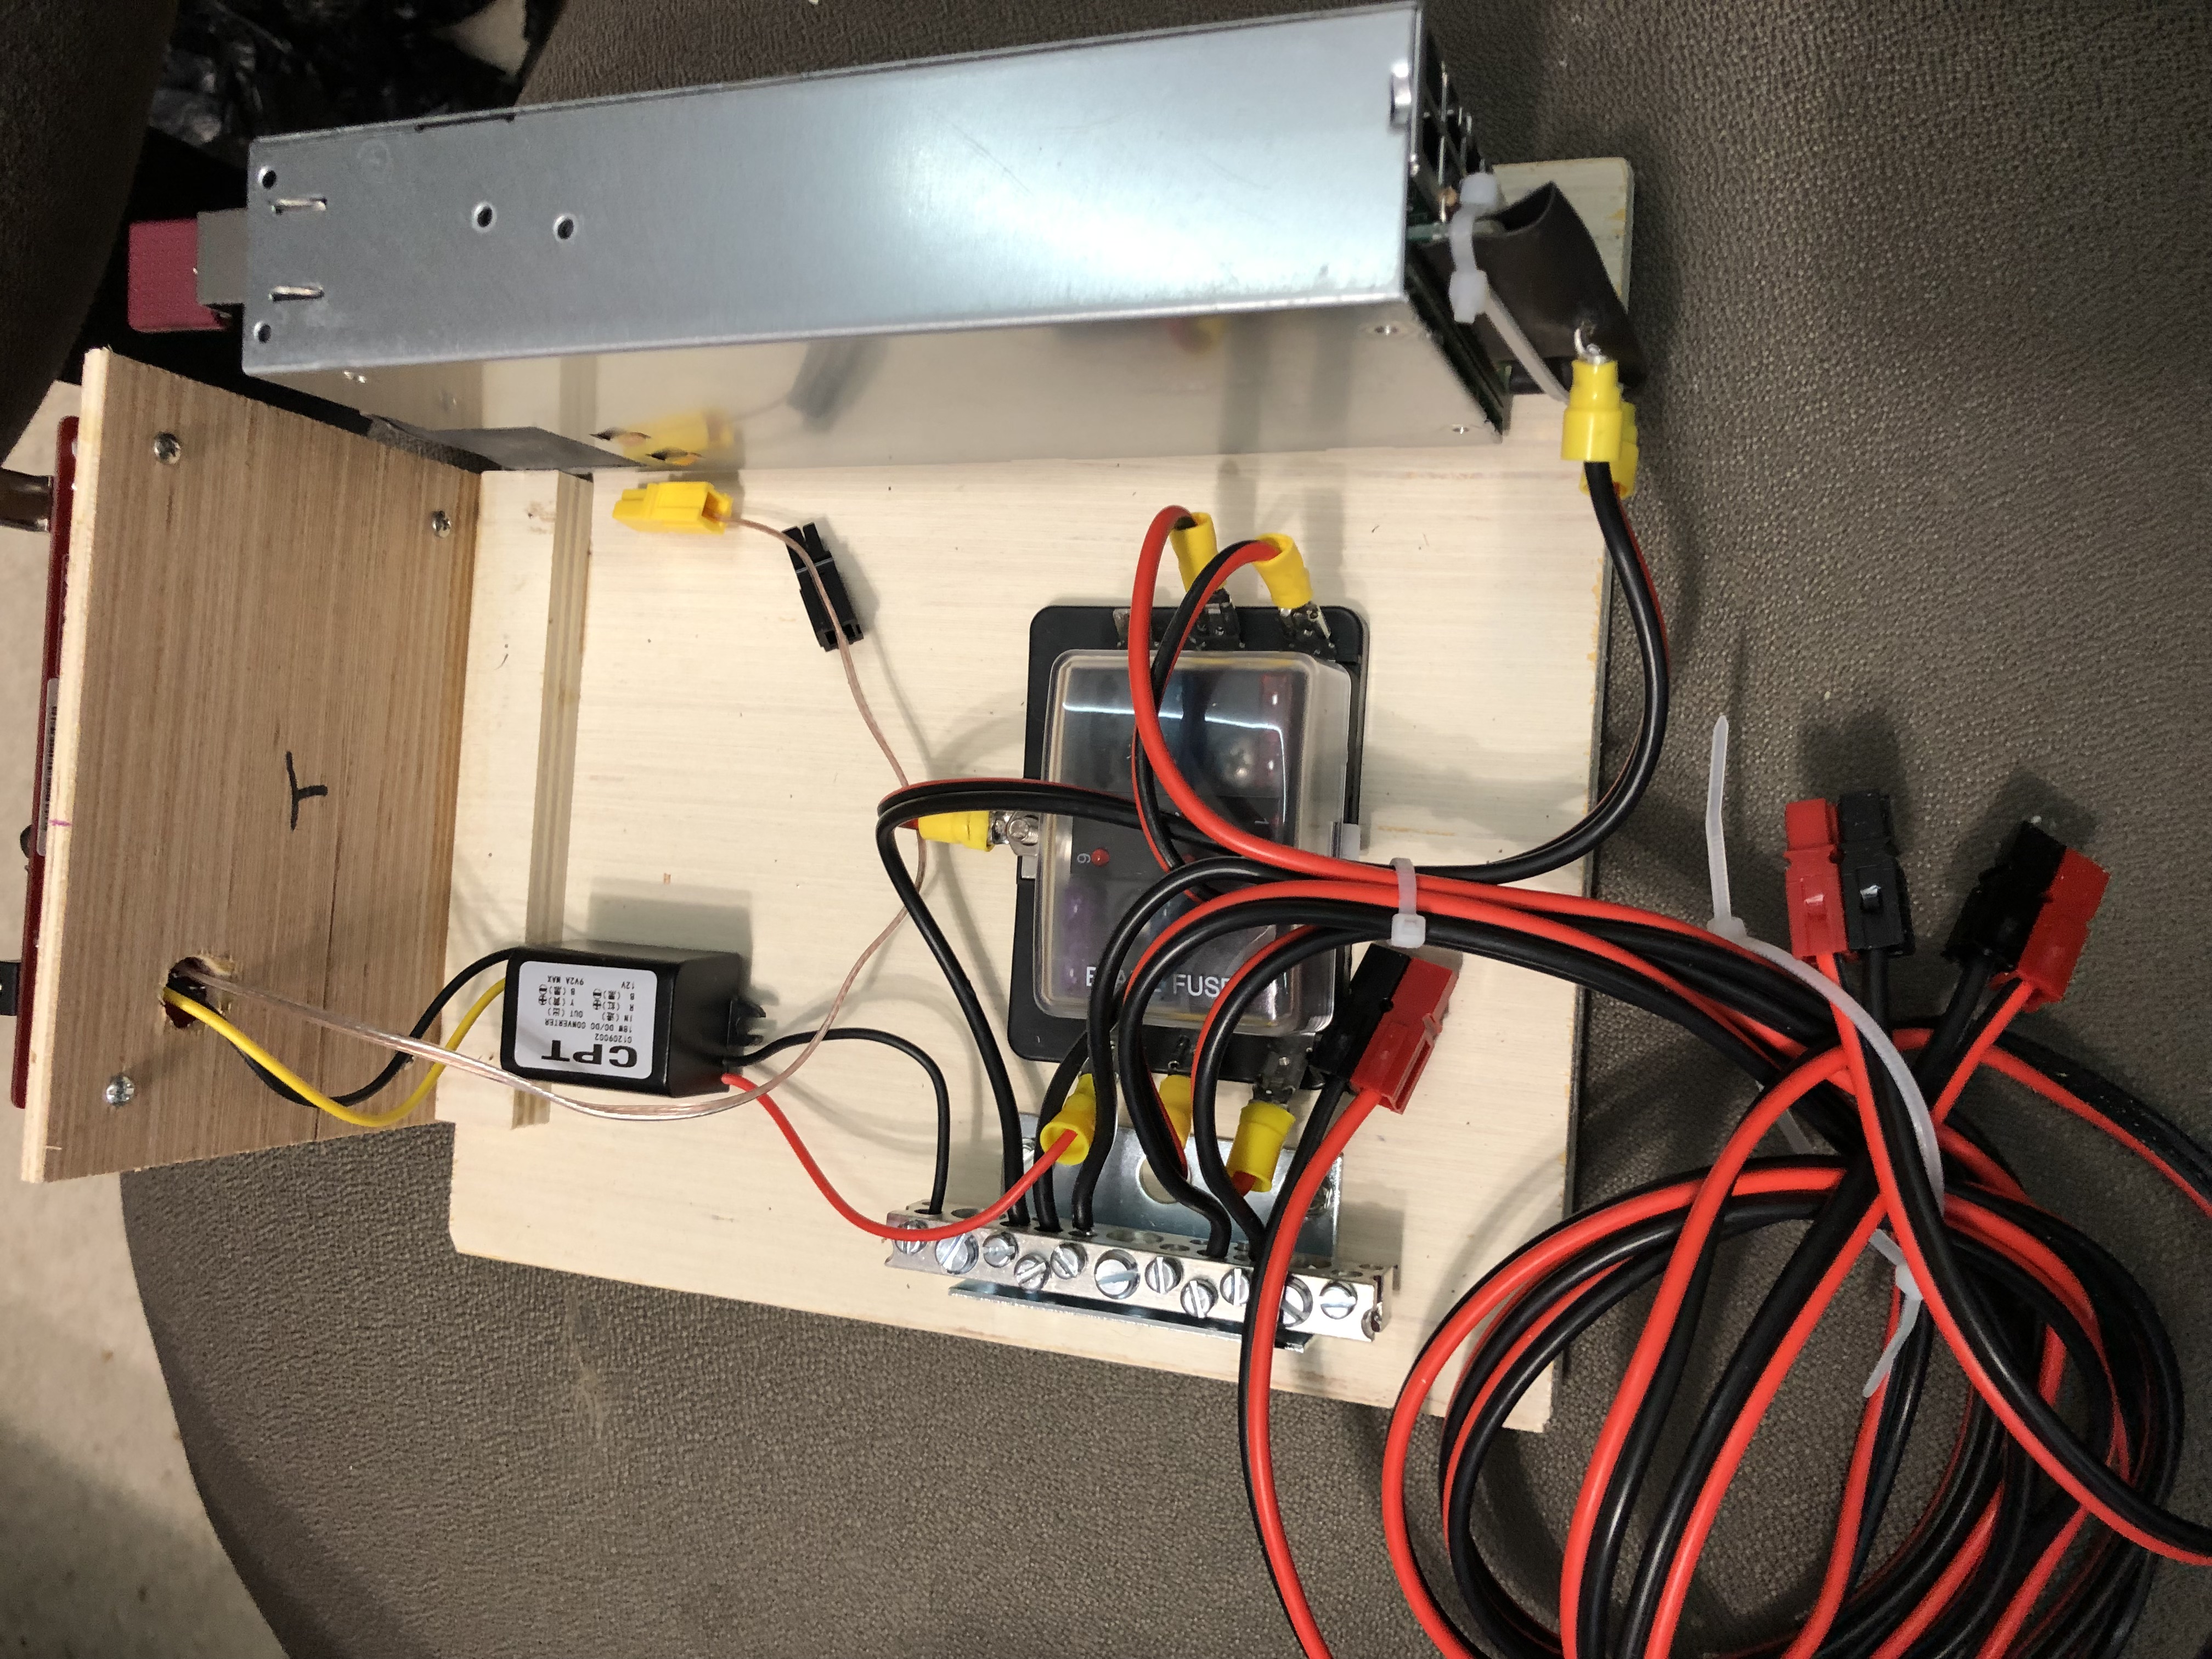
|
2019 N2IRZ made his CNC machine cut an optimized stackable box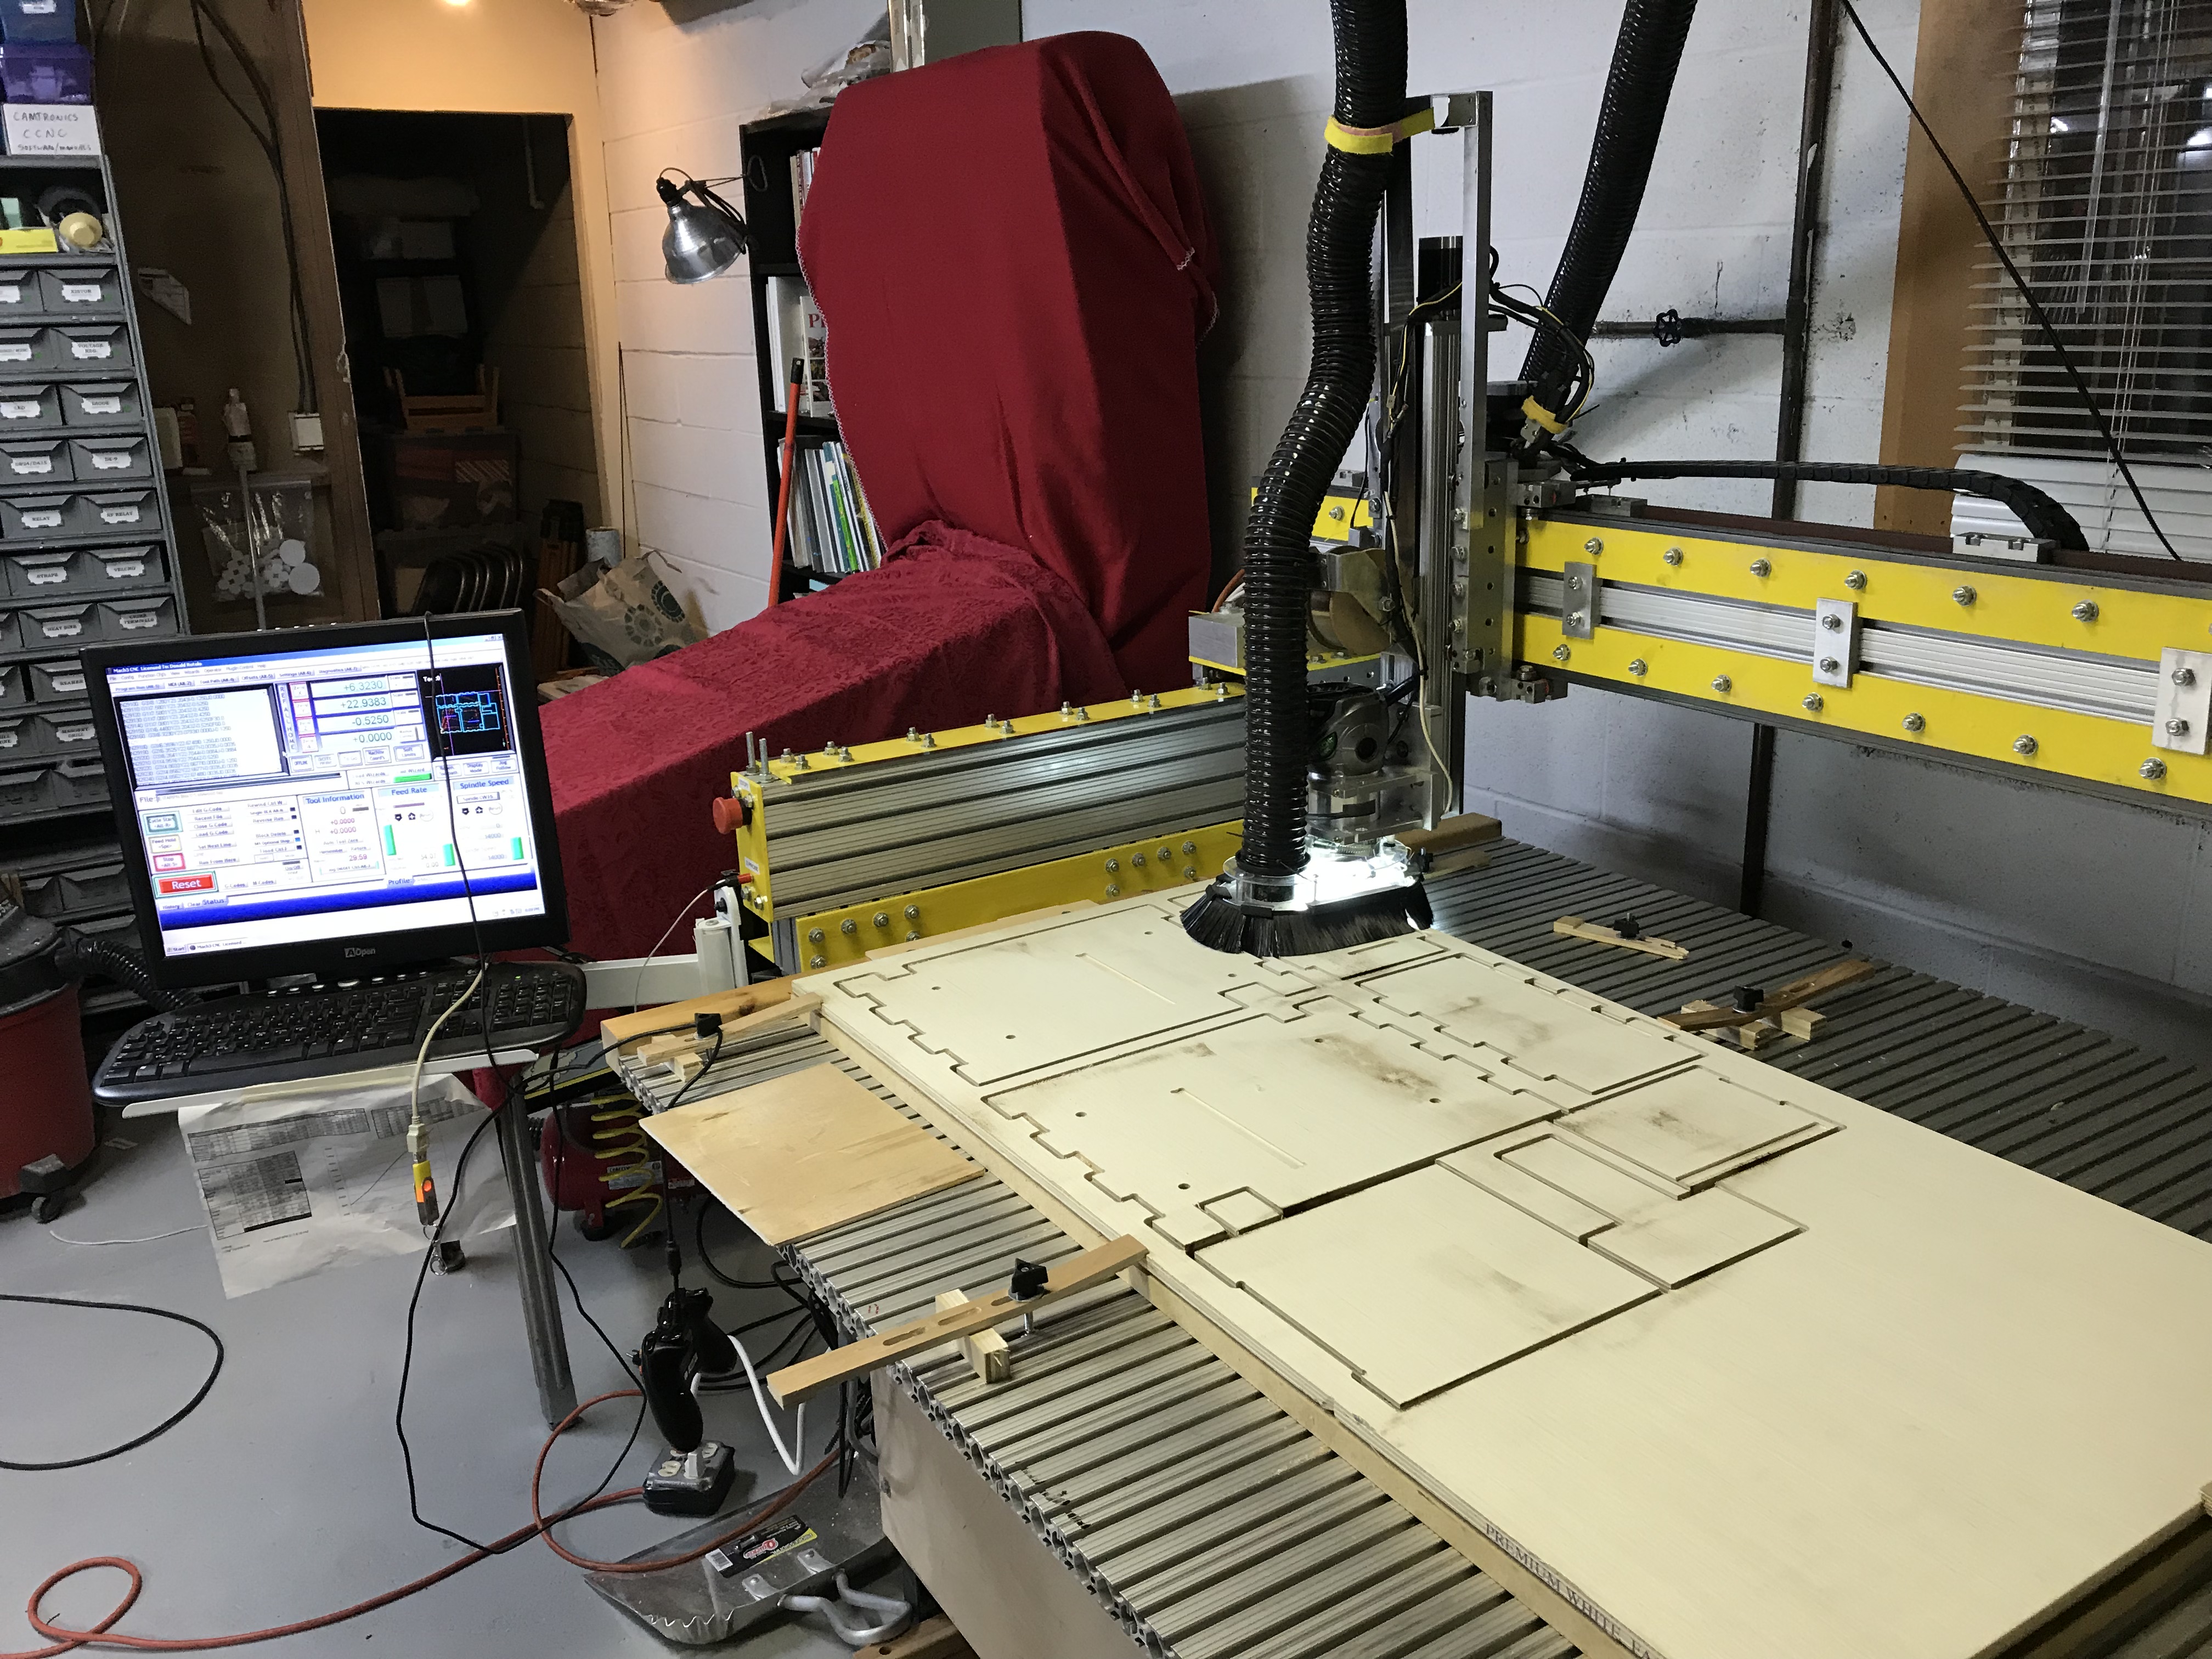
|
one unit, ready to assemble stackable box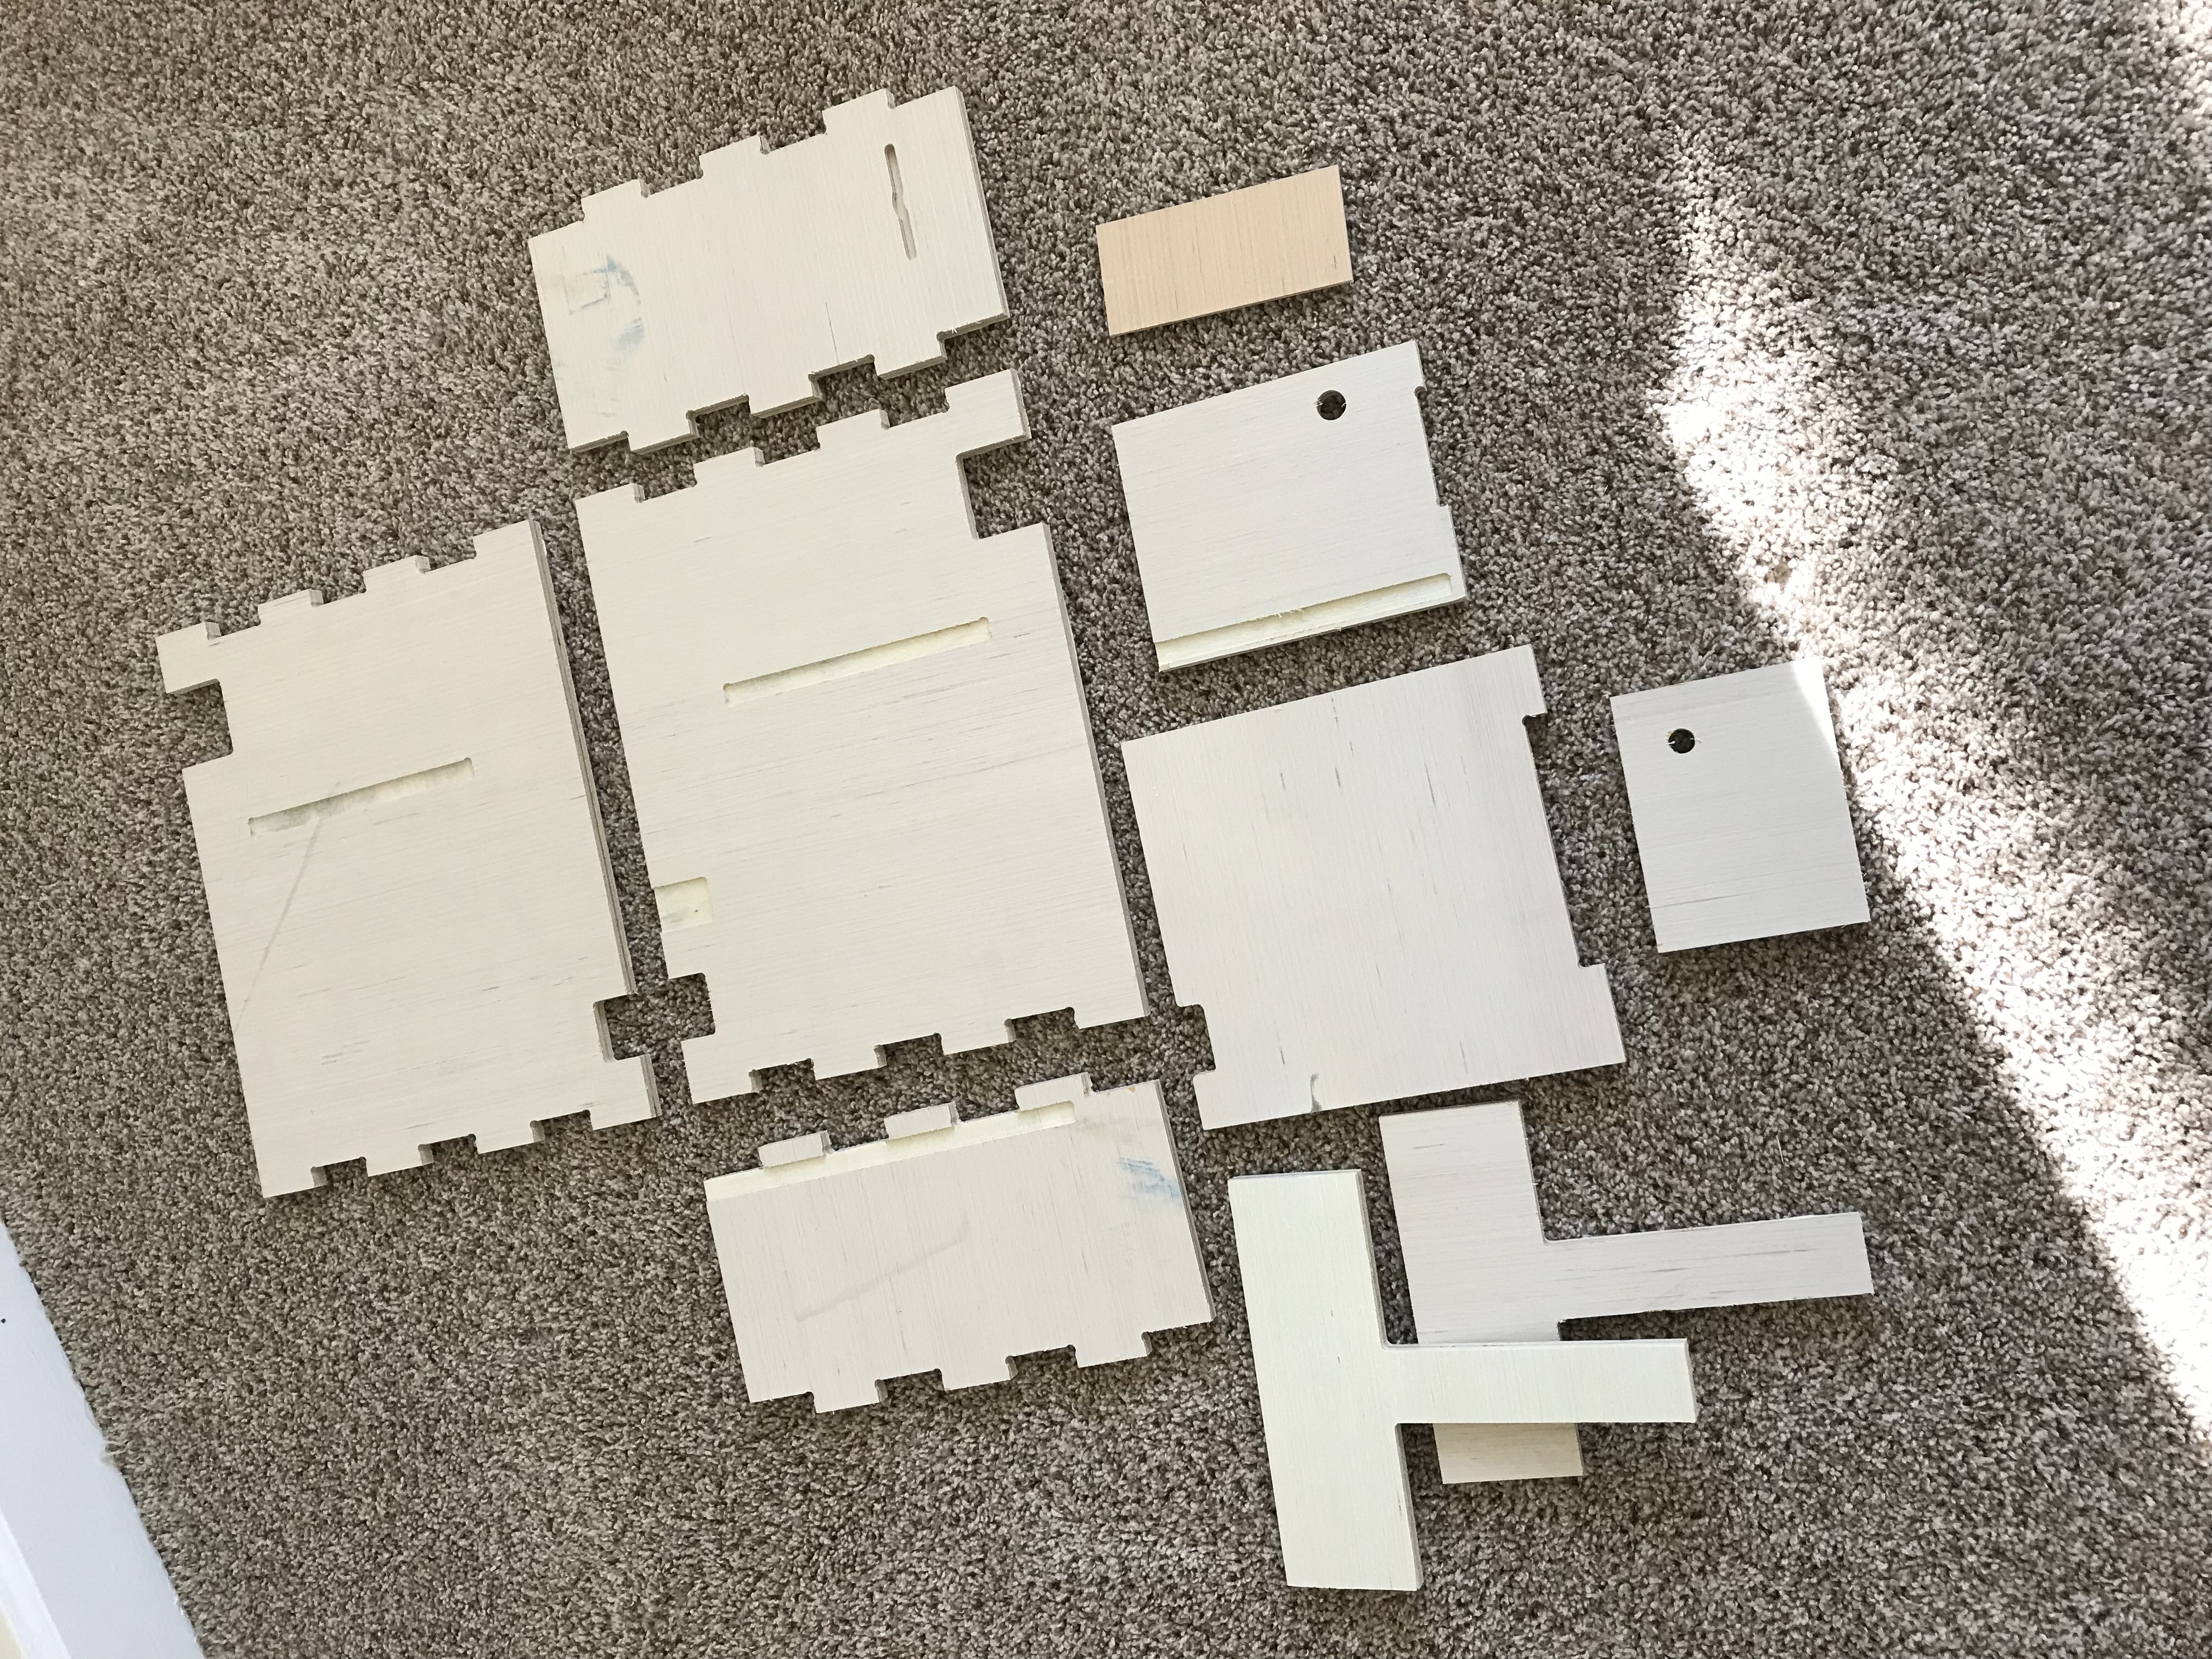
|
one unit, fully assembled stackable box from CNC machine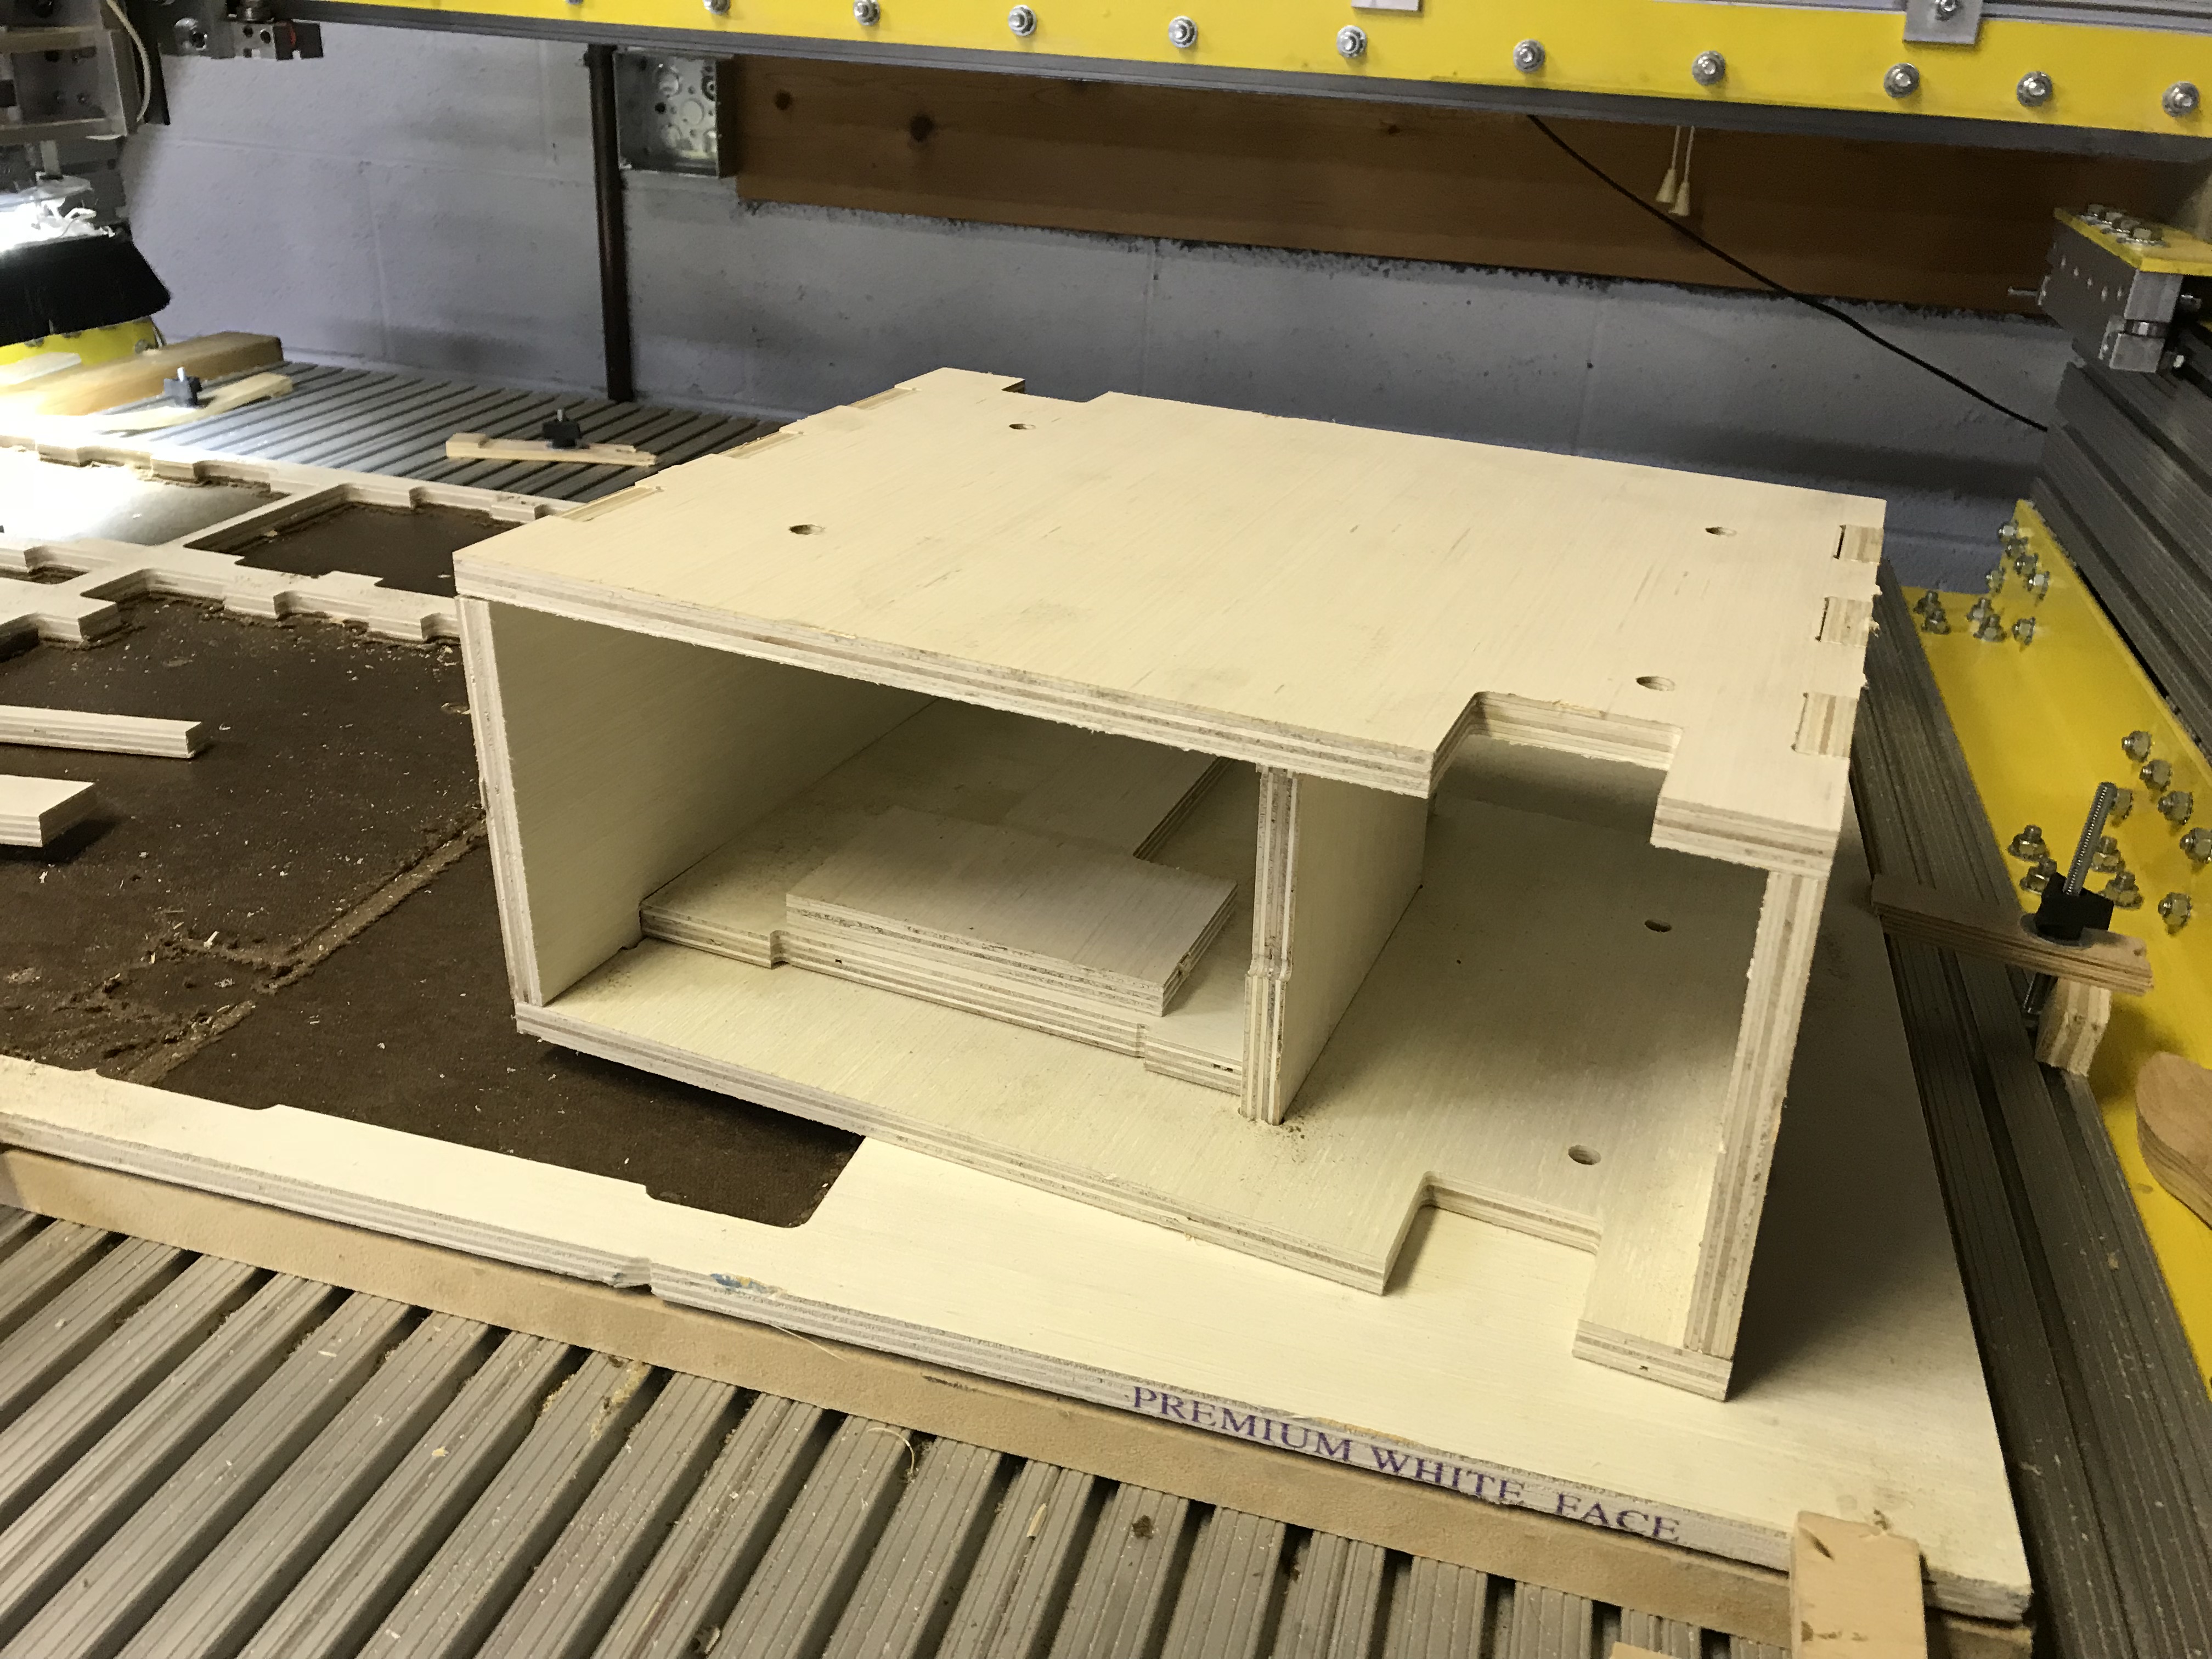
|
2019 KC3IBN's Sandy node built in N2IRZ's CNC cut stackable box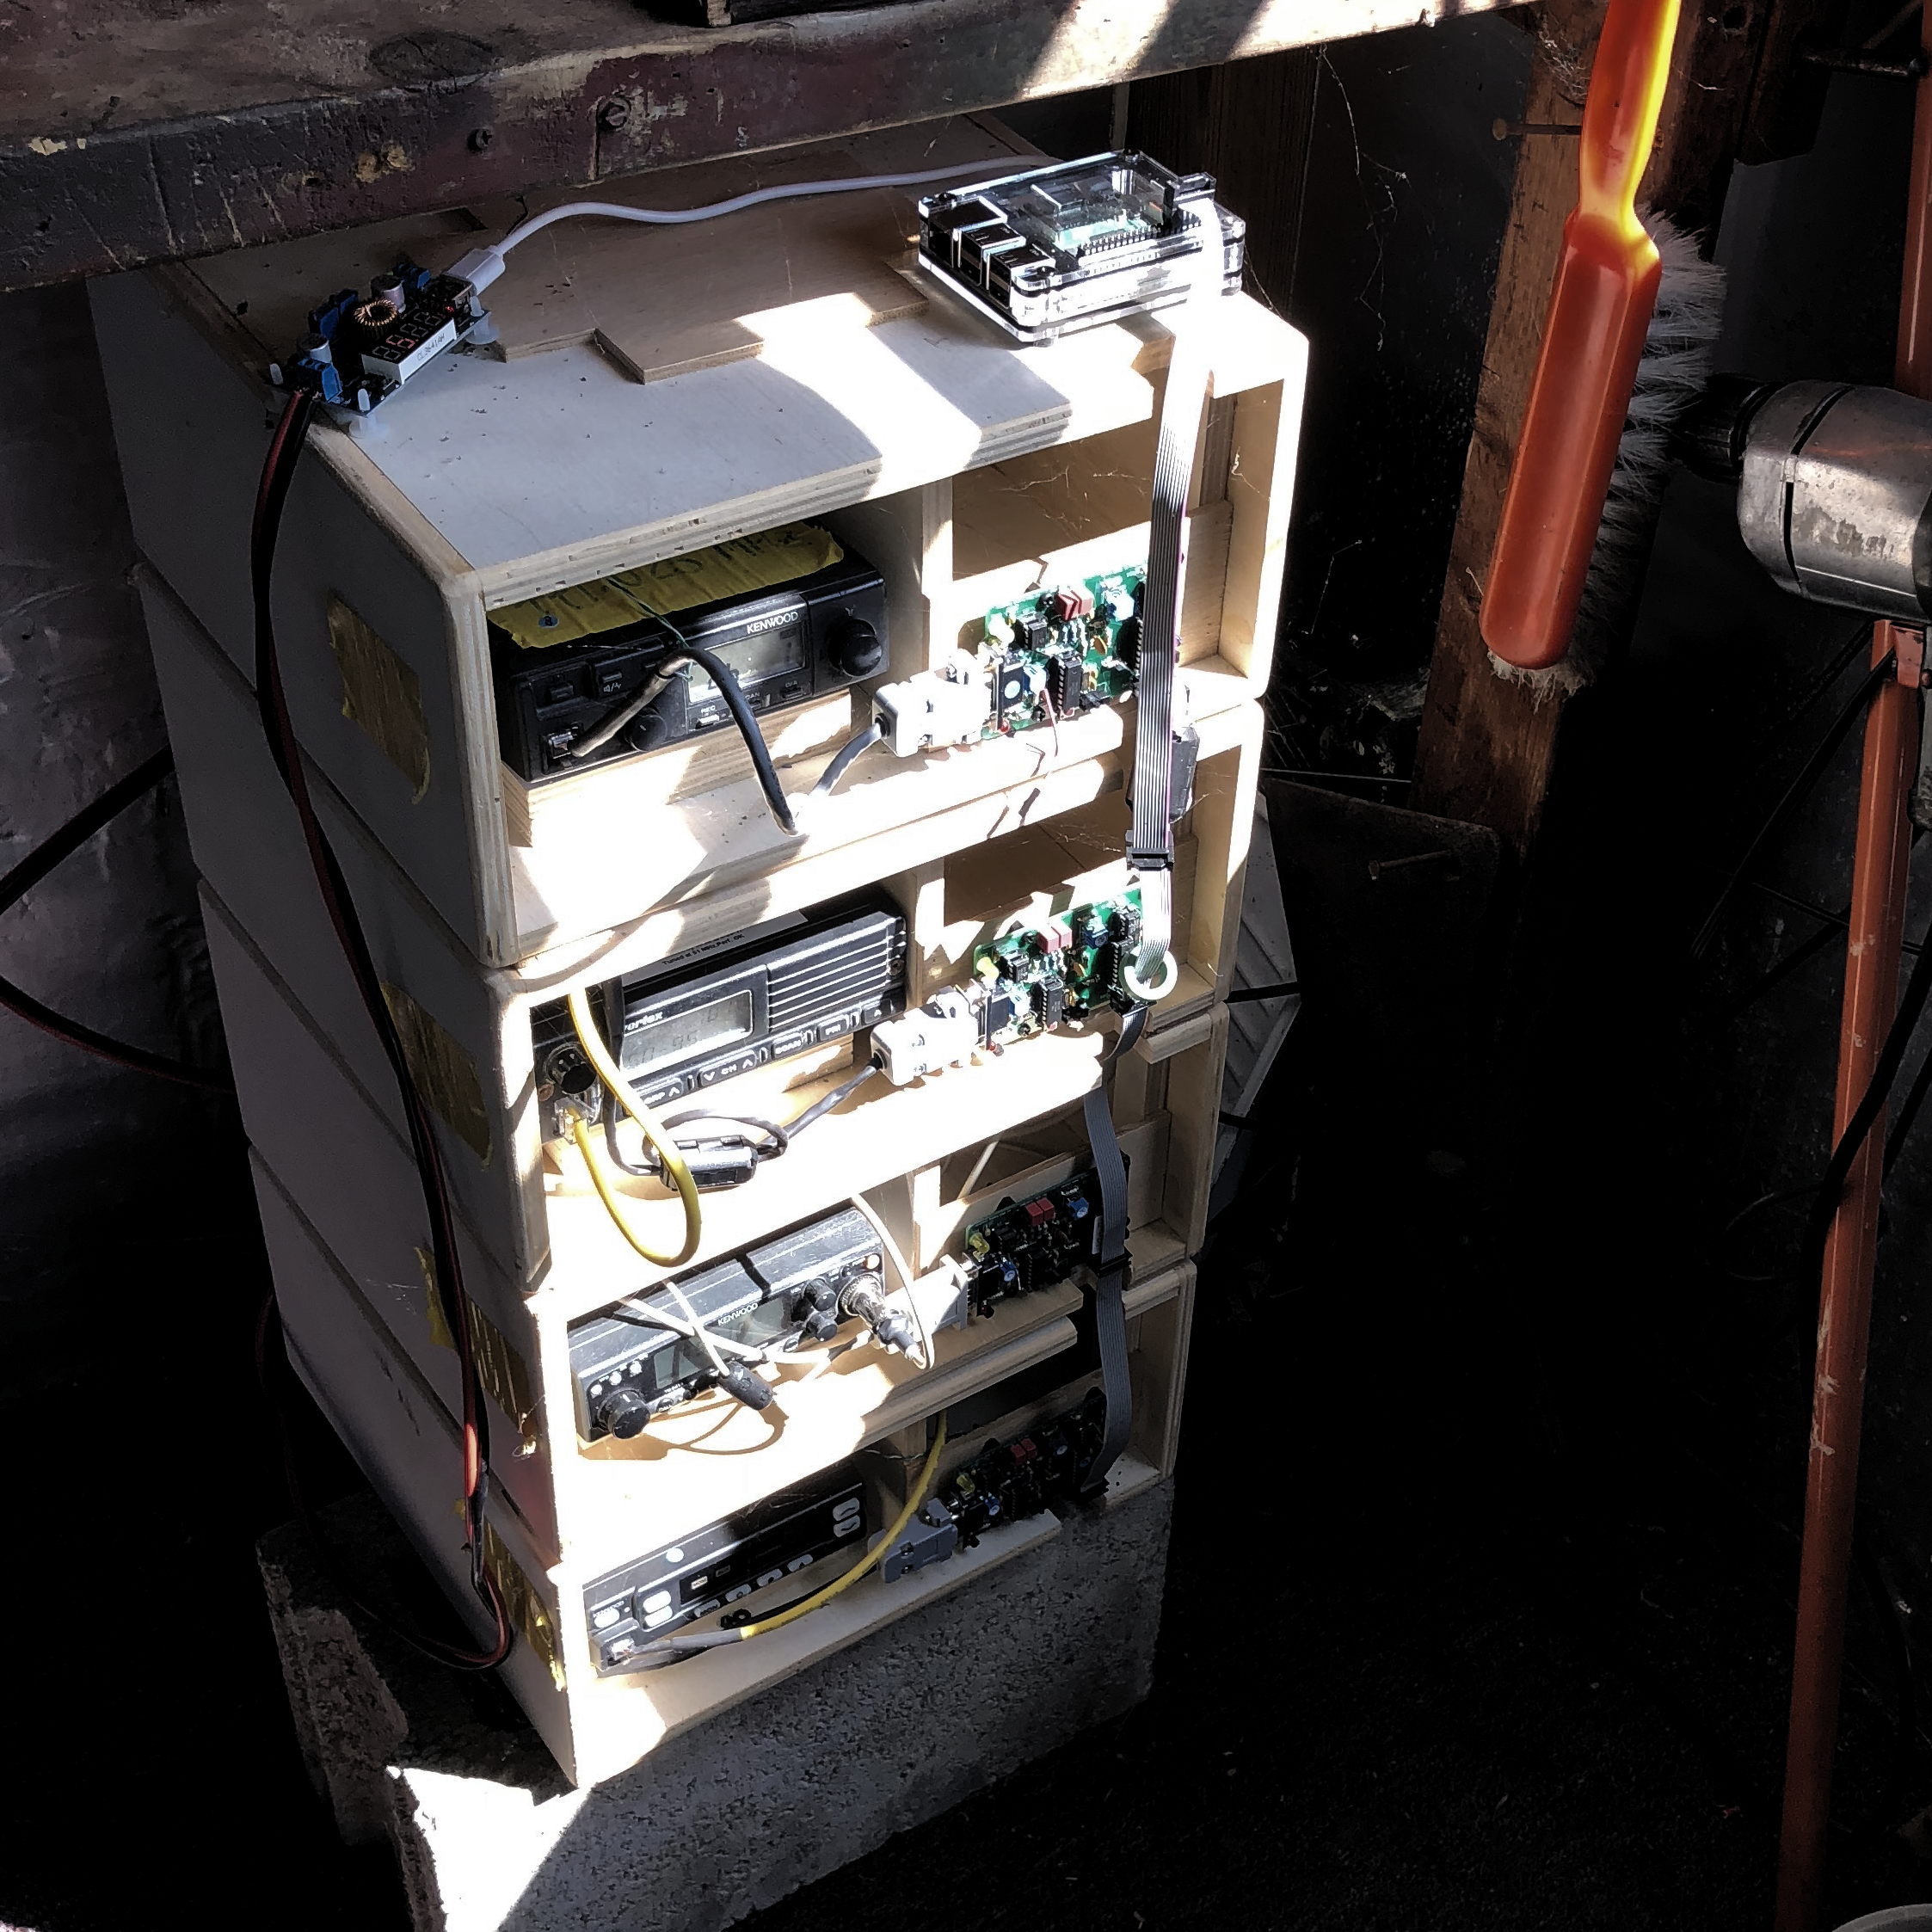
|
| All were rendered obsolete when the TNC-PI was discontinued months after we had acheived success with the Stackable Modbox. In hindsight, coming up with those outrageous compensations to make the radios work with the TNC-PI should have been a clue. Just in the nick of time, Nino got his modem working. | |||
2020-present | |||
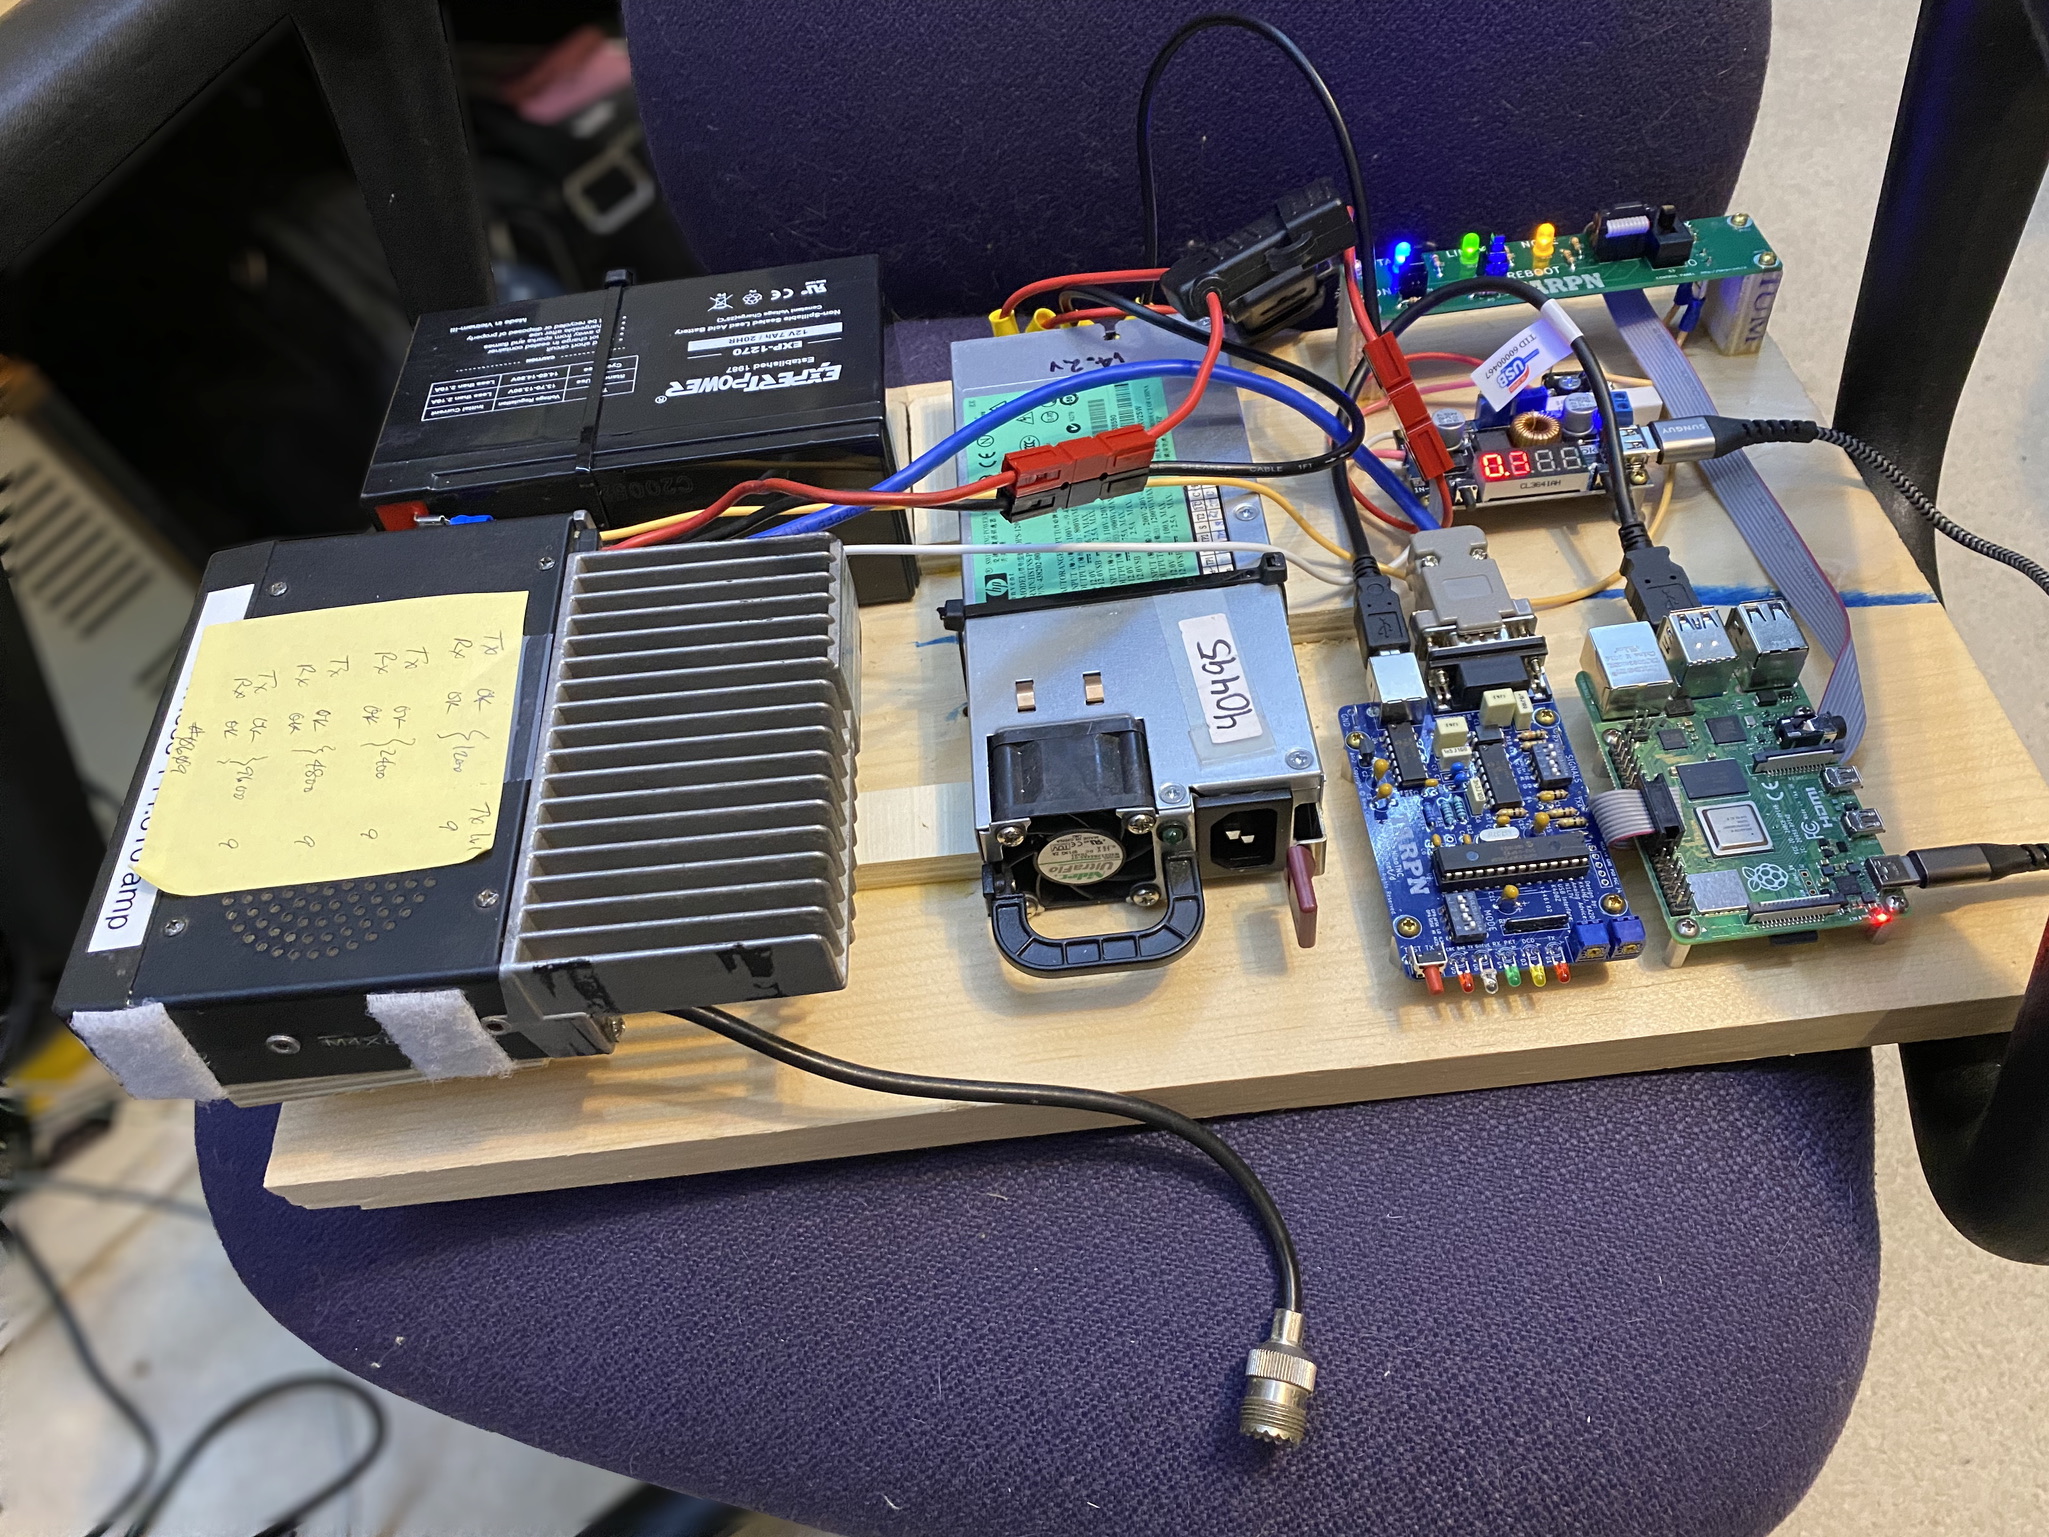
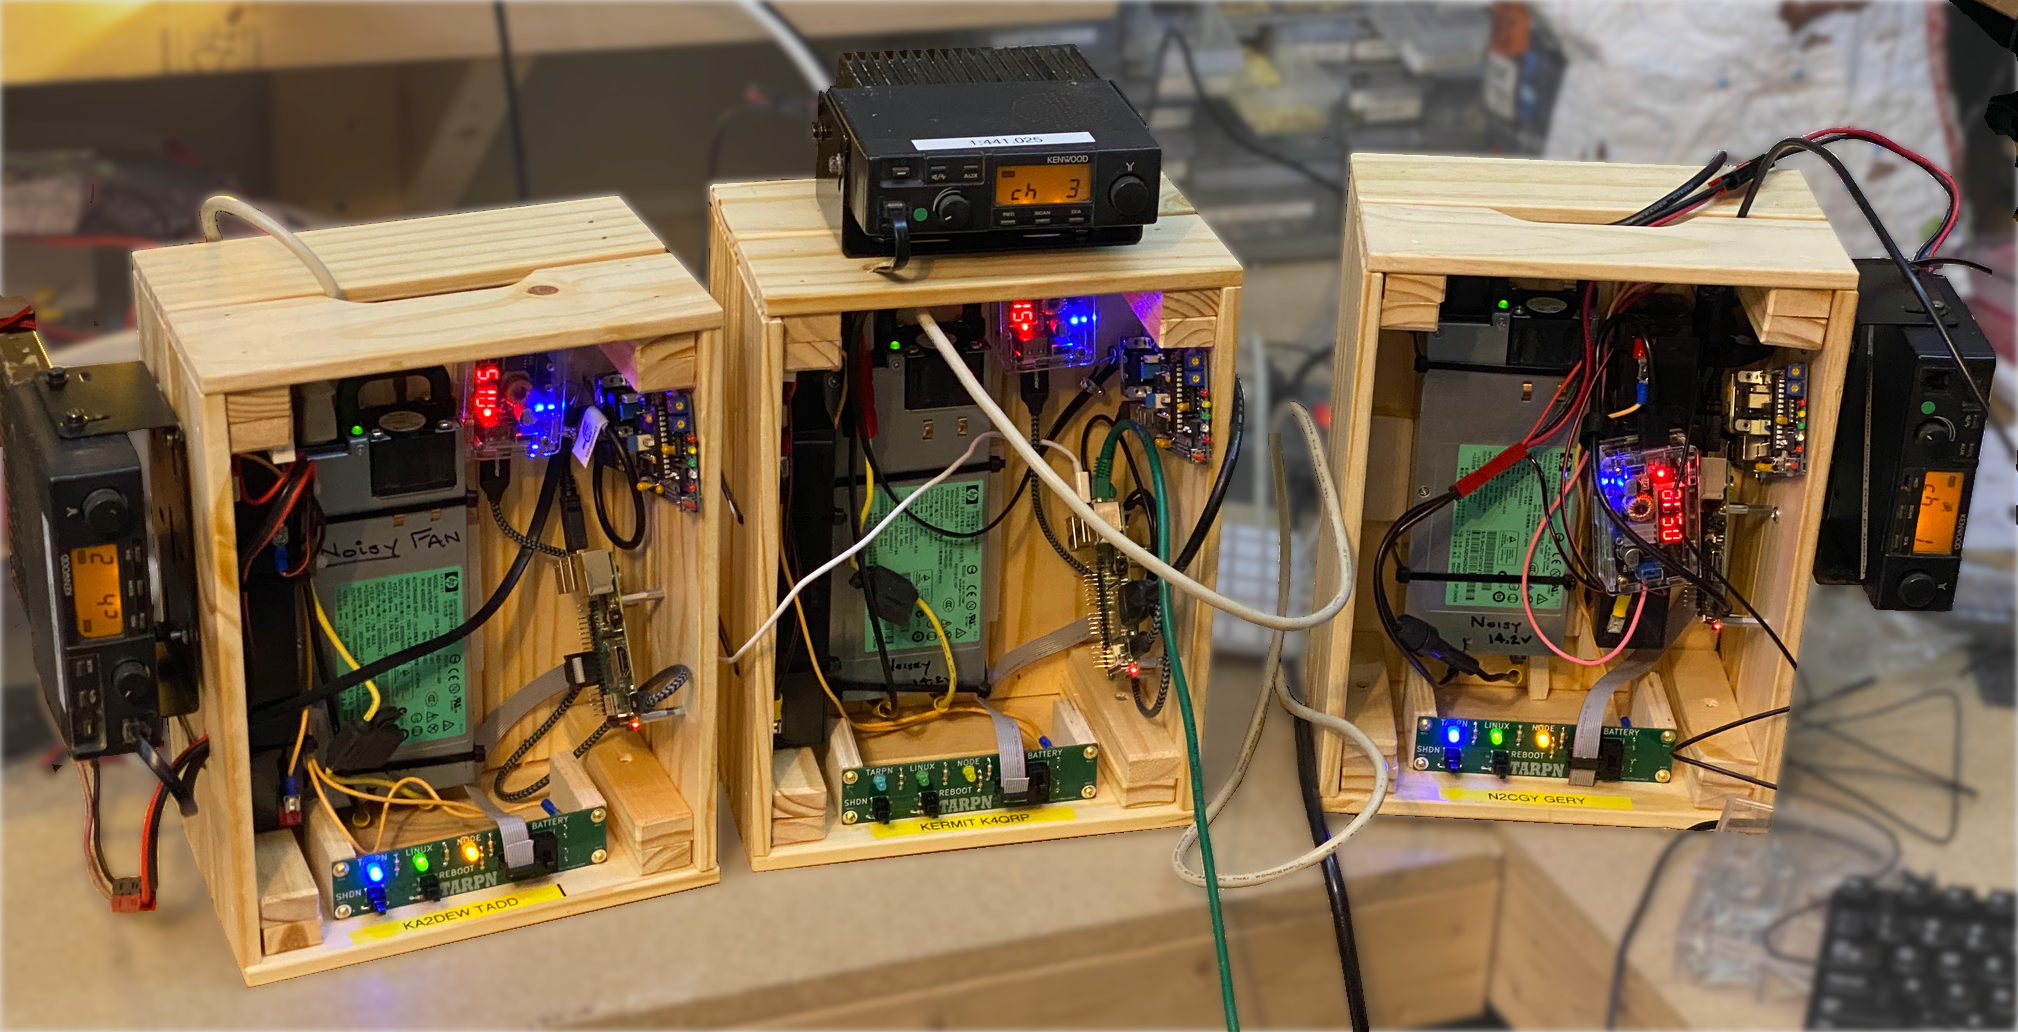
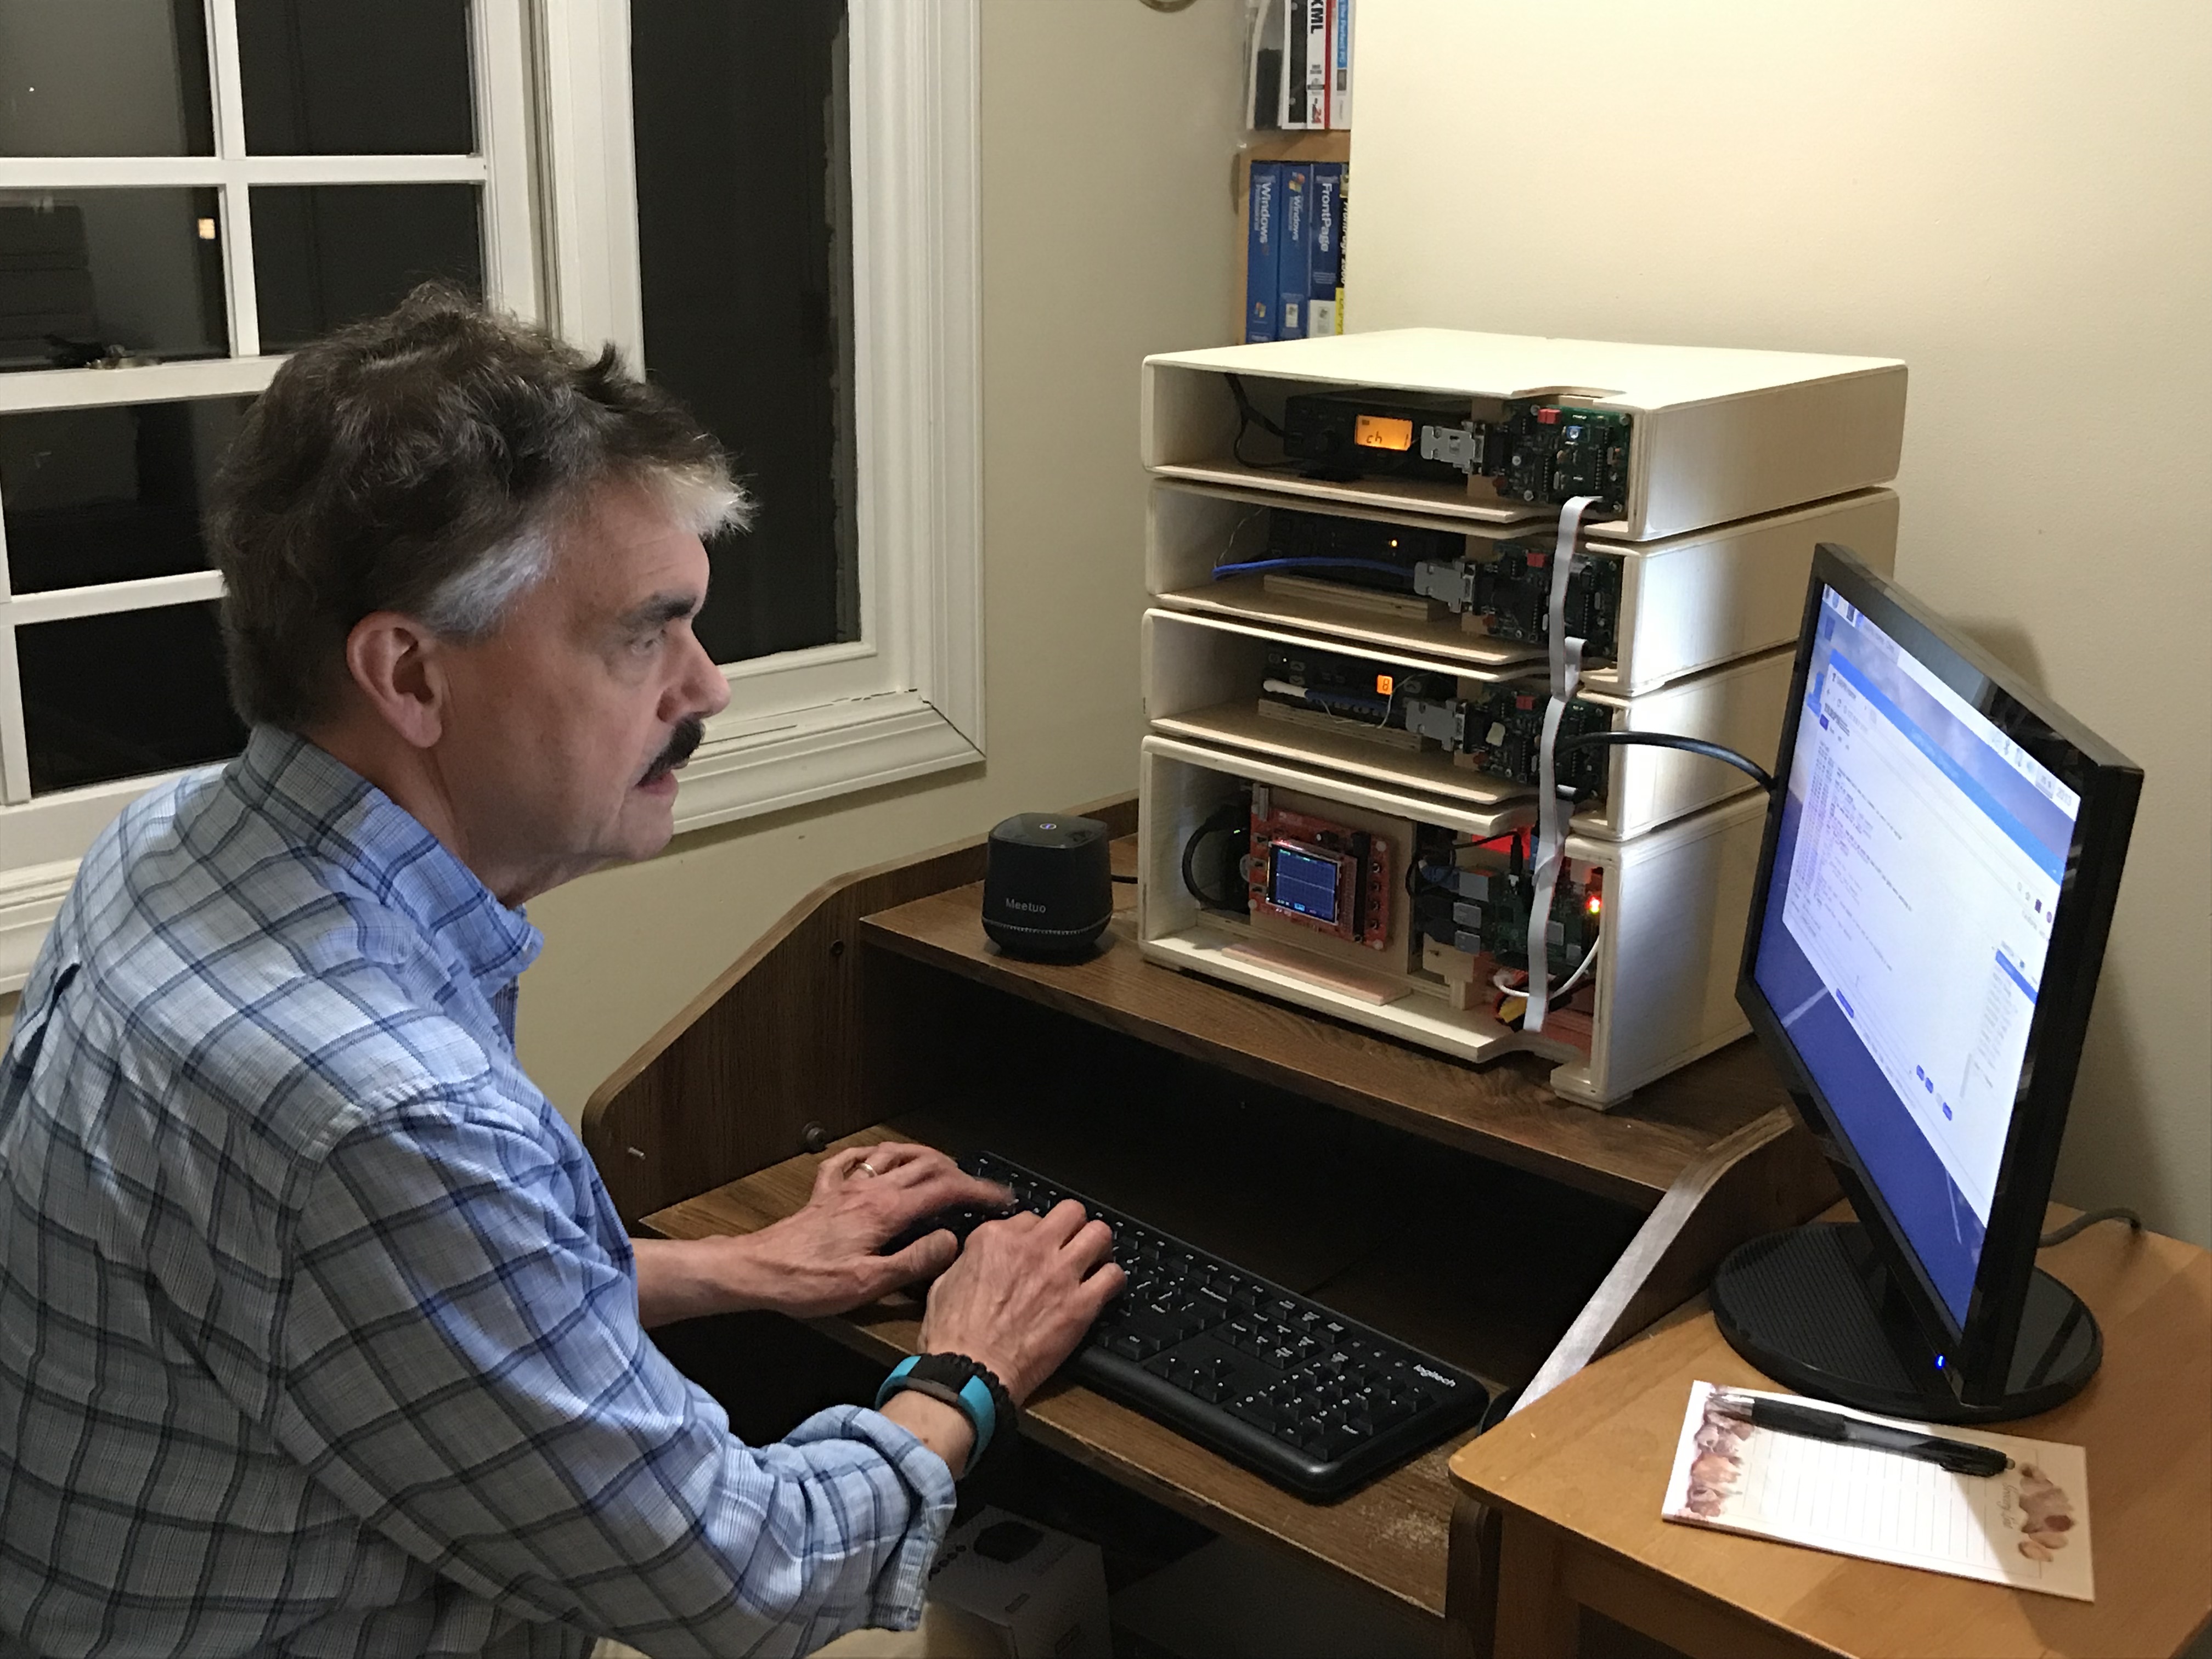
| Thanks to Nino KK4HEJ coming up with DSP code to perform the modem function in firmware instead of hardware, we can now do away with most of the debugging features we imposed on every node op for several years. The NinoTNC is tollerant of a wide range of receive levels and with a couple of more LEDs on the TNC we can tell if the packets are too loud or failing to be decoded. The new node-boxes do away with the scope and monitor speakers, as well as the explicit linking of one radio with one TNC in one cabinet. This is much cheaper to make, takes much less wood, and is much smaller. The USB connection allows some versatility in TNC placement as well. | |||
> | |||
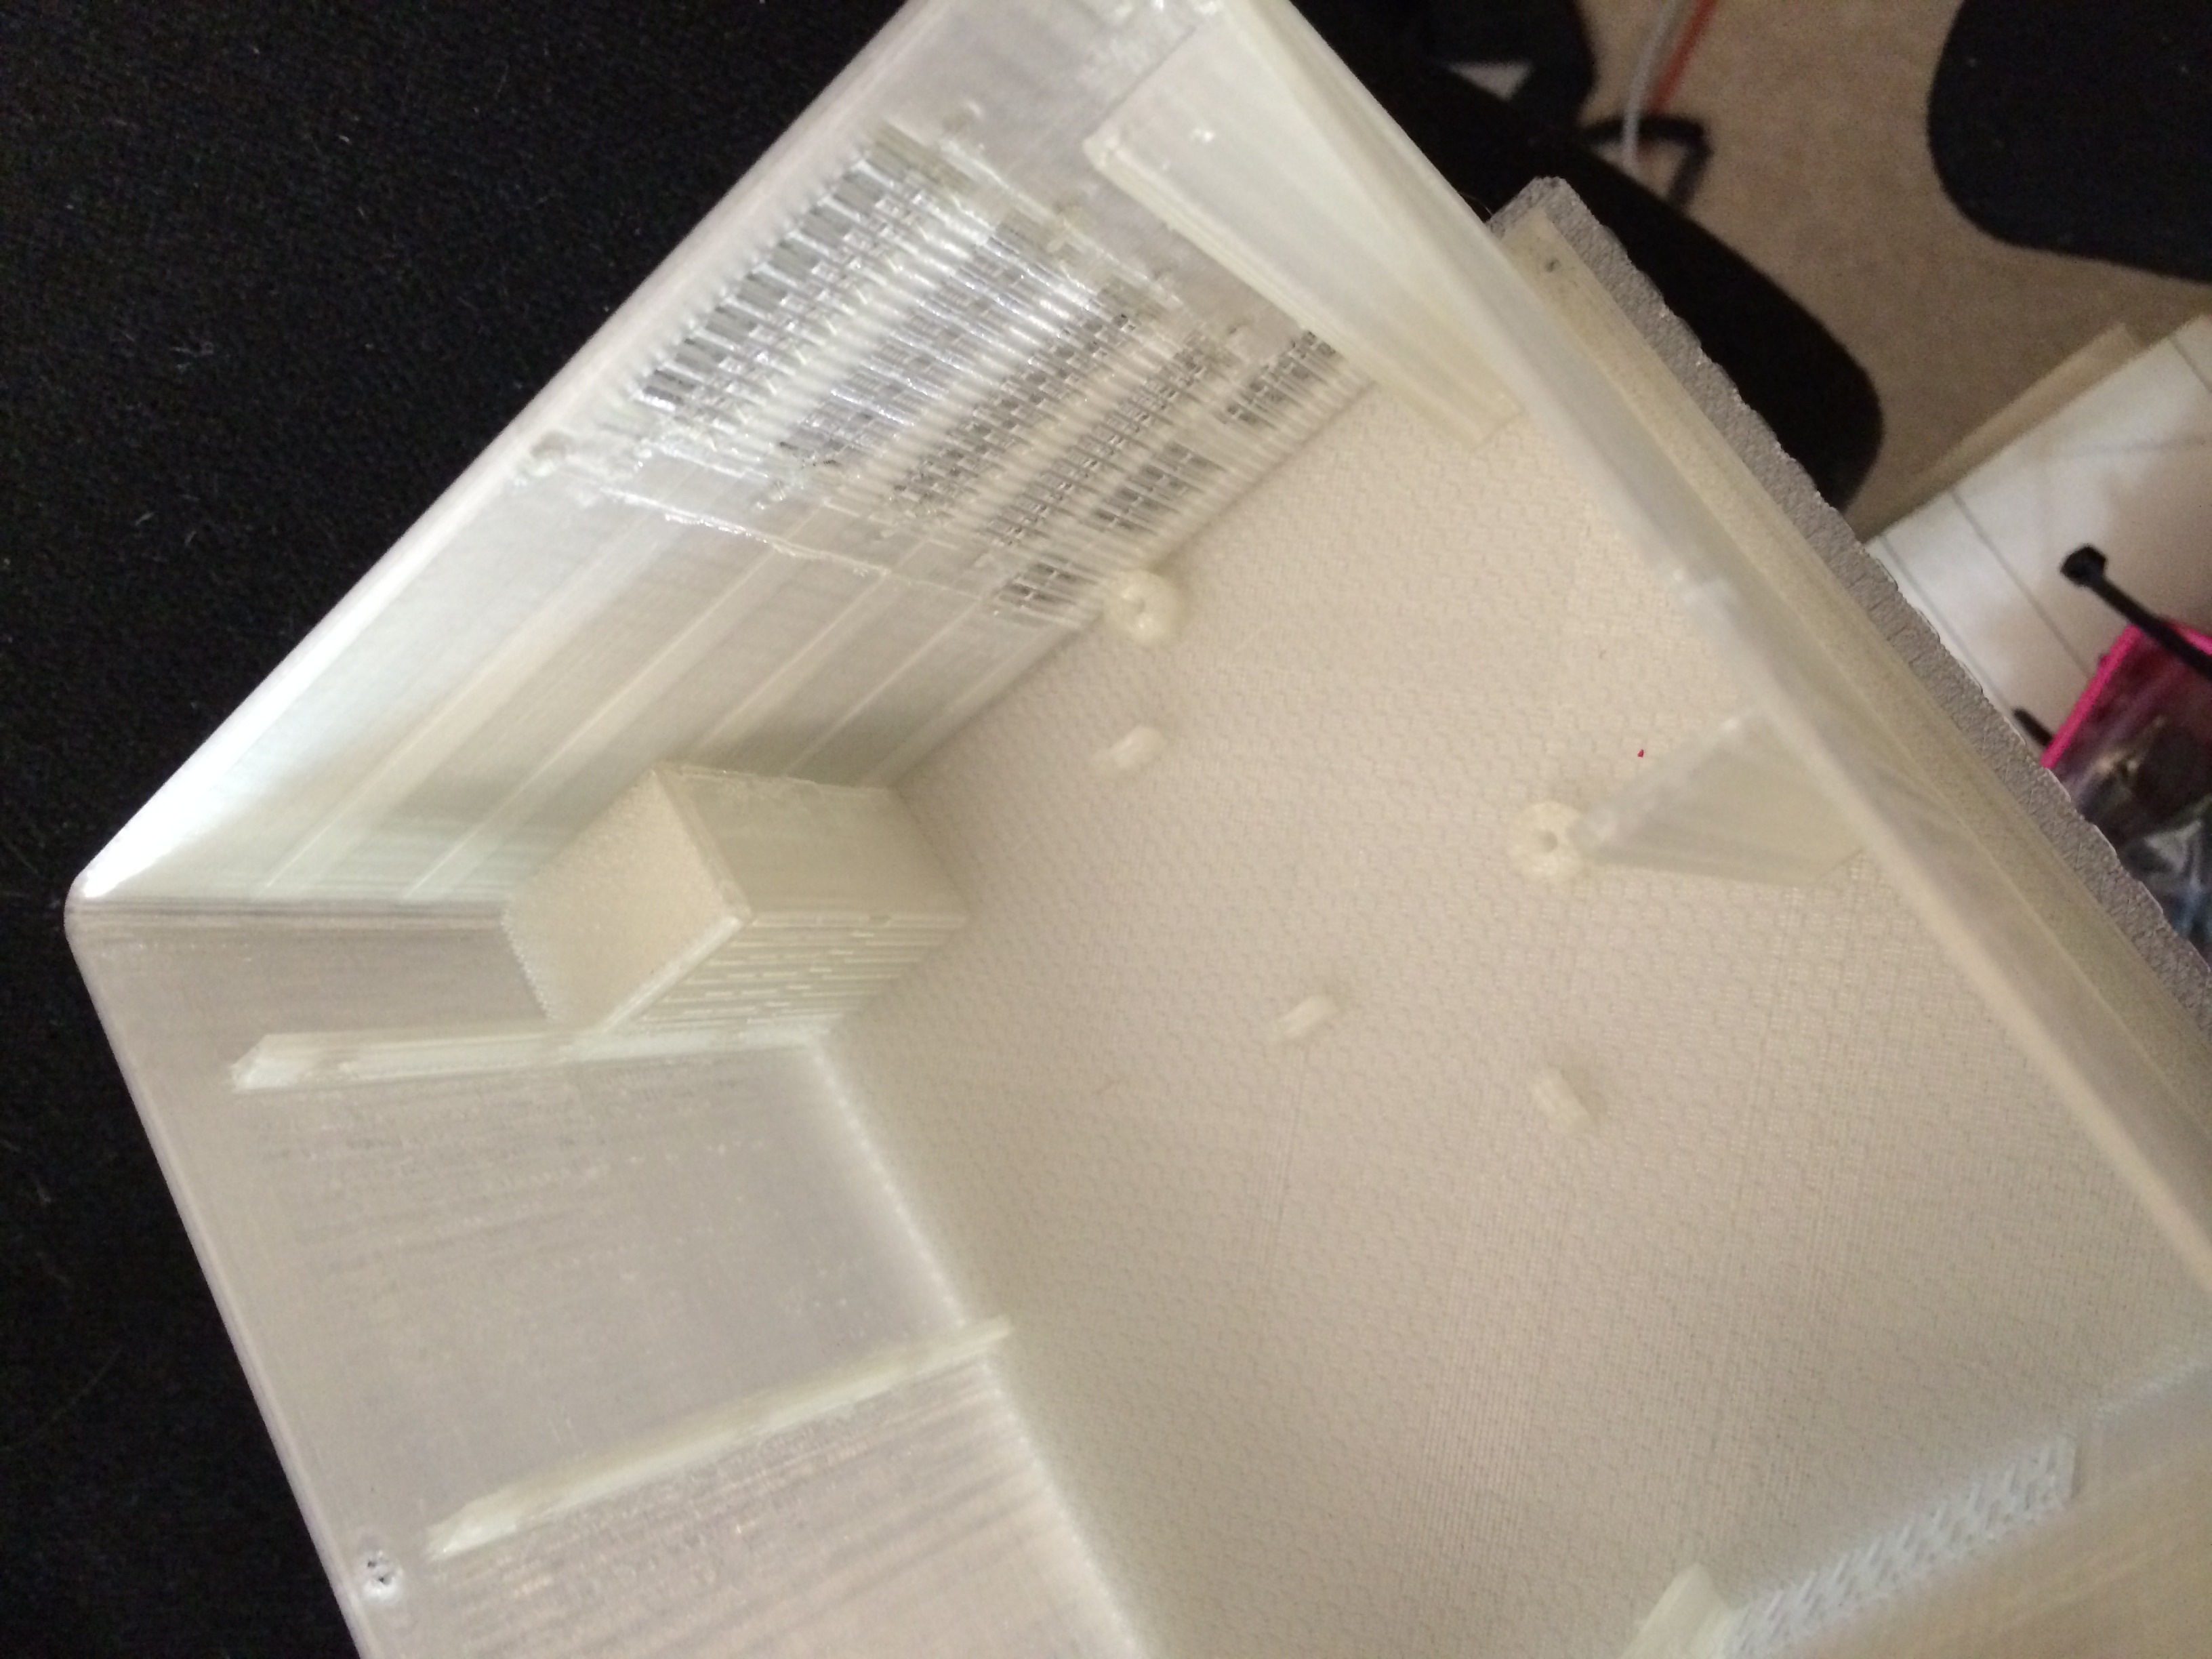
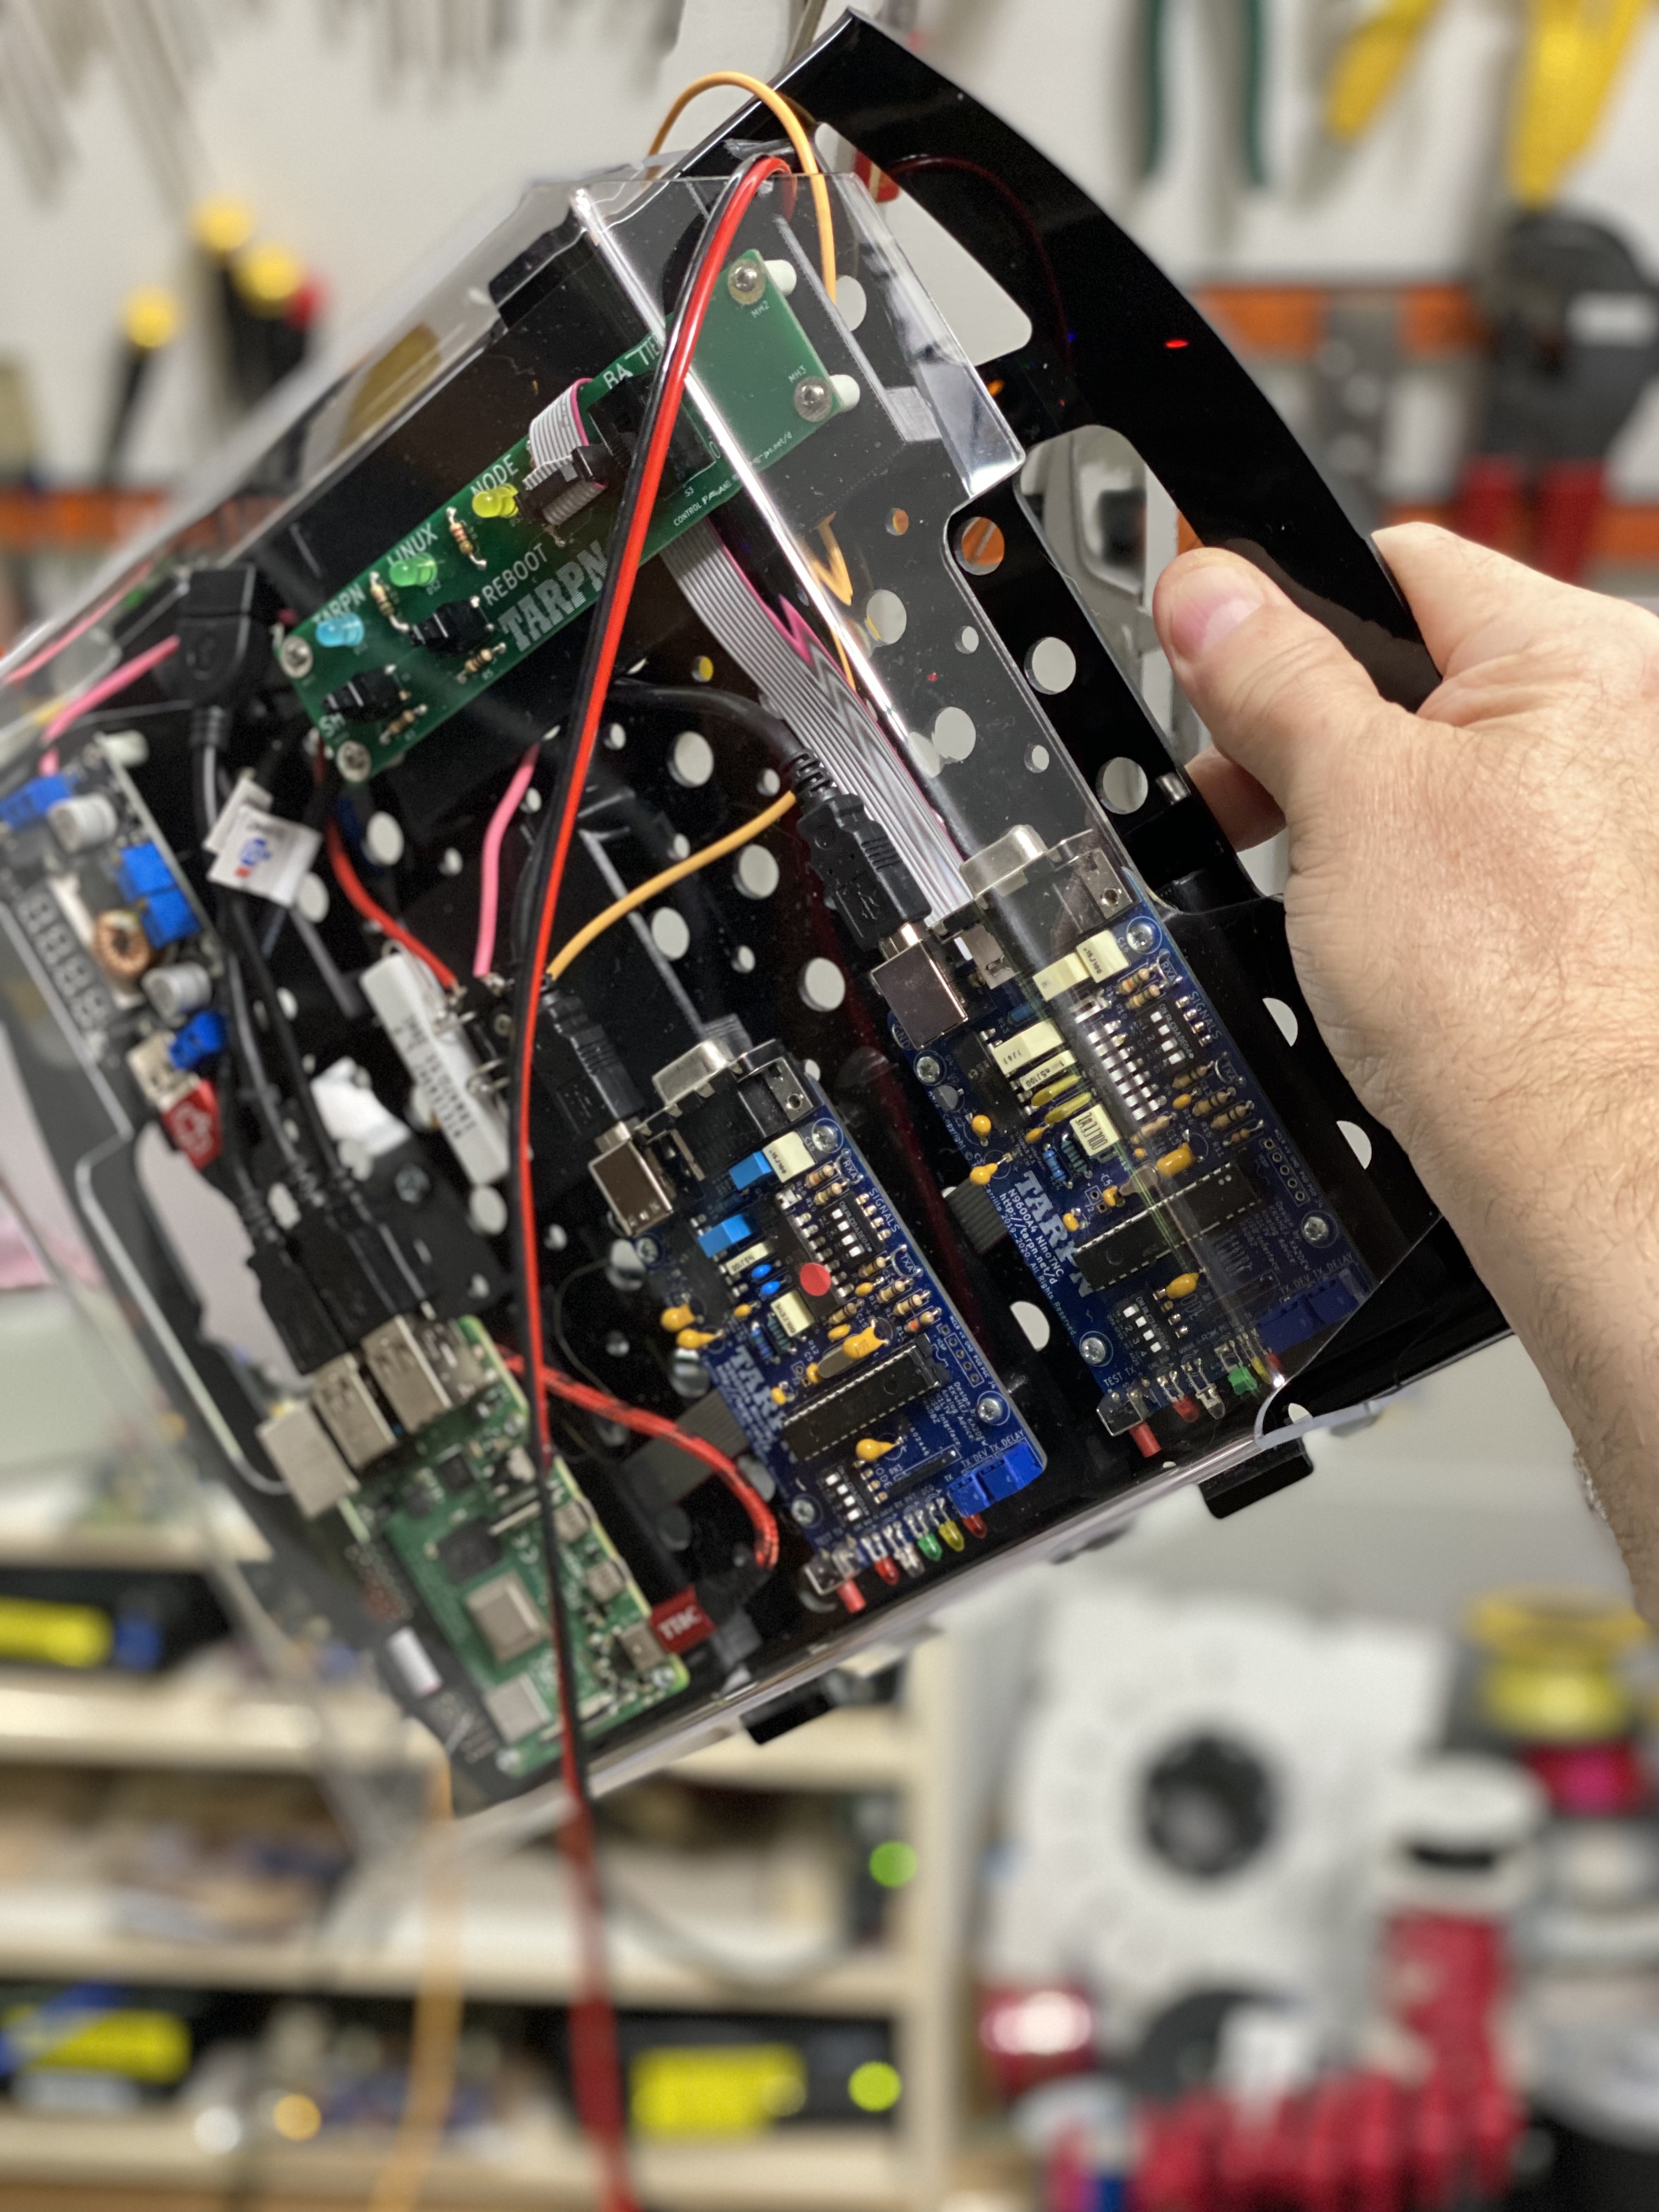
| In 2020 Fin came up with Skelator to give visibility, ventalation, easy shipping (unassembled), and using very little wood. This has been made in wide, high, and small version. First box April 2021 | |||
FIN node
|
Hamfest Demo node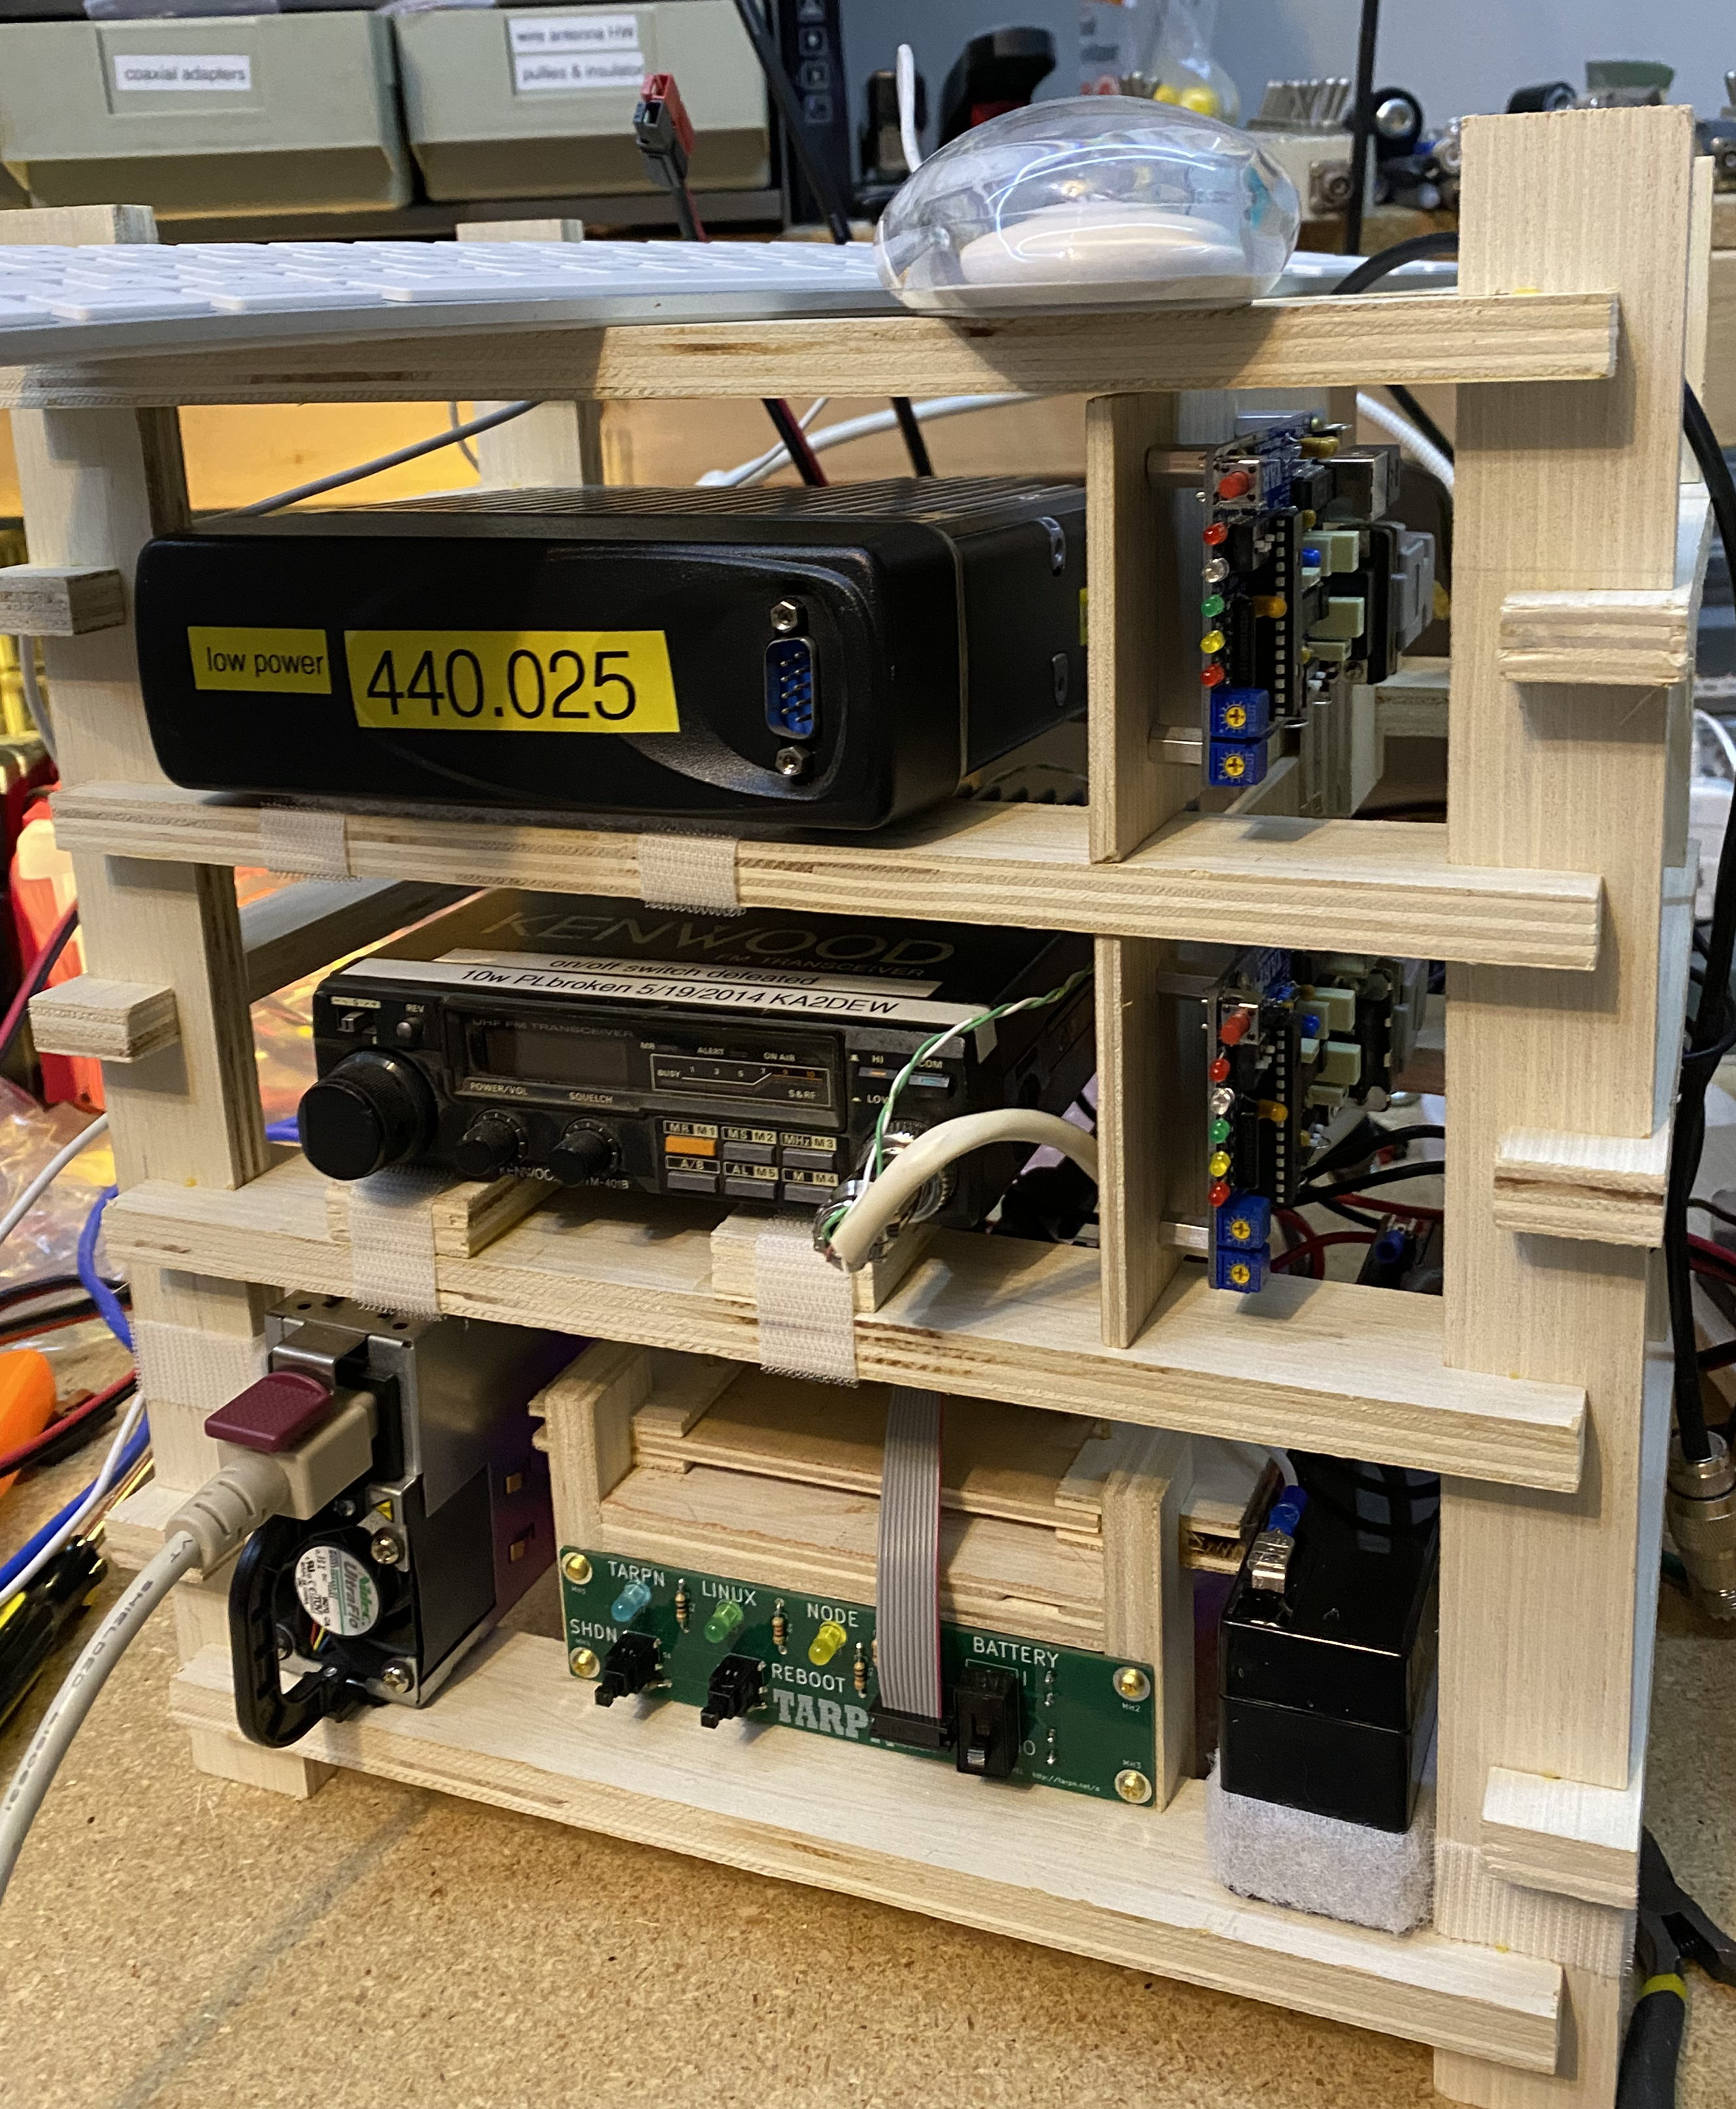
| ||
> | |||
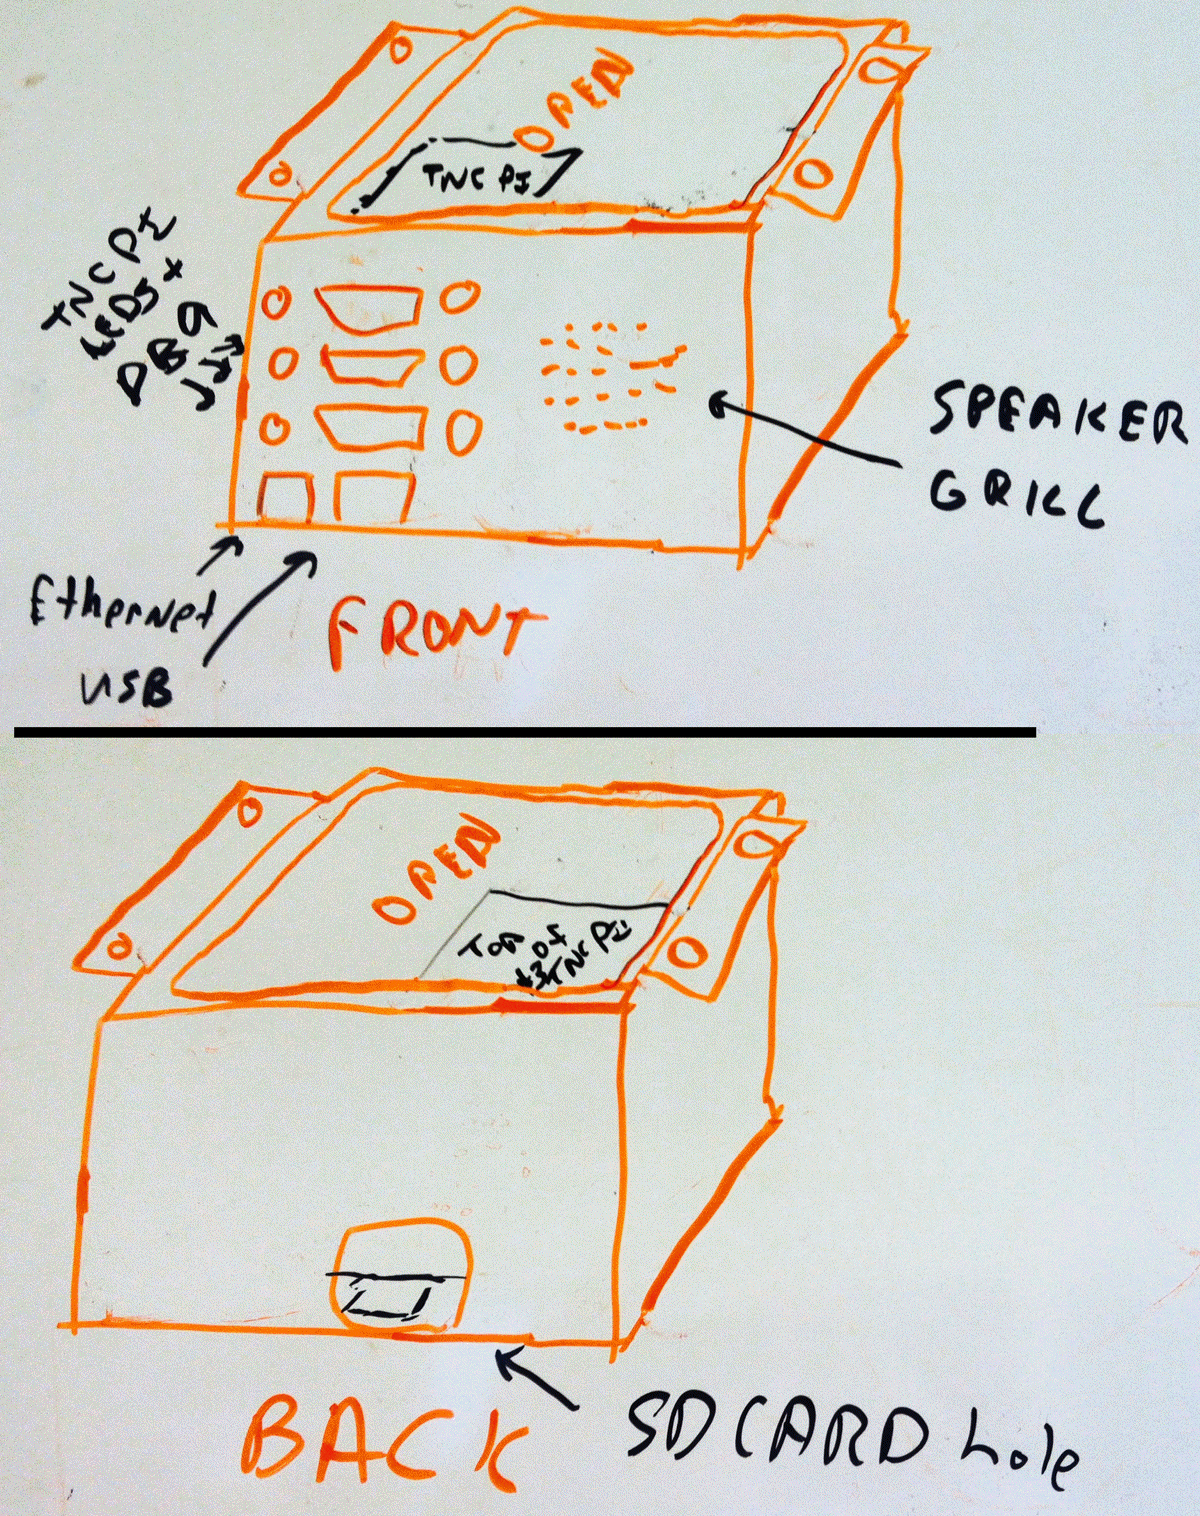
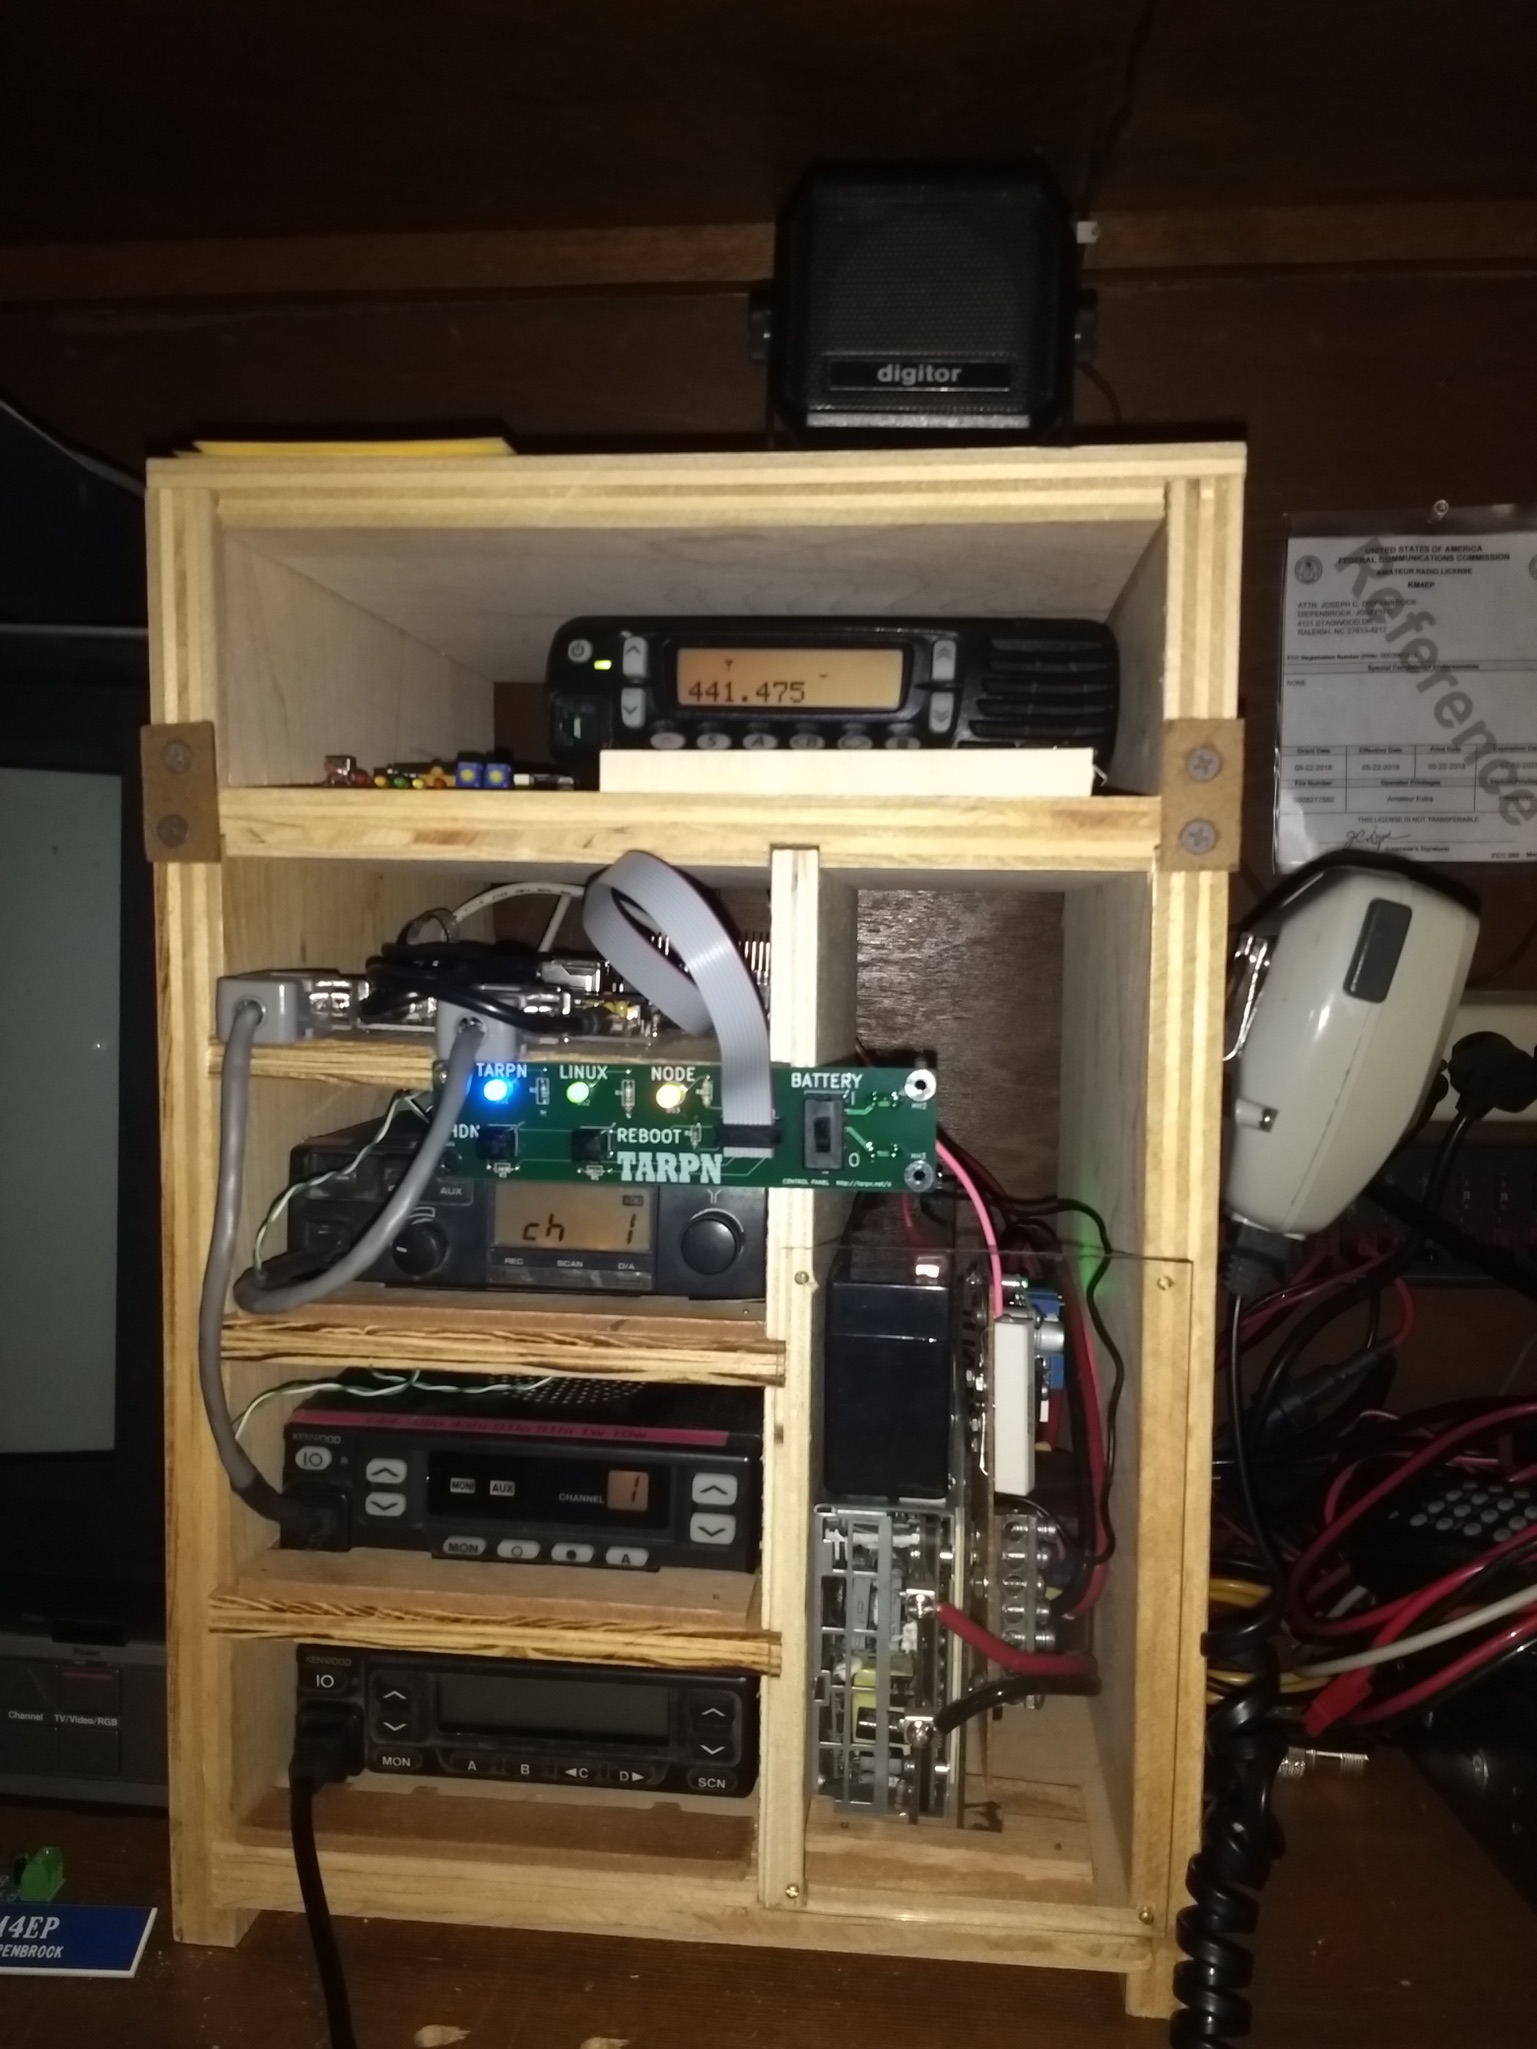
| Jay KM4EP's 2nd node-box design has room for four links. First box April 2020 | |||
FFVC Node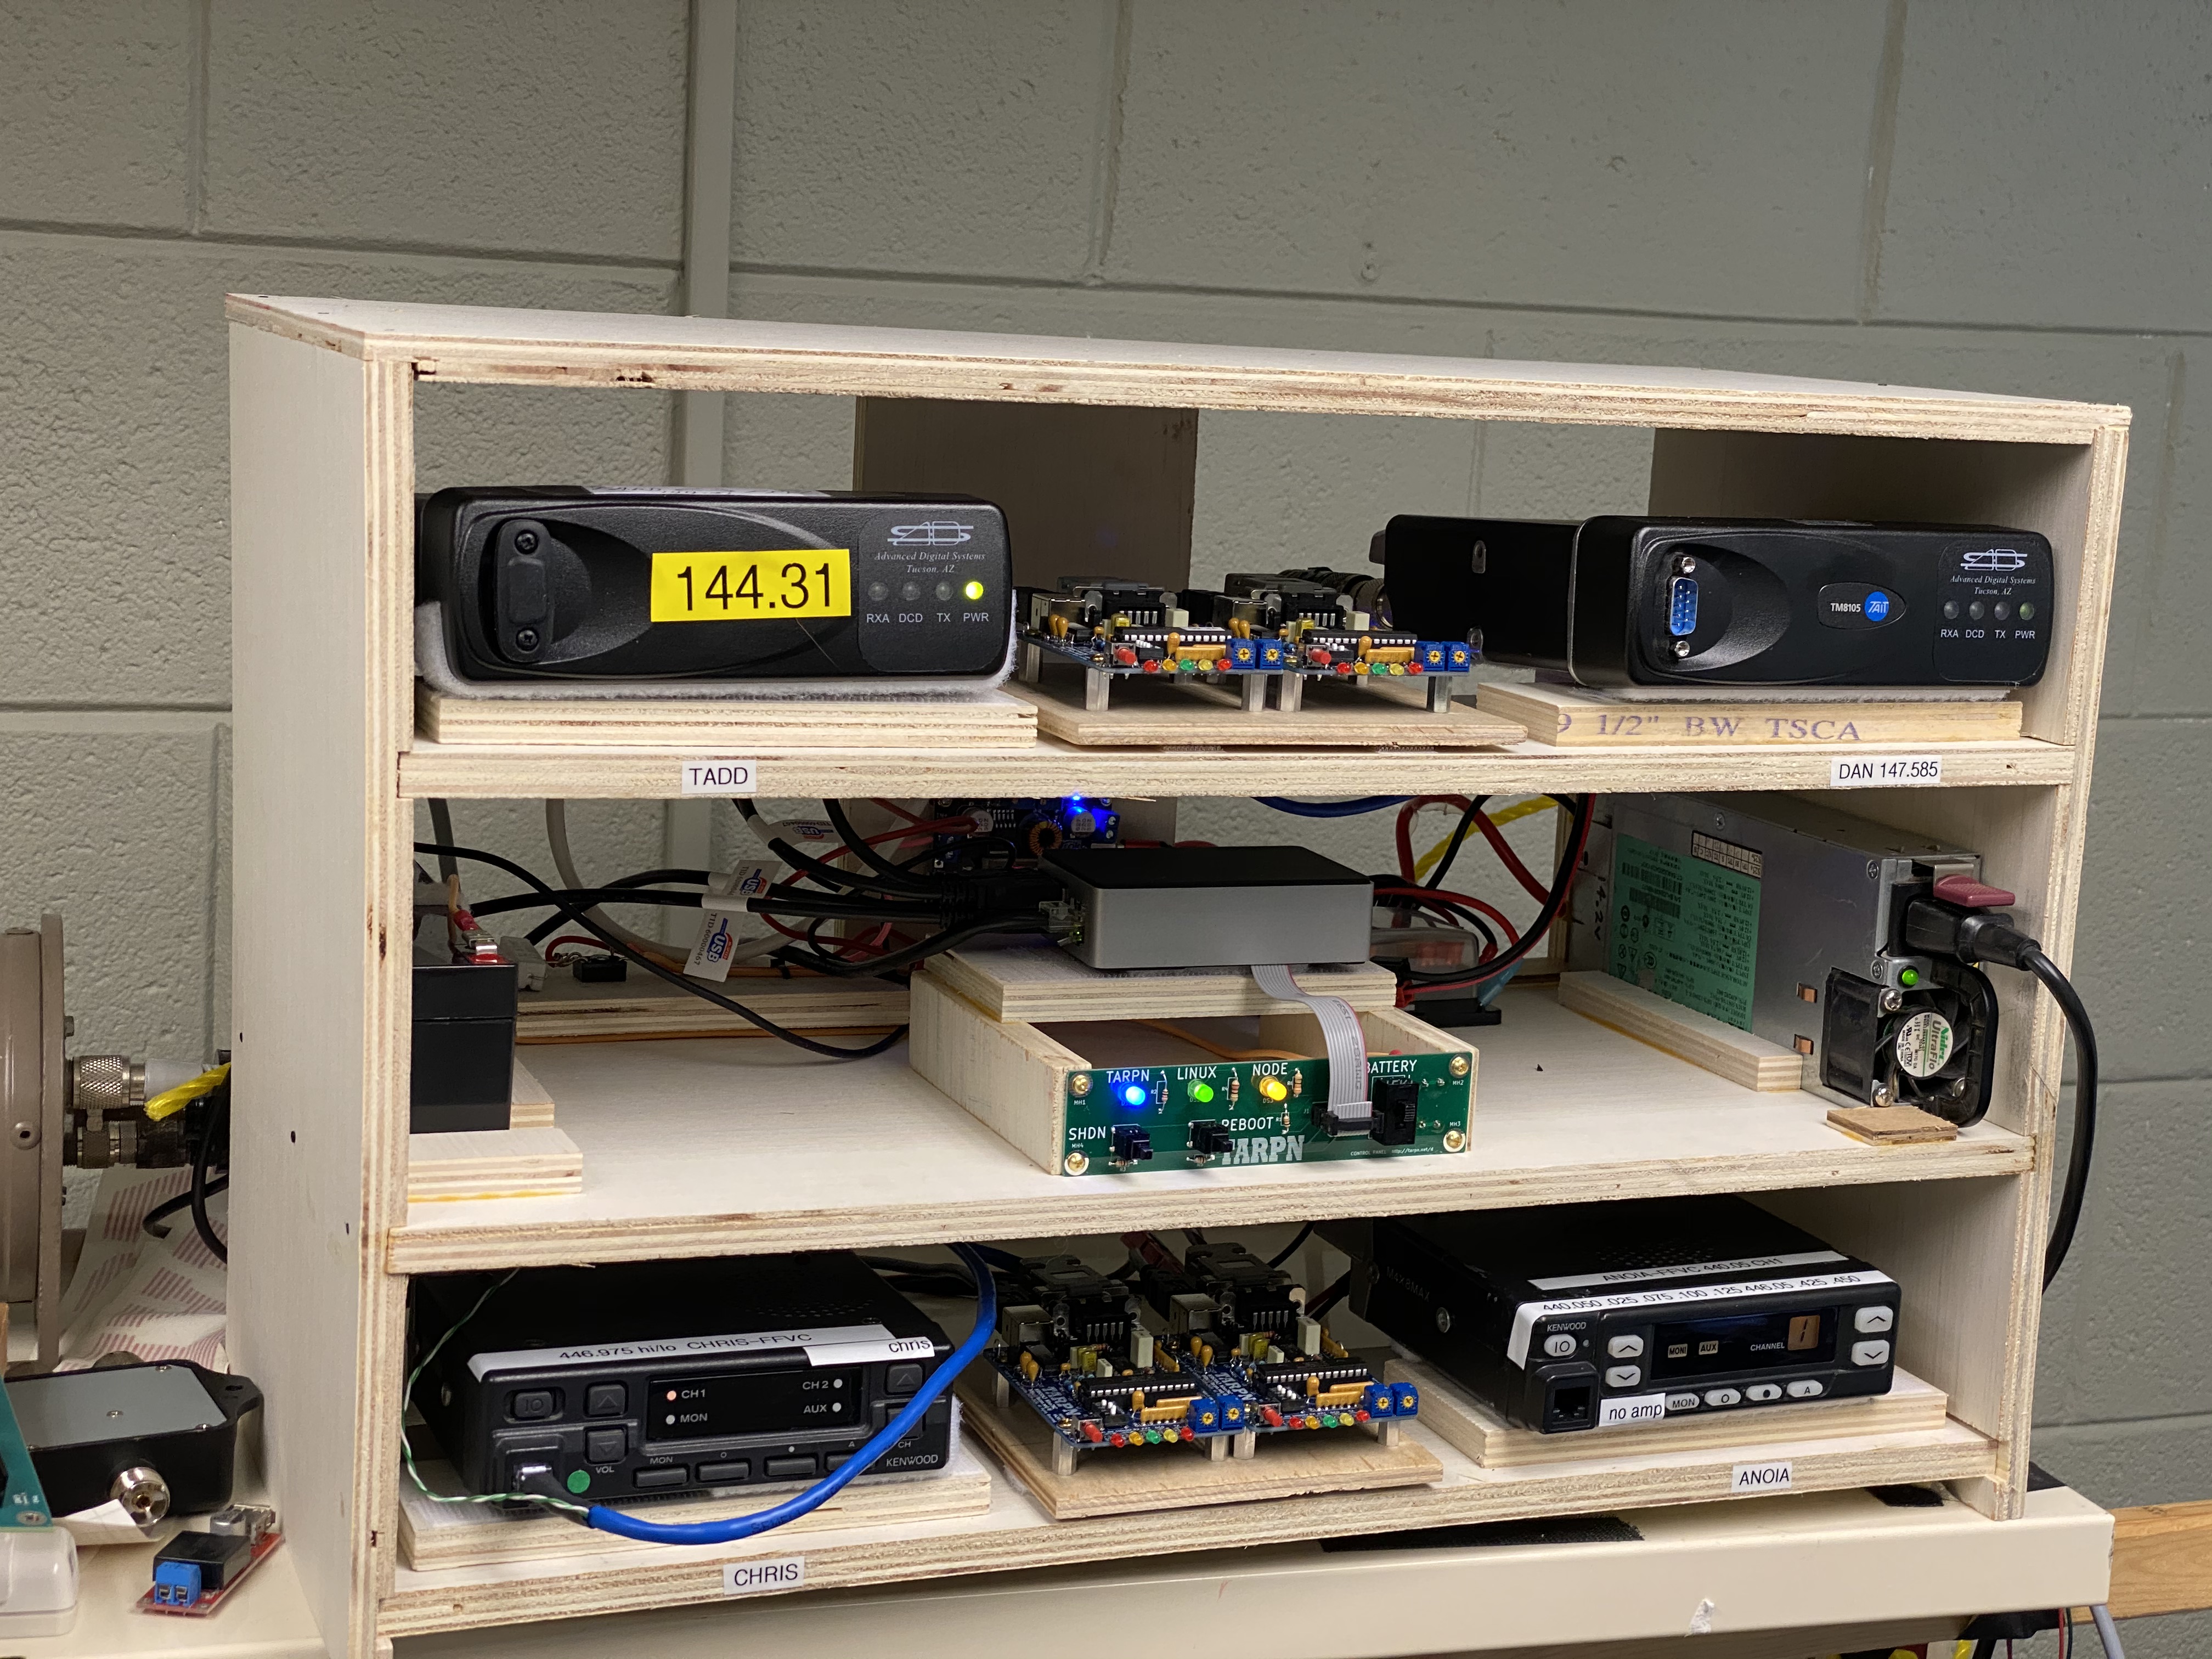
|
RUSSI Node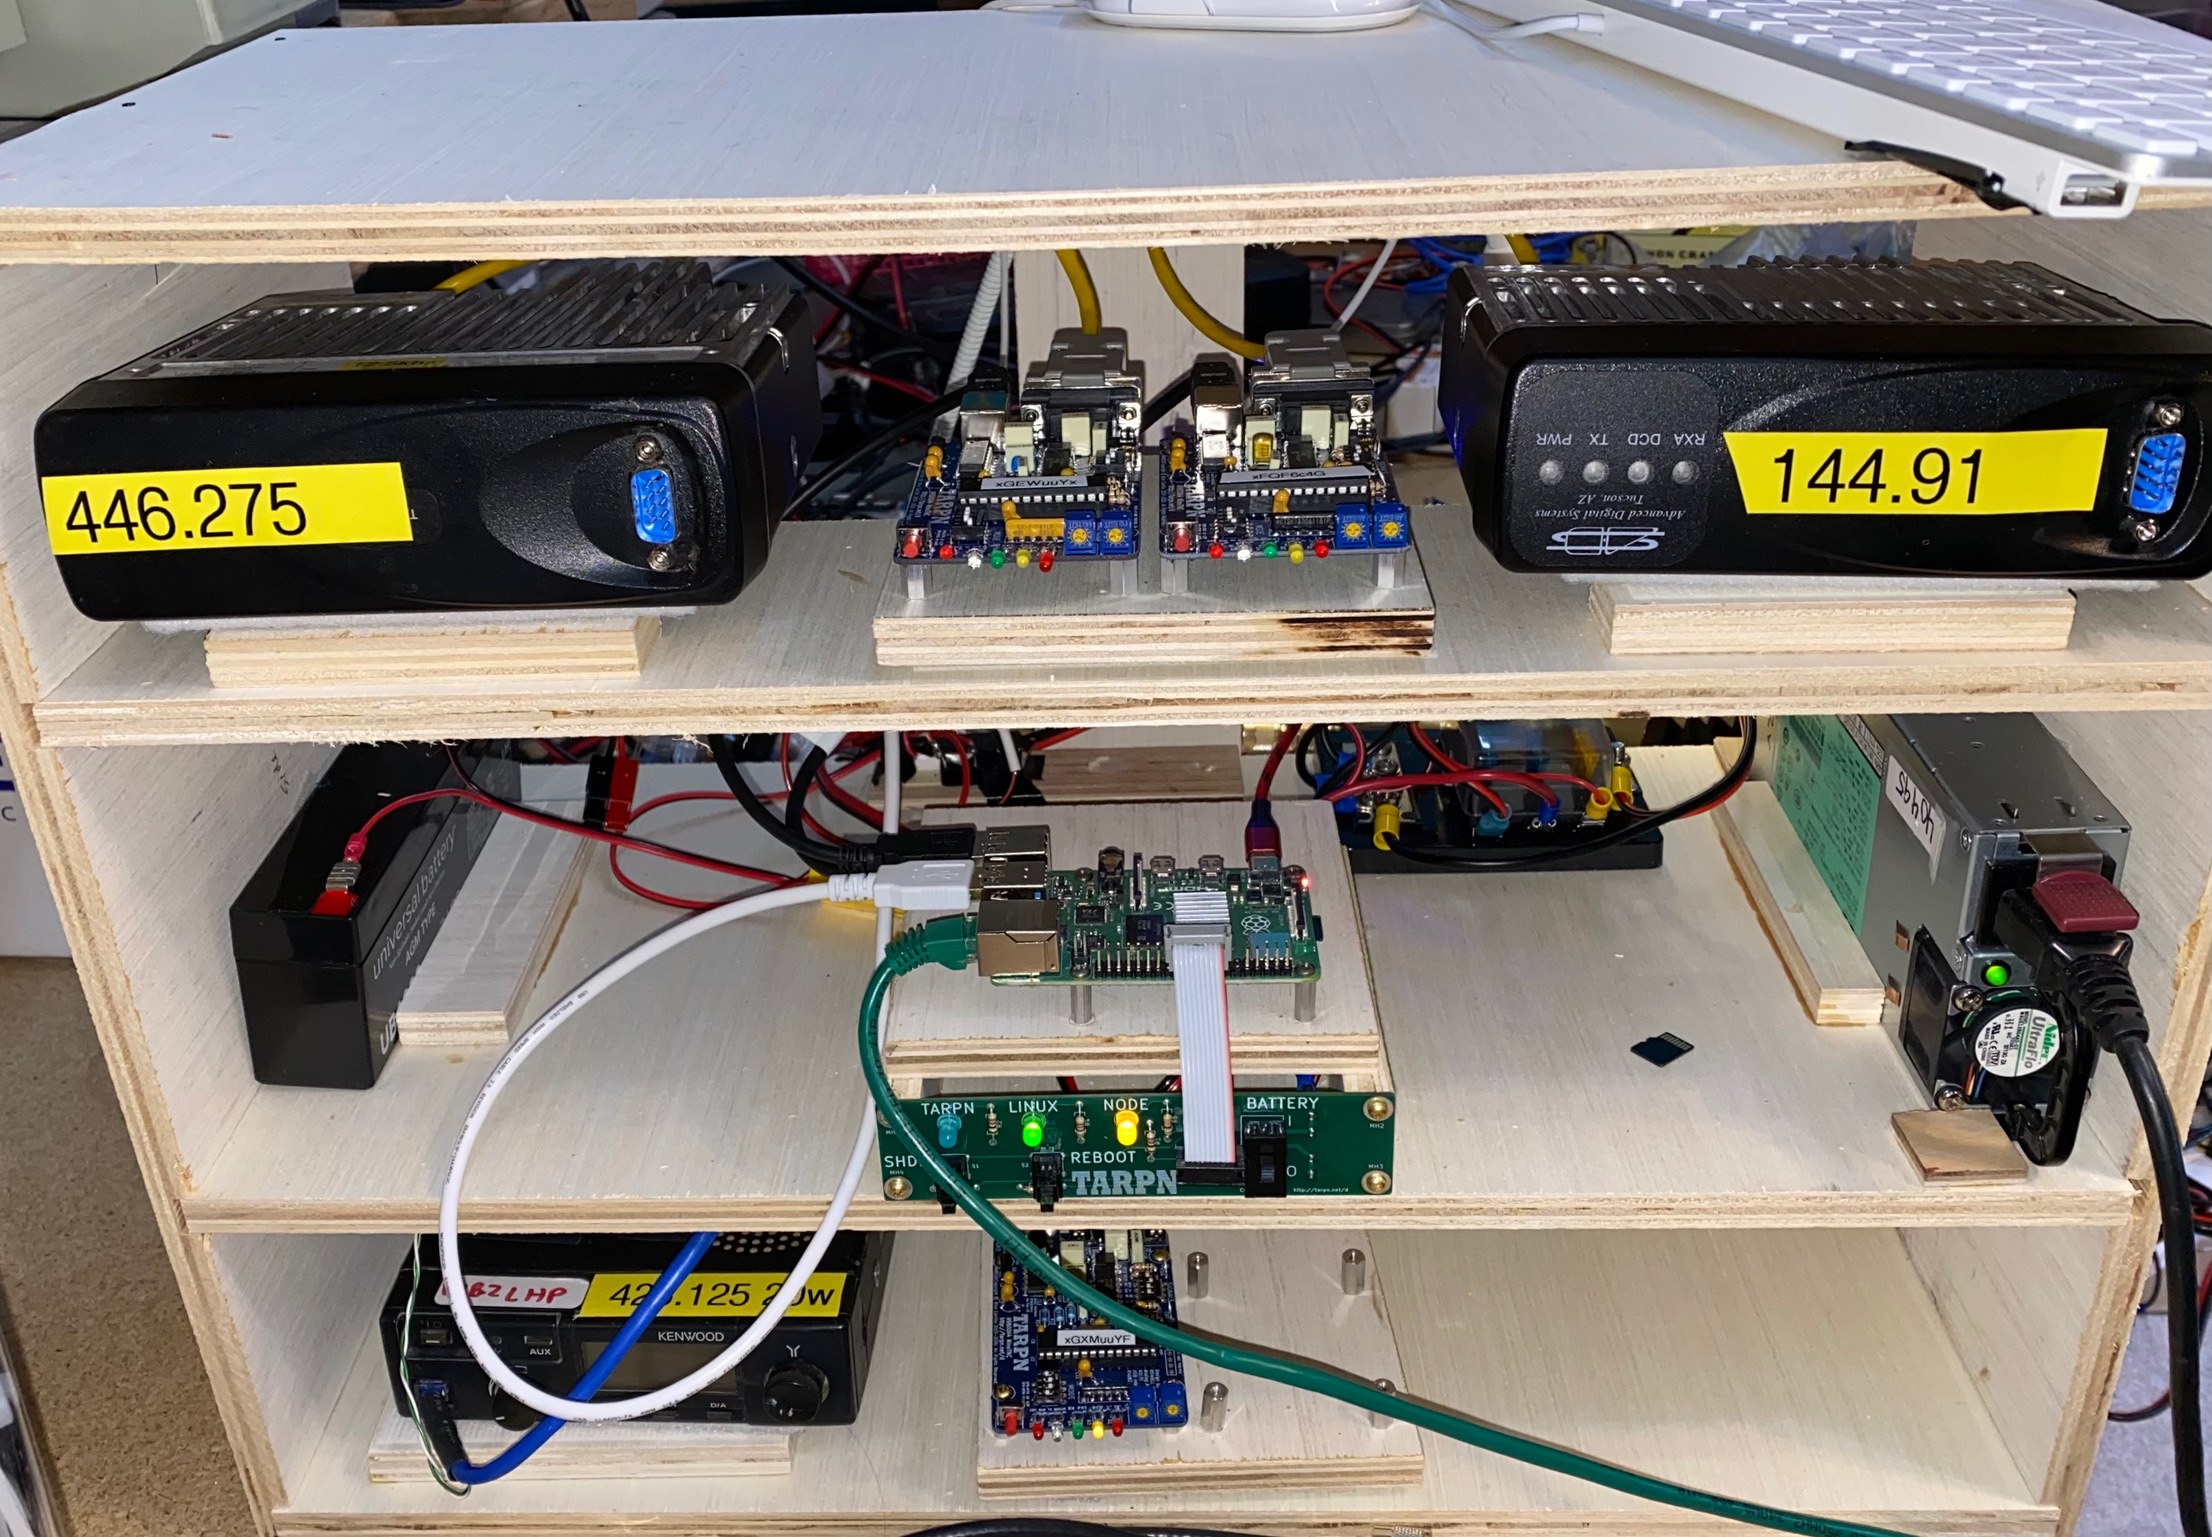
|
ADRO Node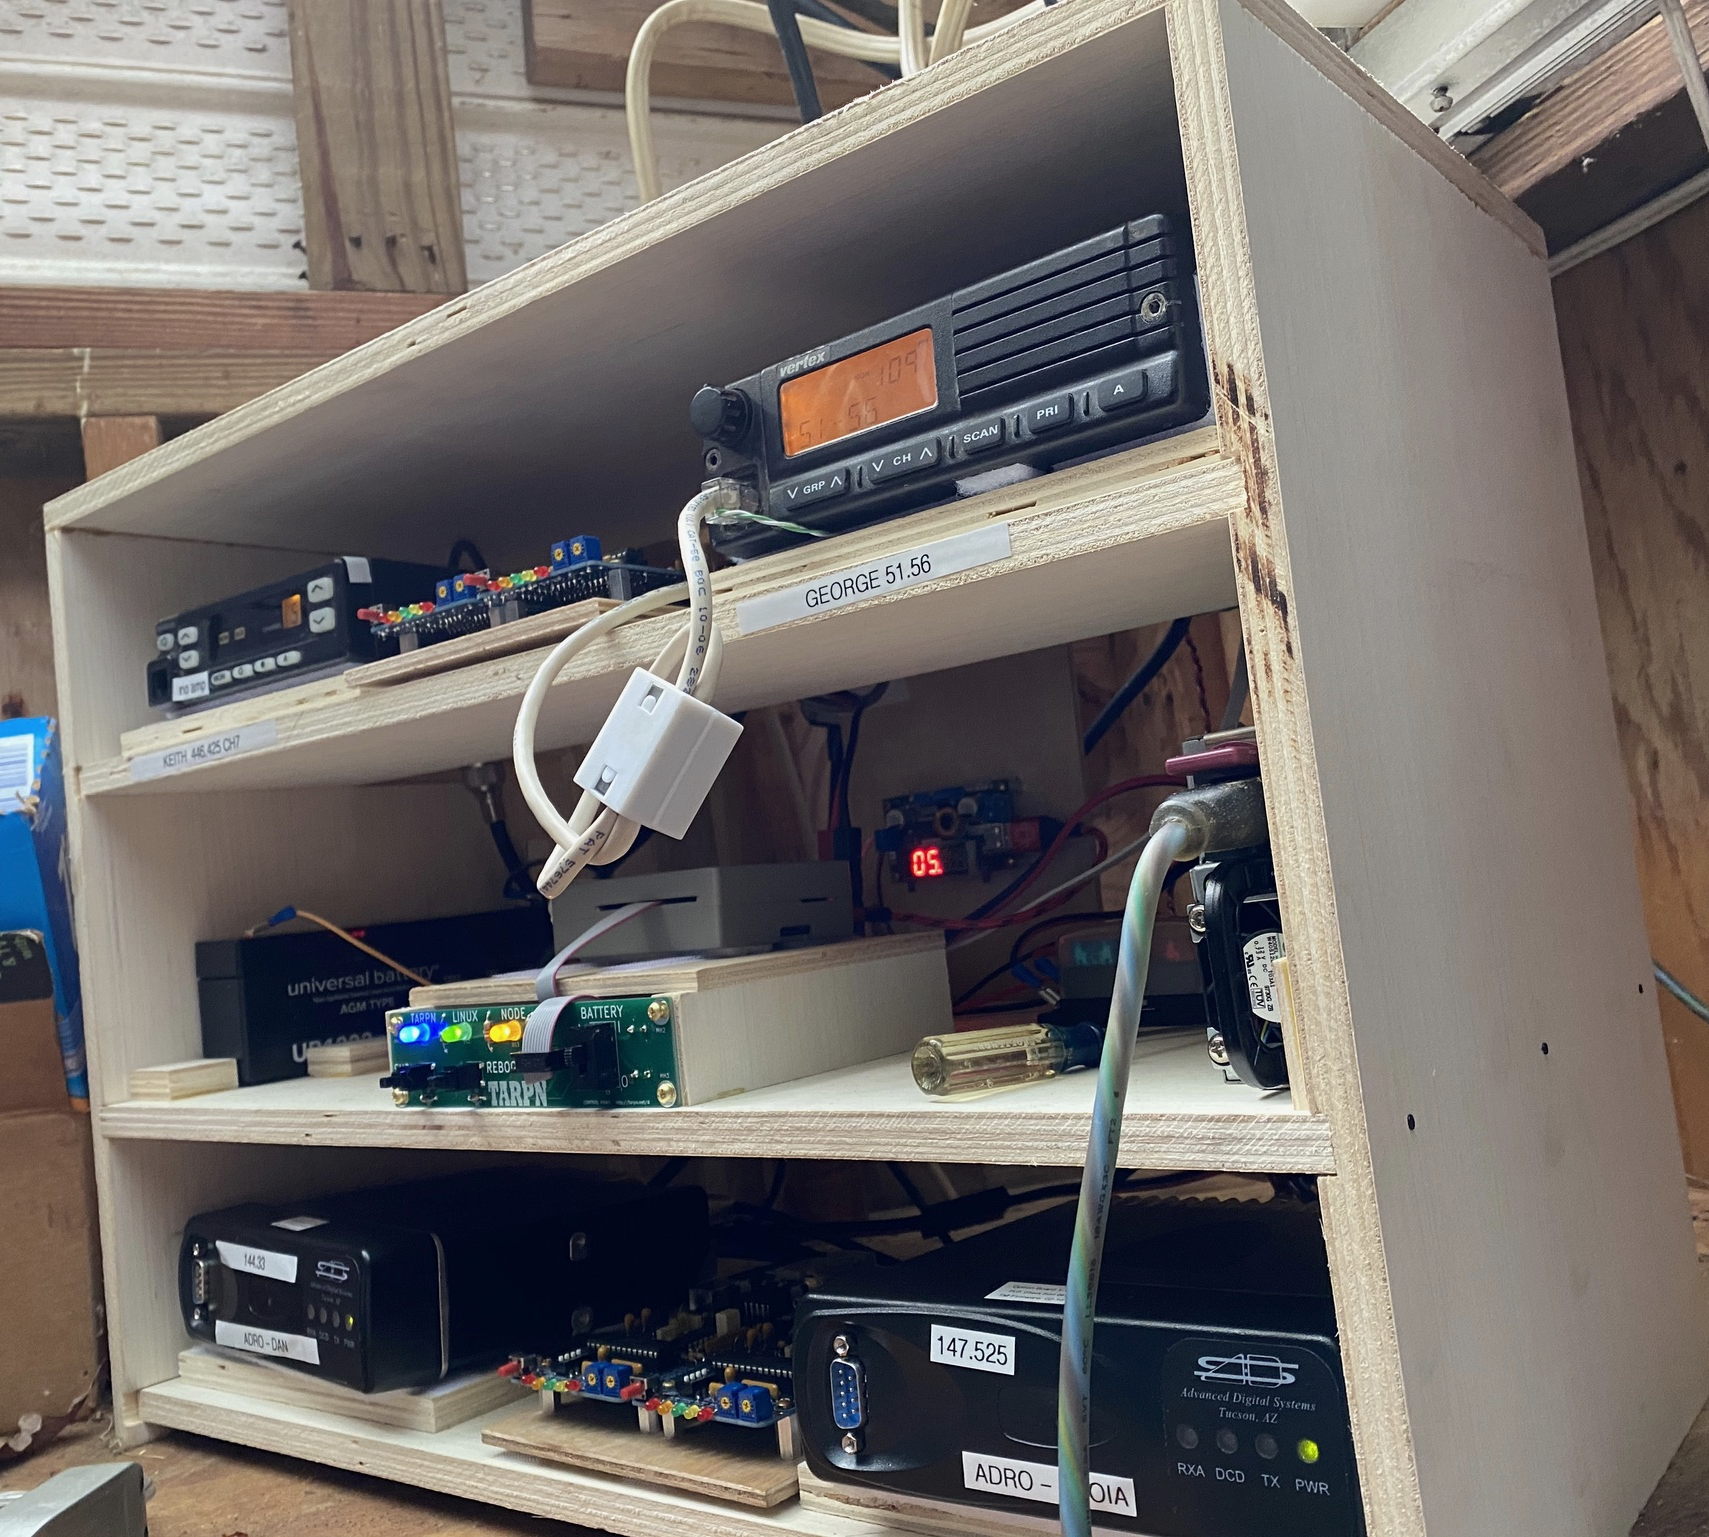
| |
> | |||
| Jay KM4EP's 3rd node-box design, "SideCar" has room for 2, 3 or 4 links depending on how it is built out. First box Nov 2020. | |||
Demo node for Tadd's hamfest network
|
2022 Hector node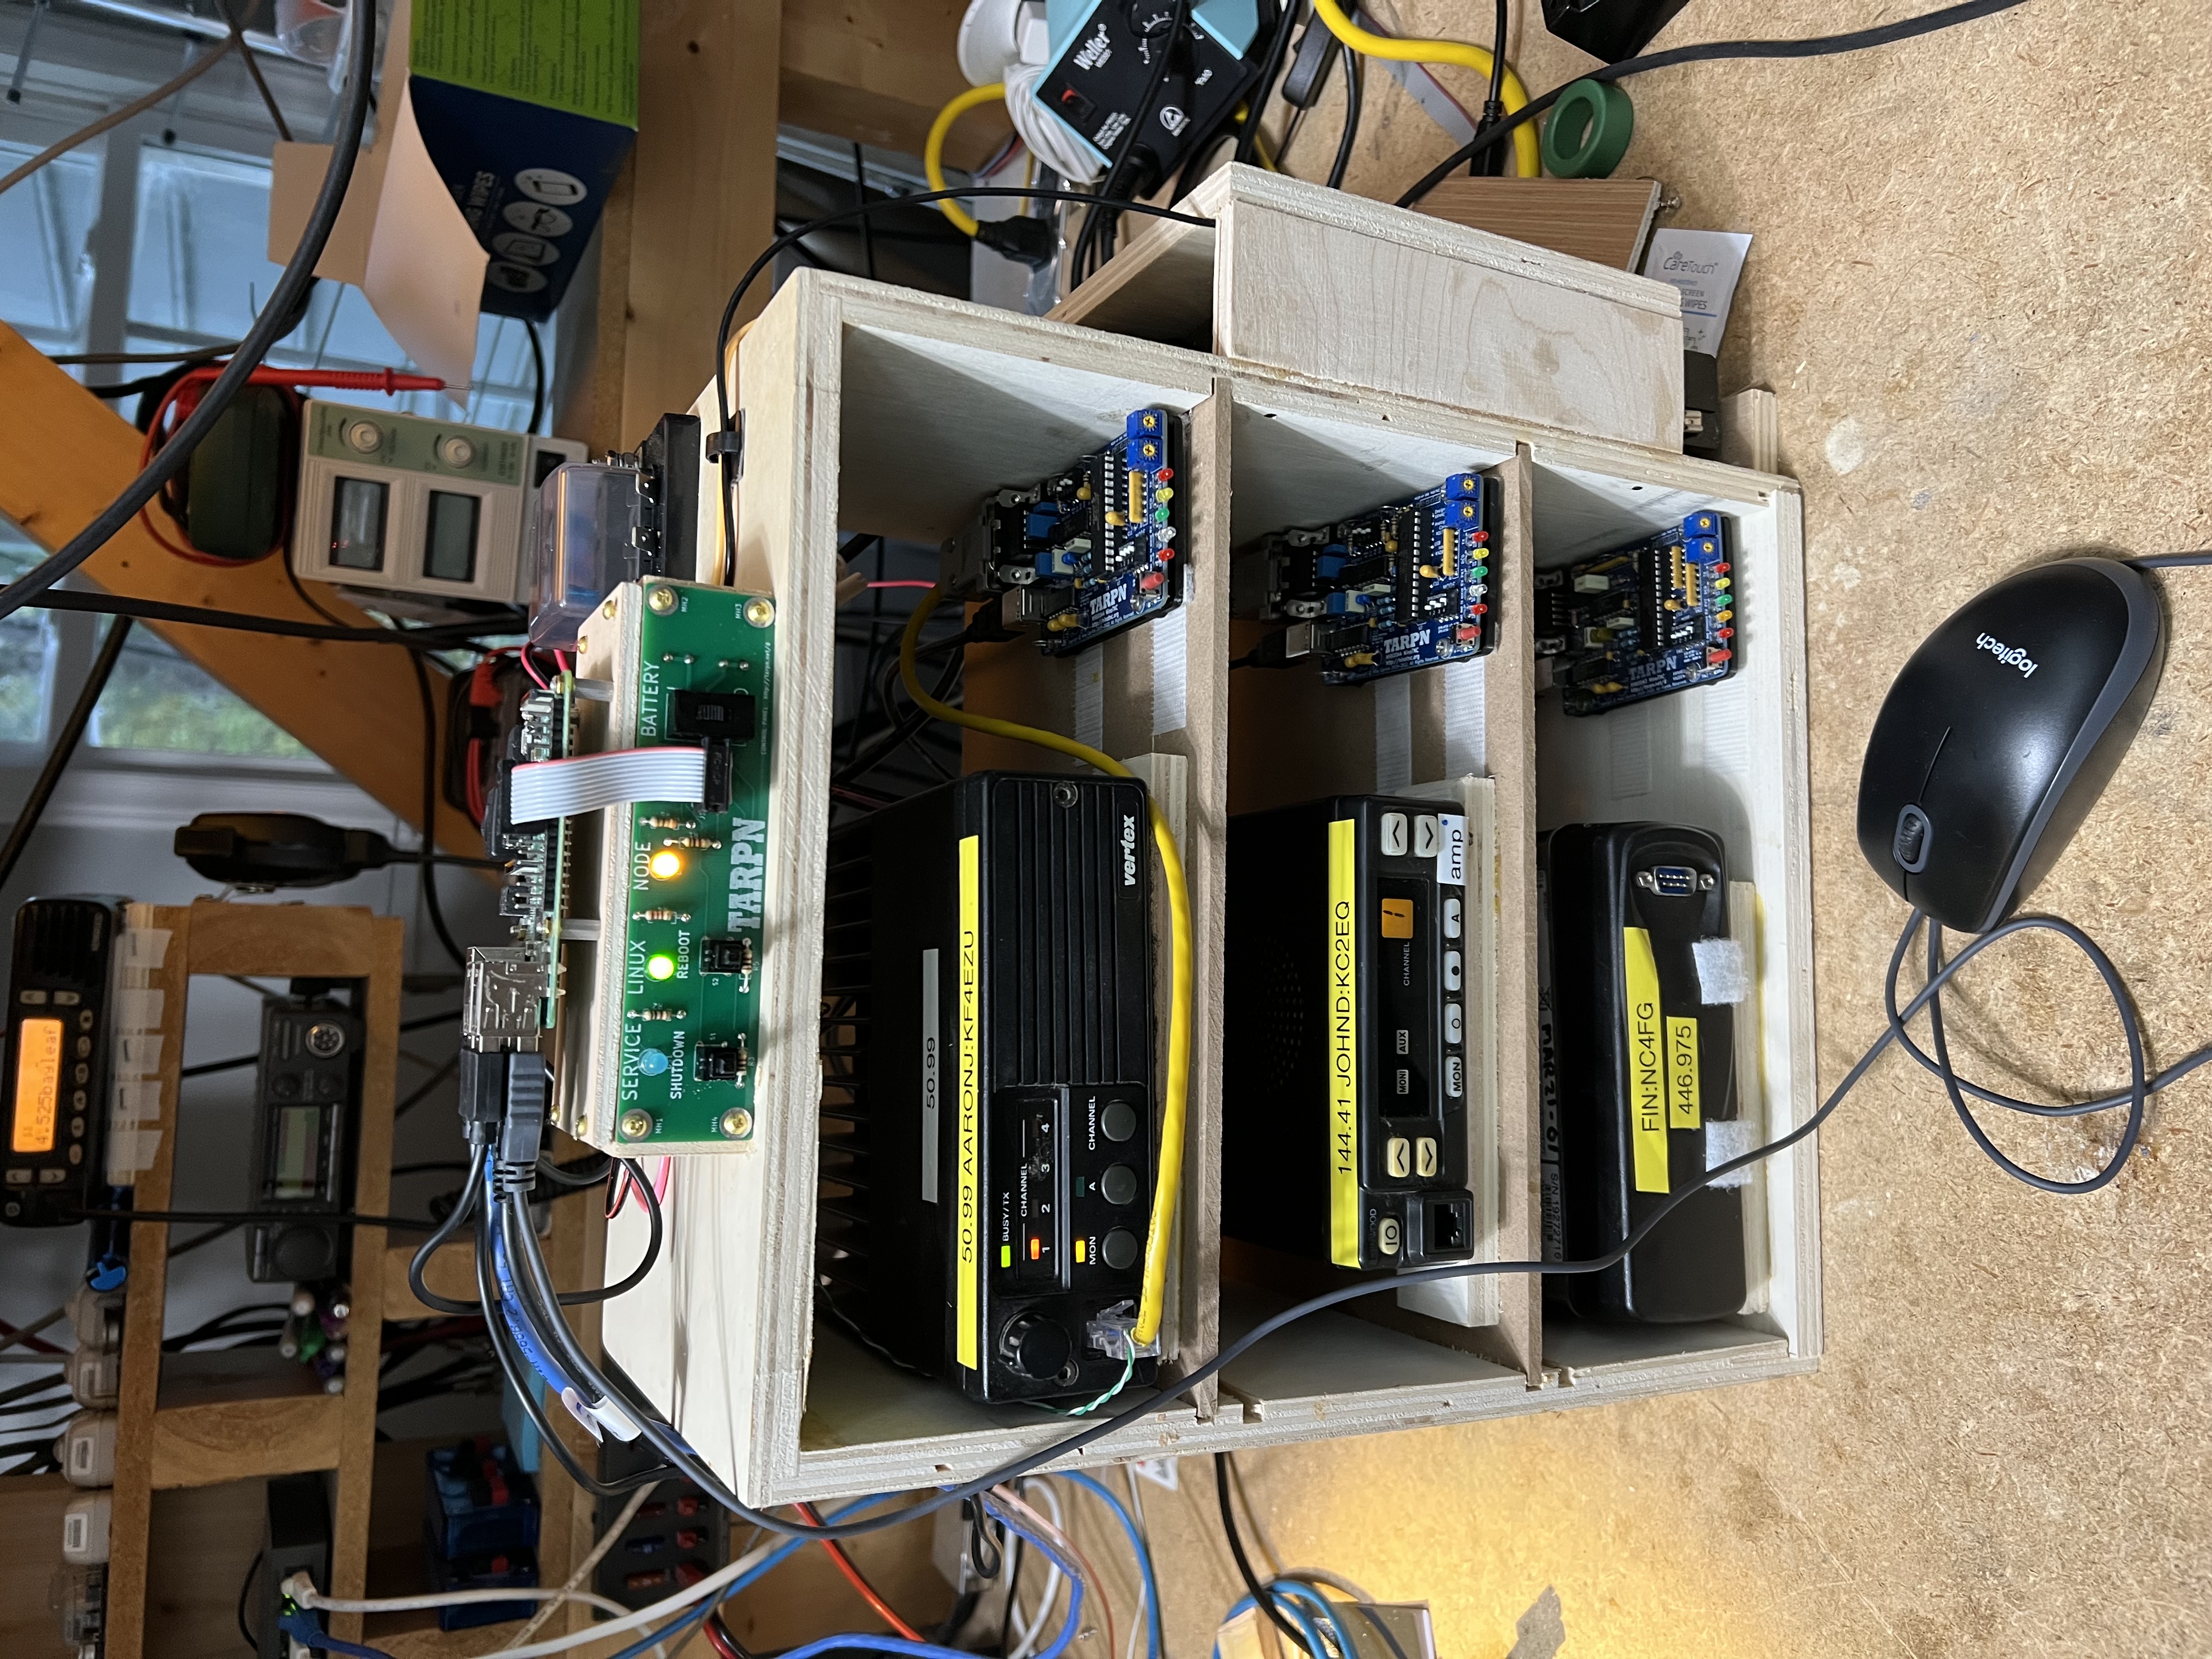
| ||